Interior Design
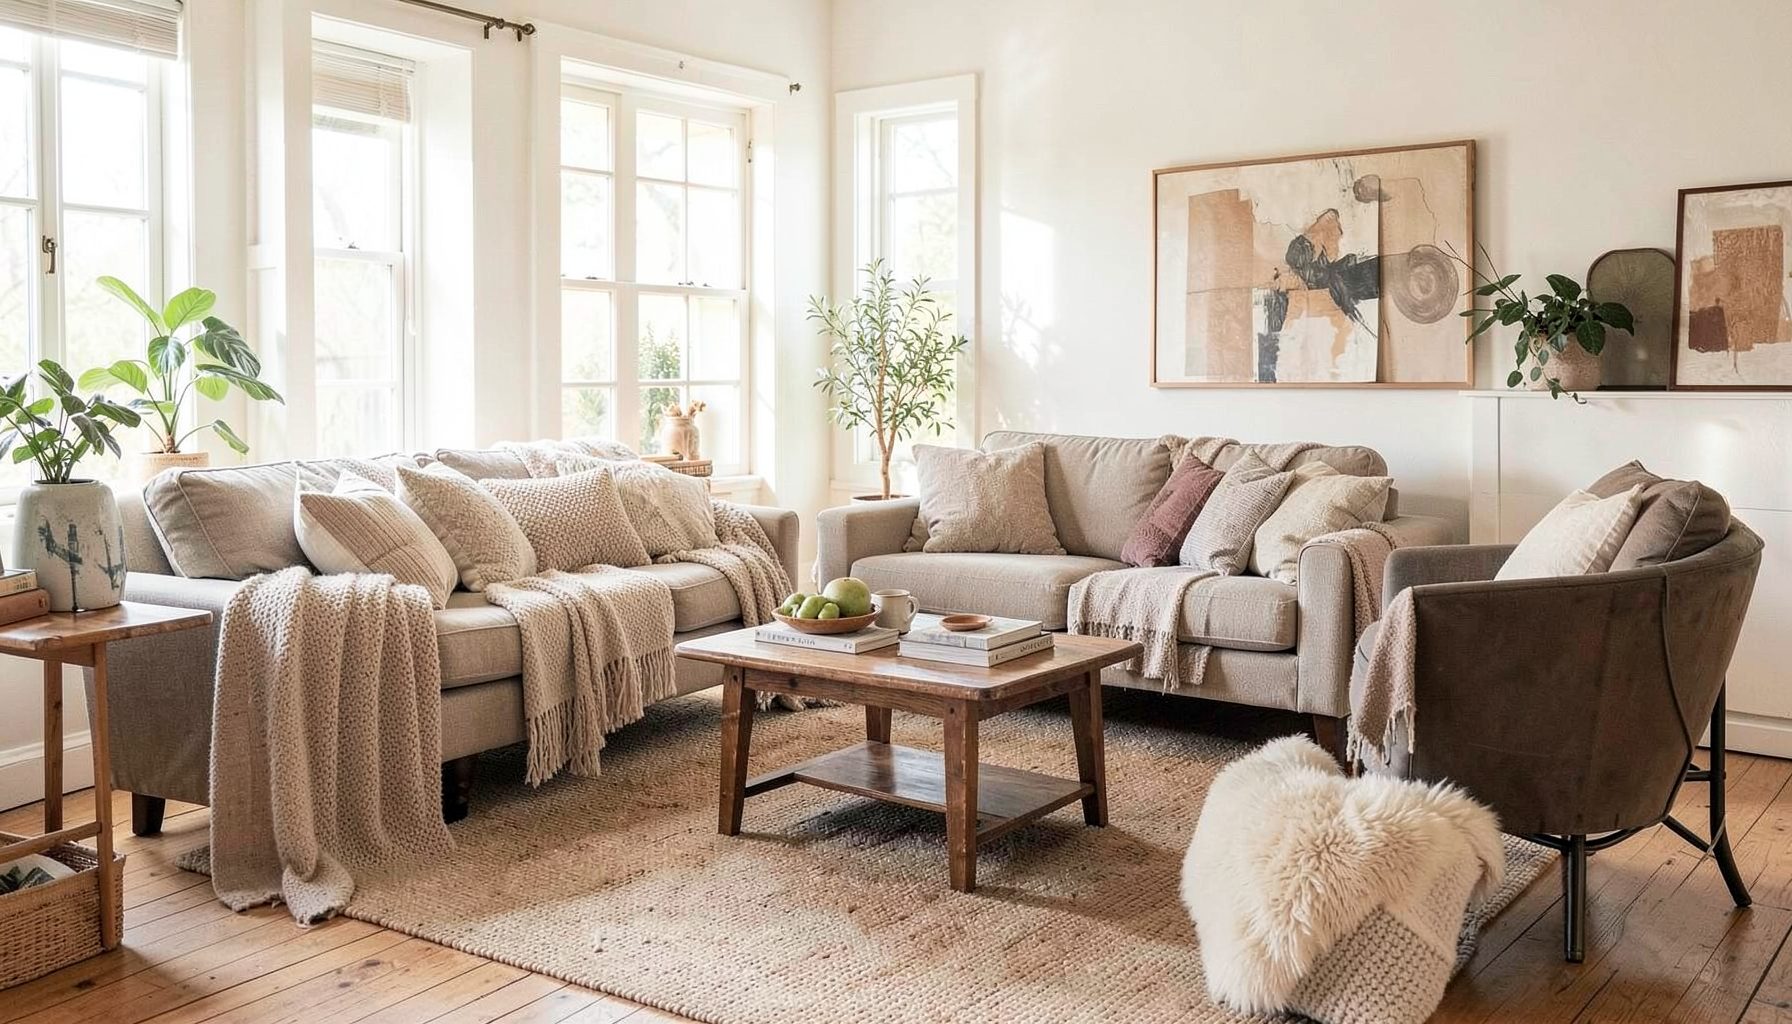
Full-service decorating that blends high and low, vintage finds with modern pieces for spaces that feel personal and collected.
Learn More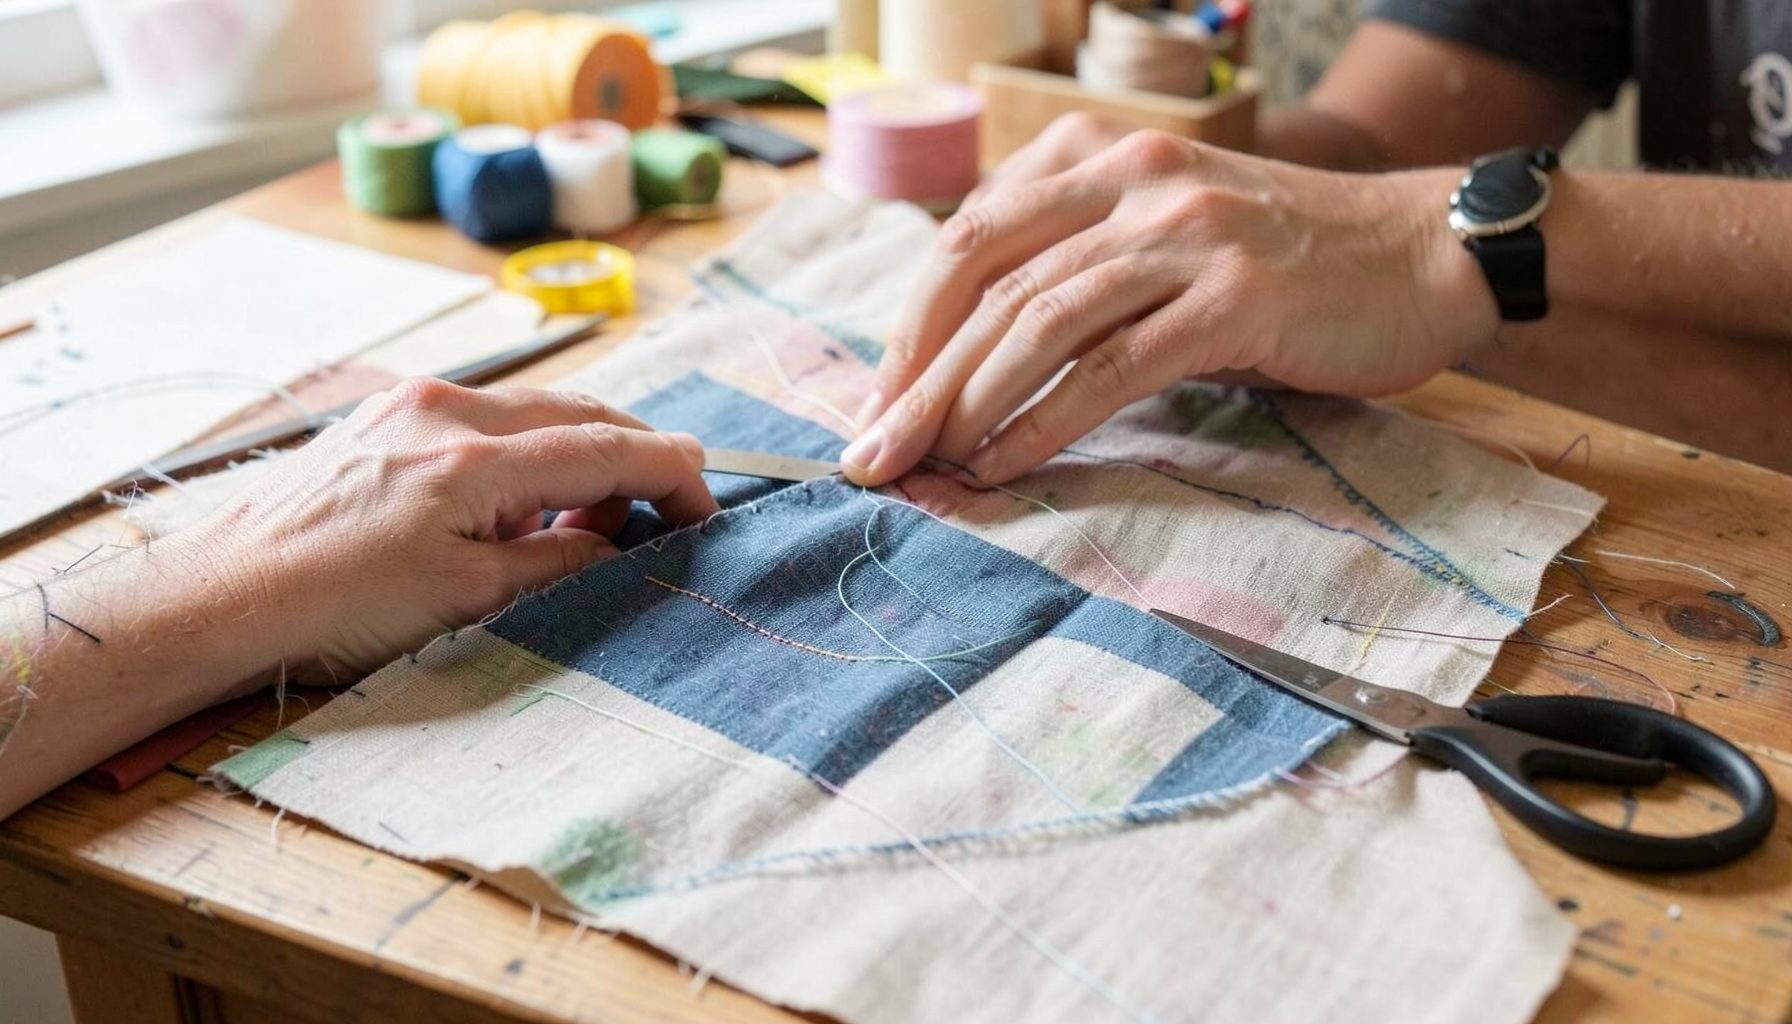
DIY Projects
Step-by-step tutorials for refinishing furniture, sewing pillows, styling bookshelves, and transforming rooms on a budget.
Learn More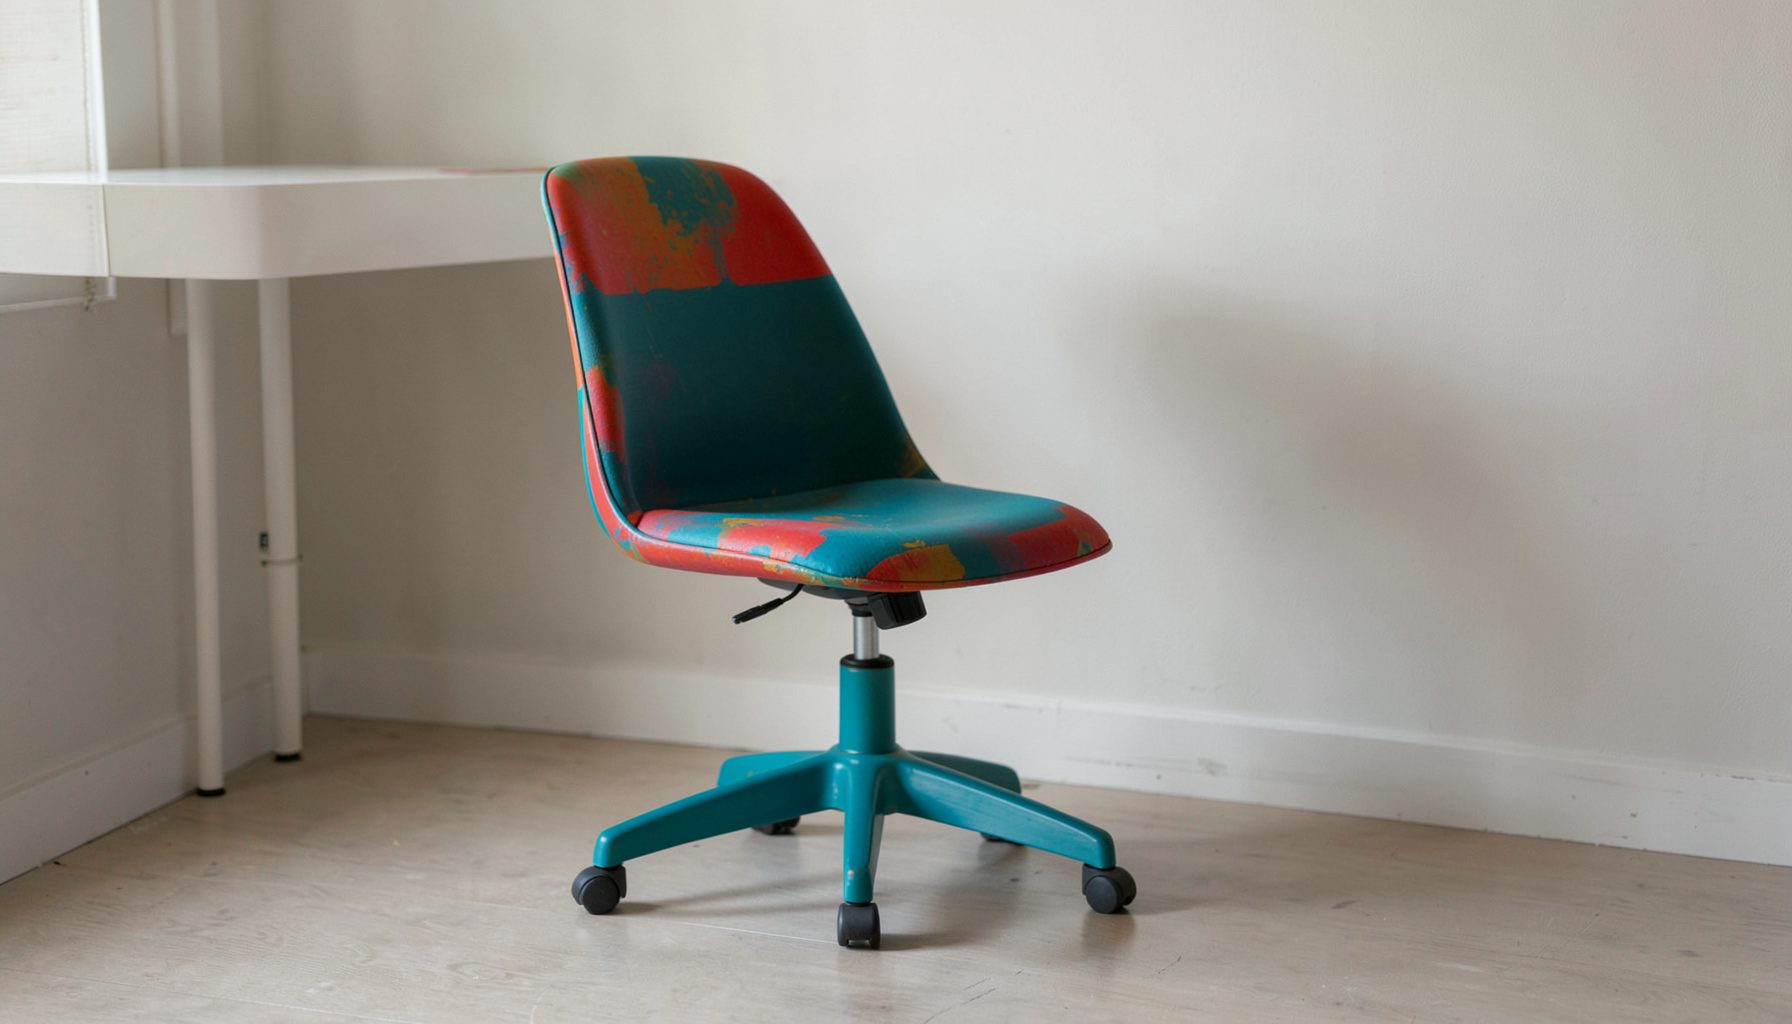
E-Decorating
Personalized design guidance delivered online — perfect for clients anywhere in the world who want a professional eye.
Learn More
Portfolio
Browse completed room makeovers, before-and-after transformations, and styling projects from Bay Area homes.
Learn More
Blog
Interior design inspiration, fashion finds, entertaining ideas, and peeks into real home renovations and styling projects.
Learn More
Downloads
Free curated resources for home decorating and design — guides, checklists, and inspiration to help you get started.
Learn MoreHow To Build A Sliding Barn Door For A Bathroom Or Closet
A sliding barn door can solve an awkward layout problem while adding architectural character to a bathroom, wardrobe, laundry, or compact ensuite. It takes up far less floor space than a hinged door, and the exposed track becomes a decorative feature rather than hardware to hide. With the right preparation, this is a manageable weekend project for a confident DIYer.
The best results come from treating the door as a piece of furniture. Choose a finish that suits the room, allow enough overlap for privacy, and make certain the wall can safely carry the track and door weight. In Australian homes, where plasterboard walls, tiled bathrooms, uneven older floors, and compact floor plans are common, careful measuring matters more than elaborate tools.
Check The Opening And Wall First
Measure the door opening in millimetres at the top, middle, and bottom. Record the width, height, skirting-board depth, architrave thickness, and the distance between the opening and the nearest wall, corner, window, or light switch. A barn door needs clear wall space beside the opening so the panel can slide fully away. If a wardrobe sits beside a return wall, the door may need to stop short of the opening, reducing access to the shelves inside.
For privacy, the door should overlap the opening by at least 40 to 60 millimetres on each side and across the top. A bathroom door usually benefits from a larger overlap than a cupboard door, especially if the opening is not perfectly square. Add the panel width to the opening width, then check that this complete measurement fits along the wall without covering switches, power points, towel rails, or a nearby window.
The wall must also support the track and the moving load. A solid masonry wall is straightforward, although the correct masonry anchors are essential. With plasterboard, locate the timber studs behind the lining and fix a substantial mounting board across several studs. Do not rely on plasterboard anchors alone for a heavy solid-timber panel. In a tiled bathroom, avoid drilling into waterproofed wet-area surfaces wherever possible; position the door outside the shower zone and investigate the wall construction before making holes.
Select Materials For Australian Conditions
A practical door panel can be made from dressed pine boards, a pre-glued panel, plywood with applied battens, or a reclaimed timber slab. Dressed pine is easy to source from Bunnings and similar hardware stores, while reclaimed boards from salvage yards can give the door a more established, collected appearance. Check every board for twisting, cupping, loose knots, and moisture content before assembly. A door that looks charming on a workbench can bind badly once it is hanging.
For a bathroom, choose timber that tolerates changing humidity and seal every face, edge, and cut end. Water-based polyurethane is convenient indoors and dries quickly, while hardwax oil creates a softer, more tactile finish but needs attentive application. Paint-grade plywood or moisture-resistant MDF can work for a lighter door, but standard MDF is a poor choice where steam and splashes are frequent. Use stainless or corrosion-resistant screws and hardware in humid rooms.
The track kit should be rated well above the finished door weight. A solid panel, decorative battens, and handles can become surprisingly heavy, so weigh the completed panel if possible rather than estimating from the timber alone. Look for a kit with adjustable rollers, anti-jump discs, end stops, and a floor guide. Soft-close hardware is worthwhile for a bathroom or bedroom because it reduces slamming and protects the wall.
Timber colour is part of the design rather than an afterthought. If the room already combines oak flooring, painted cabinetry, and a darker vanity, a contrasting door can look intentional when the undertones are considered. This guide to mixing wood tones is useful when deciding whether to match the vanity, echo the floor, or introduce a complementary timber.
Build A Stable Door Panel
Allow the timber to acclimatise indoors for several days before construction, particularly if it has come from an outdoor yard or a cooler shed. Lay the boards flat with stickers between layers so air can circulate. Arrange them by colour and grain, then mark the preferred face. This small step helps prevent a beautifully finished panel from changing shape after installation.
A simple construction uses vertical boards joined with horizontal braces on the rear. Cut all boards to the same length, place them face down on a level surface, and use battens near the top and bottom, with a third through the centre for a taller door. Apply construction adhesive suitable for timber, then secure the braces with screws from the back. Predrill near board ends to reduce splitting, and keep the screws short enough that they cannot emerge through the front.
For a more traditional barn-door appearance, add diagonal bracing between the horizontal battens. The diagonal should resist racking, but it also adds weight, so account for this when selecting the rollers. A lighter plywood panel can receive applied timber strips to create the same pattern without the mass of a full solid-wood door.
Once assembled, sand progressively from a medium grit to a fine finish, soften the exposed edges, and remove all dust. Apply the chosen stain, paint, or clear coat to both faces and every edge. Finish the bottom edge especially carefully because it is close to floor-level moisture. Let the coating cure fully before attaching hardware; dry to the touch does not always mean ready to carry weight or tolerate rubbing.
Install The Track With Care
Hold the finished door beside the opening to establish the track height. Most kits need the track to sit high enough for the door to clear the architrave, skirting, and floor guide, with a small consistent gap beneath the panel. Follow the manufacturer’s dimensions rather than copying a photograph, because roller shapes and mounting brackets vary. Mark a level line with a laser level or long spirit level. A slight slope can cause the door to drift open or closed.
Fix a timber mounting board to the studs first when working with plasterboard. The board should be long enough to support the full track and extend beyond the opening in the sliding direction. Use appropriate structural screws, check for hidden electrical cables and plumbing, and avoid drilling near known pipe routes. Australian homes have different wall systems, including brick veneer, double brick, steel framing, and concrete, so select fasteners for the actual substrate rather than the appearance of the wall.
Attach the track according to the kit instructions, tightening each fixing evenly. Hang the rollers on the track with a second person supporting the panel, then fit the anti-jump devices and end stops. The floor guide keeps the bottom edge from swinging, which is particularly important for a bathroom door. It may be surface-mounted or recessed, but a recessed guide should be installed only when you are confident there are no services beneath the floor.
Open and close the door repeatedly before final tightening. It should travel without scraping, rocking, or striking the architrave. Adjust the rollers if the panel is not plumb, and confirm that the door remains stable when pulled from the handle. A robust-looking track is not enough if the mounting points are flexing under load.
Make Privacy And Safety Non-Negotiable
Barn doors are less airtight than conventional hinged doors, so privacy depends on the design. Select a panel wide enough to cover the opening generously, install a discreet side seal if needed, and choose a handle that does not collide with the wall. For a bathroom, a hook-and-eye fitting, sliding privacy latch, or purpose-made barn-door lock can prevent accidental opening. Test the lock from both sides before relying on it.
Ventilation also deserves attention. A bathroom still needs effective exhaust ventilation and an appropriate air path under or around the door. Sealing every gap may make the room feel private, but it can interfere with airflow and encourage condensation. In many Australian homes, particularly in humid Brisbane, Darwin, and coastal areas, regular exhaust-fan use helps protect paint, timber, and cabinetry from mould and swelling.
Think about emergency access and household use. A bathroom door should not trap someone inside if the lock fails, and the handle should be easy to operate with wet hands. If the opening serves an accessible bathroom, a standard decorative barn-door arrangement may not meet the clearances or hardware expectations under the National Construction Code and relevant access standards. Check the current requirements and obtain professional advice where accessibility, aged care, or a secondary dwelling is involved.
Building and strata rules vary between states and properties. A cosmetic internal change may not require a building approval in every situation, but altering a wall, affecting a fire-rated barrier, or working in a strata apartment can trigger approval requirements. In Sydney, Melbourne, and other capital cities, owners should check with their council, private certifier, or strata manager before installation. Never assume that a previous owner’s renovation establishes compliance.
Style The Door With The Room
The door can be rustic, refined, coastal, modern, or quietly traditional depending on the finish and hardware. Black steel is a strong choice with white walls and industrial fittings, while aged brass suits warm timber and vintage accessories. A painted panel in olive, chalky blue, or soft charcoal can make the feature feel designed rather than themed. For a smaller wardrobe, a pale finish helps the panel recede visually.
Balance the substantial door with lighter elements nearby. A woven basket, linen curtain, ceramic vessel, or framed print can soften the metal track. In a bathroom, repeat one finish twice or three times—for example, black in the track, tapware, and mirror frame—so the hardware feels connected to the wider scheme. Avoid matching every item exactly; a layered room generally feels more personal than a showroom set.
The track should remain accessible for cleaning and occasional adjustment. Dust gathers on the rail, while bathroom steam can leave residue on rollers and fixings. Wipe the hardware with a dry or lightly damp cloth, inspect the screws every few months, and keep the floor guide free of lint and grit. Do not use aggressive chemical cleaners on painted or oil-finished timber.
Before calling the project finished, stand in the hallway and view the door both open and closed. Check that the panel conceals the opening from normal sightlines, clears the skirting, and does not make the room feel cramped. A full-height mirror on the door can be useful for a wardrobe, but it adds significant weight and should be supported by a suitably rated track and reinforced frame.
A successful DIY sliding door combines accurate measurements, properly anchored hardware, moisture-aware finishing, and a thoughtful relationship with the rest of the room. Build the panel flat, seal it on every side, use a guide at the floor, and test the complete assembly before trusting it with daily bathroom traffic. The practical takeaway is simple: treat the door as a structural moving fixture first and a decorative feature second, and the result will be safer, quieter, and far more durable.

Recent Projects