Interior Design
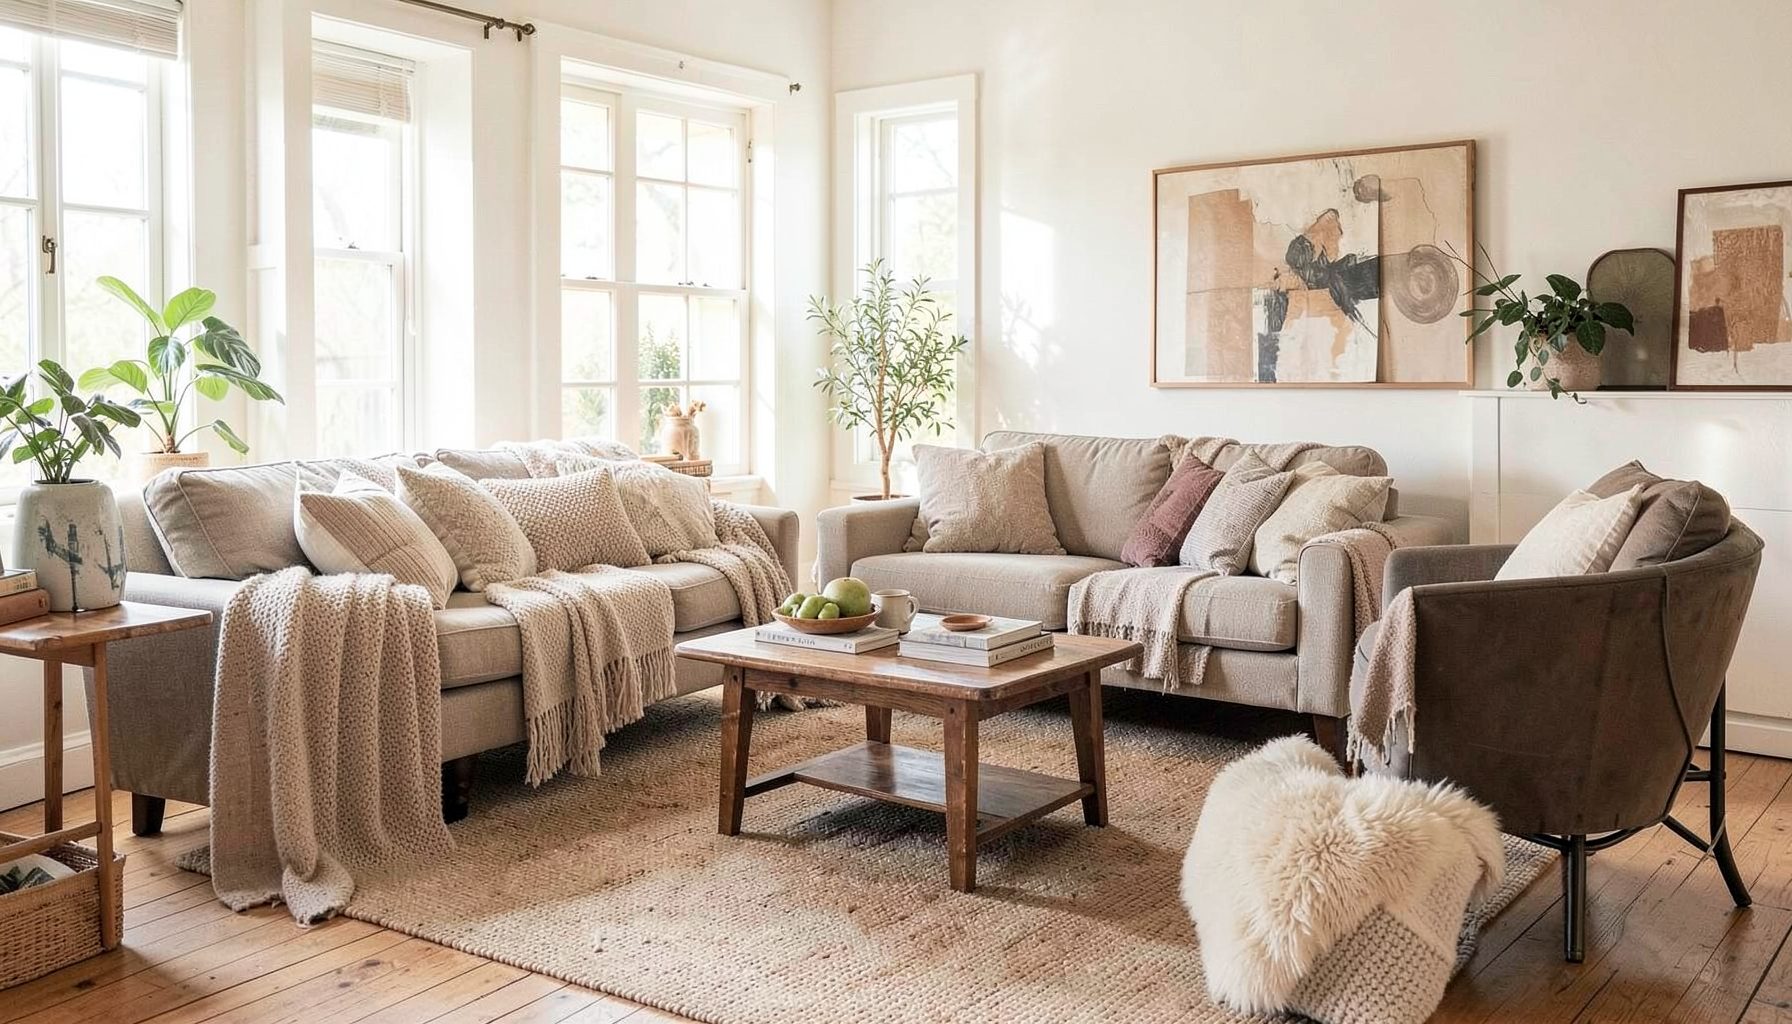
Full-service decorating that blends high and low, vintage finds with modern pieces for spaces that feel personal and collected.
Learn More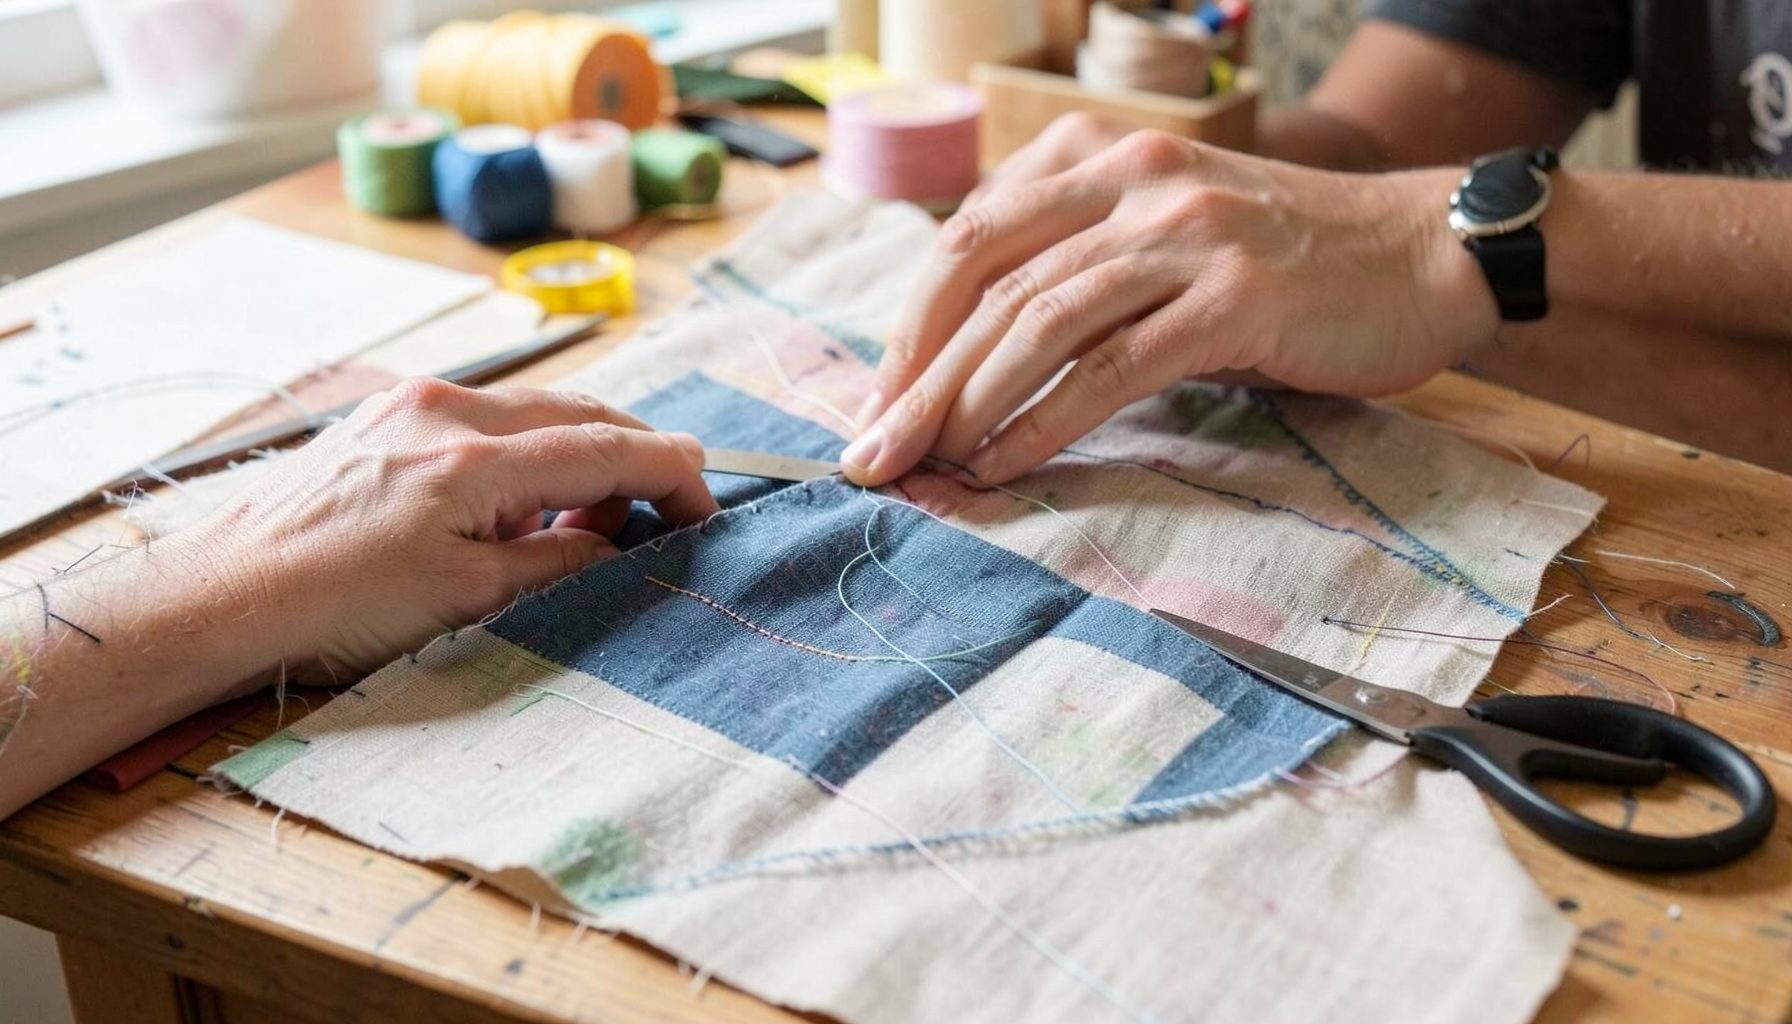
DIY Projects
Step-by-step tutorials for refinishing furniture, sewing pillows, styling bookshelves, and transforming rooms on a budget.
Learn More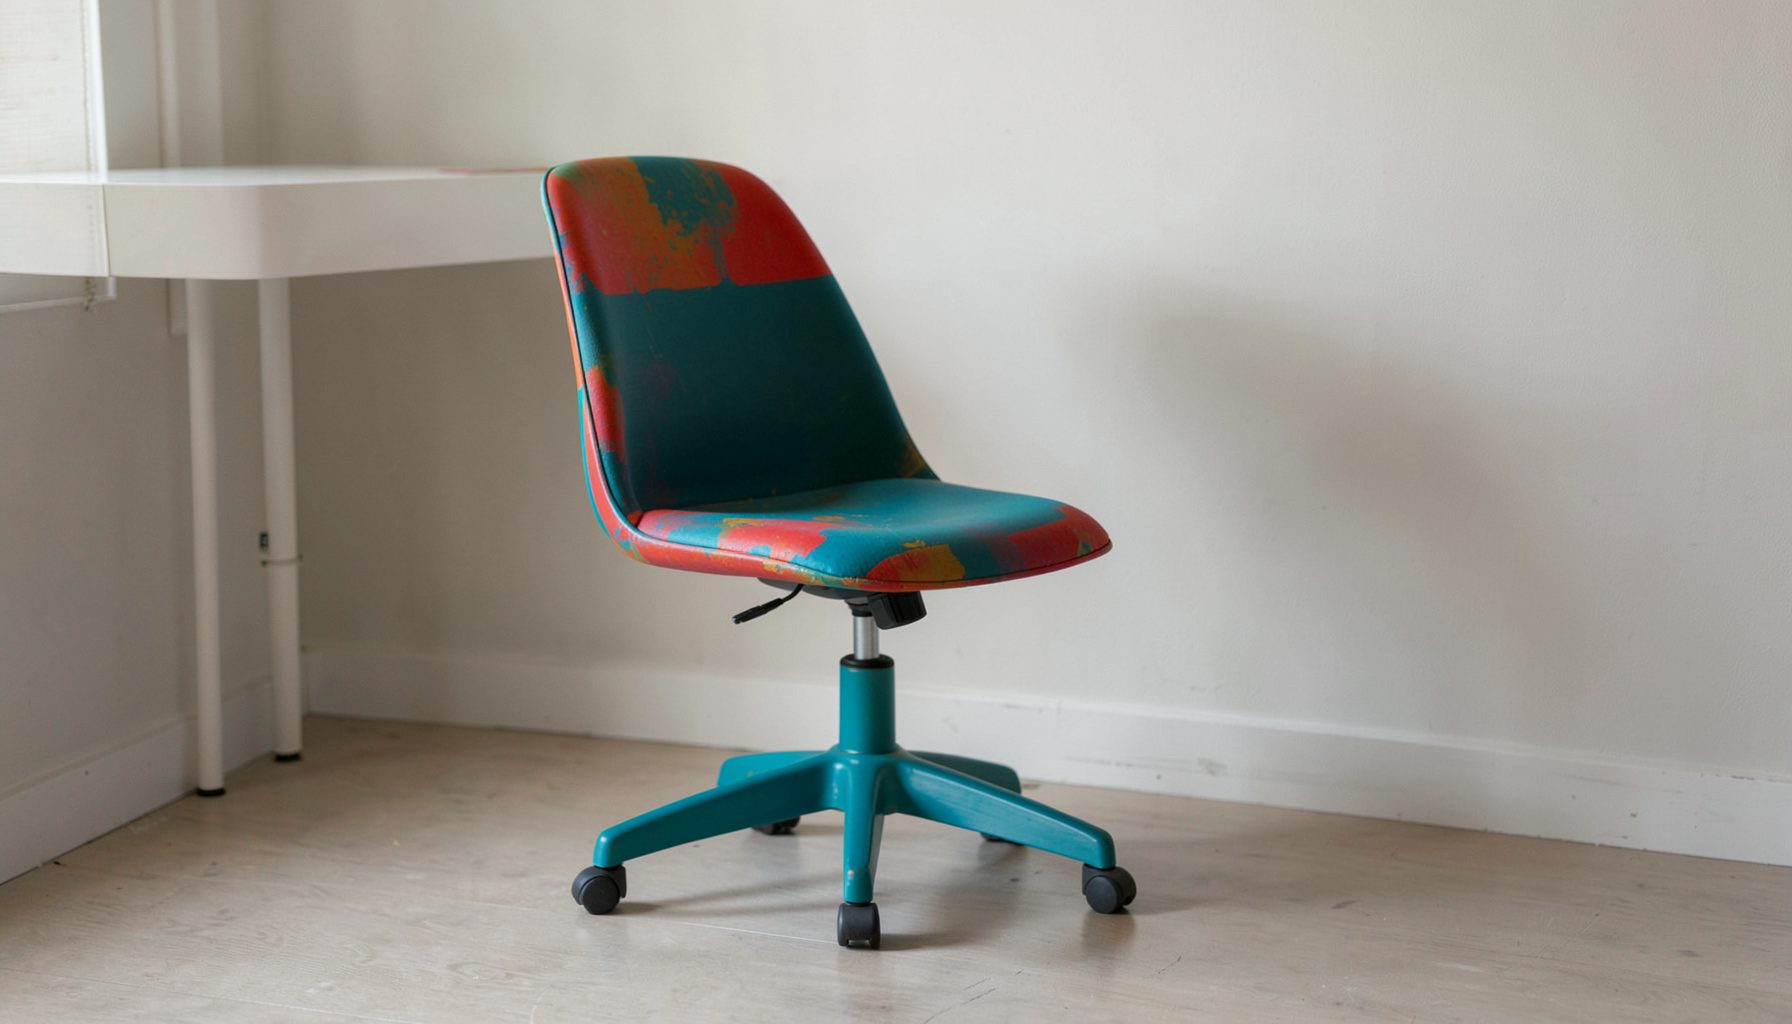
E-Decorating
Personalized design guidance delivered online — perfect for clients anywhere in the world who want a professional eye.
Learn More
Portfolio
Browse completed room makeovers, before-and-after transformations, and styling projects from Bay Area homes.
Learn More
Blog
Interior design inspiration, fashion finds, entertaining ideas, and peeks into real home renovations and styling projects.
Learn More
Downloads
Free curated resources for home decorating and design — guides, checklists, and inspiration to help you get started.
Learn MoreTurning a Spare Bedroom Into a Walk-In Wardrobe
A spare bedroom can hold more than occasional guests. With the right plan, it becomes a calm dressing room that makes everyday clothes easier to find and gives shoes, bags and accessories a proper home. The goal is to create a room that feels generous while working hard for the person using it, rather than filling every available centimetre.
In Australian homes, this project is usually called converting a spare bedroom into a walk-in wardrobe. The American phrase transforming a spare bedroom into a walk-in closet with built-in shelving still describes the same ambition, but local measurements, housing types and climate should shape the design. Compact Sydney terraces, Melbourne apartments and suburban family homes each present different planning issues.
A layered, collected look suits this kind of room because useful storage can sit beside warm timber, vintage furniture and modern fittings. That is the approach developed by Maggie Rose Interiors across San Jose, San Francisco and surrounding Bay Area homes: personal, livable spaces that combine old and new without making every decision expensive. The same principle travels well to Australian wardrobes.
Start with a floor plan and storage audit
Before buying a shelf, measure the room rather than estimating from the floor plan. Record wall lengths, ceiling height, skirting, door and window positions, and the swing of the bedroom door. Note radiators, vents and power points as well. Australian floorboards and tiled rooms need slightly different preparation from carpet, and a low ceiling can make tall cabinets feel crowded even when they are technically correct.
Sort the wardrobe contents before designing the storage. Divide them into categories, then measure representative items rather than relying on generic capacity estimates. Long dresses and coats need more vertical clearance than folded shirts, while shoes vary considerably in depth. Drawer space should reflect whether the owner stores jewellery, folded knitwear, underwear or small accessories. Even a few centimetres gained by refining these categories can create a more useful hanging zone later.
Set the layout against daily habits rather than an idealised catalogue image. Shoes are often dropped beside the door, jewellery needs a secure drawer, and work clothes may live on a lower rail than evening wear. In a compact Australian rental, a modular system may be more realistic than fixed cabinetry, especially if the owner’s corporation or landlord requires changes to be reversible. Useful decorating references can support decisions about scale and proportion, but the actual measurements must remain the priority.
Design built-in shelving for real clothes
Begin with the clothes that need the most accessible space. A long-hanging section with a rail around 1,200 to 1,500 millimetres high accommodates full-length garments without crushing them. Reserve a double-hanging section for shirts, jackets and trousers, using a pull-out rail where the ceiling height allows. Folded clothing works well on shelves spaced closely enough to prevent piles from collapsing.
Wall-to-wall cabinetry makes a small room feel orderly because it uses the perimeter efficiently. Built-ins should be fixed securely to the wall, particularly in timber-framed Australian homes where the position of studs affects heavy shelving and hanging rails. Adjustable feet can compensate for uneven floorboards, while a recessed plinth creates a cleaner base. Door handles and drawer fronts should also be considered early, because they affect the usable depth of the interior.
A central island can make a generous room feel like a boutique, but it needs enough circulation space on every side. Many Australian bedrooms are too compact for a full island, making a narrow shelf, short bench or half-height drawer unit a better choice. Include a dedicated section for boots, a high shelf for storage boxes, and drawers for small pieces. Hinged, sliding or folding doors can protect clothing from dust, although open sections may suit a relaxed, collected style and make everyday items quicker to reach.
Choose finishes for Australian conditions
The finish should respond to the local climate. Sydney’s humid summers call for well-sealed painted cabinetry and good airflow, while Melbourne’s variable conditions can bring both damp winters and strong summer sun. Brisbane homes may need finishes that tolerate heat and brightness, and coastal properties should consider salt-laden air when selecting hardware. Light-coloured cabinetry can brighten a windowless room, while warmer timber tones add character without requiring elaborate decoration.
Australian decorating markets offer both affordable and premium options, from flat-pack storage and hardware at Bunnings or IKEA Australia to refined fittings and furniture from Muji and independent makers. Custom cabinetry provides greater flexibility for awkward walls but requires accurate templates and careful site preparation. Spotted gum, oak-look veneer and painted MDF can work well in different homes, while natural cork or bamboo adds texture to shelves and seating. A mixture of material finishes often looks more relaxed than matching every surface.
Lighting needs planning before the cabinet maker finalises the layout. LED strips fitted beneath shelves can illuminate folded clothes and reduce the shadowy effect created by a ceiling light alone. Concealed drivers should remain accessible for maintenance, and any new wiring or altered power arrangements should be handled by a licensed electrician. Apartments may also require strata or owners’ corporation approval before fixed joinery or structural changes are made. A small ceiling fan or transfer vent can prevent the closed room from becoming hot and stale.
Layer the styling after installation
Once the storage is in place, style the room around one strong visual idea. A vintage dressing table beside modern cabinetry can create the layered character Maggie Rose Interiors often uses in completed projects. A full-length mirror, a timber stool, a woven basket and a framed textile are enough to make the space feel considered. Keep larger furniture in warm neutrals, then introduce colour through cushions, artwork or small objects.
Organisation should appear effortless rather than clinical. Matching hangers create a calm run of clothing, while a few decorative hooks can hold bags, scarves or hats. Transparent boxes work for accessories that need protection, and labelled drawers prevent small pieces from disappearing. Leave some open space around the most frequently used items. A display shelf with one or two objects is more inviting than a crowded arrangement, especially in a room with limited natural light.
The finished room should still reflect the owner’s personality. Vintage luggage, a favourite botanical print or an inherited jewellery box can sit alongside streamlined drawers and contemporary lighting. For personalised design guidance or to review Maggie Rose Interiors’ completed work before planning a similar conversion, a project discussion can be arranged through contact Maggie Rose. The design principle remains consistent in either country: useful storage forms the foundation, while collected objects give the room its character.
Follow a practical order of operations
Clear the room completely and keep only the clothes being worn that week nearby. Remove existing rails, measuring the wall and floor as you go, then create a simple plan showing the long-hanging zone, folded storage, drawers, shoes and accessories. Test the layout with painter’s tape on the floor if the arrangement is complicated. This stage can prevent expensive alterations after cabinetry has been ordered.
Obtain separate quotations where appropriate for cabinetry, electrical work, flooring, painting and installation. Check whether each price includes GST, delivery, site preparation and any removal of old fittings. Custom work can vary widely, particularly when walls are uneven or the room contains awkward angles. Confirm the timber finish, handle style, shelf spacing and lighting positions in writing before production begins. Builders should also explain how the cabinetry will be secured and how the floor and skirting will be protected during installation.
Install the fixed elements before bringing in movable furniture, then style the room in stages. Hang the most-used clothes first, place shoes and accessories into their assigned zones and add decorative pieces only when the practical layout feels natural. The practical takeaway is straightforward: measure accurately, organise the wardrobe before building it and choose finishes suited to Australian conditions. Those three decisions protect the budget while producing a walk-in wardrobe that remains comfortable and useful every day.

Recent Projects