
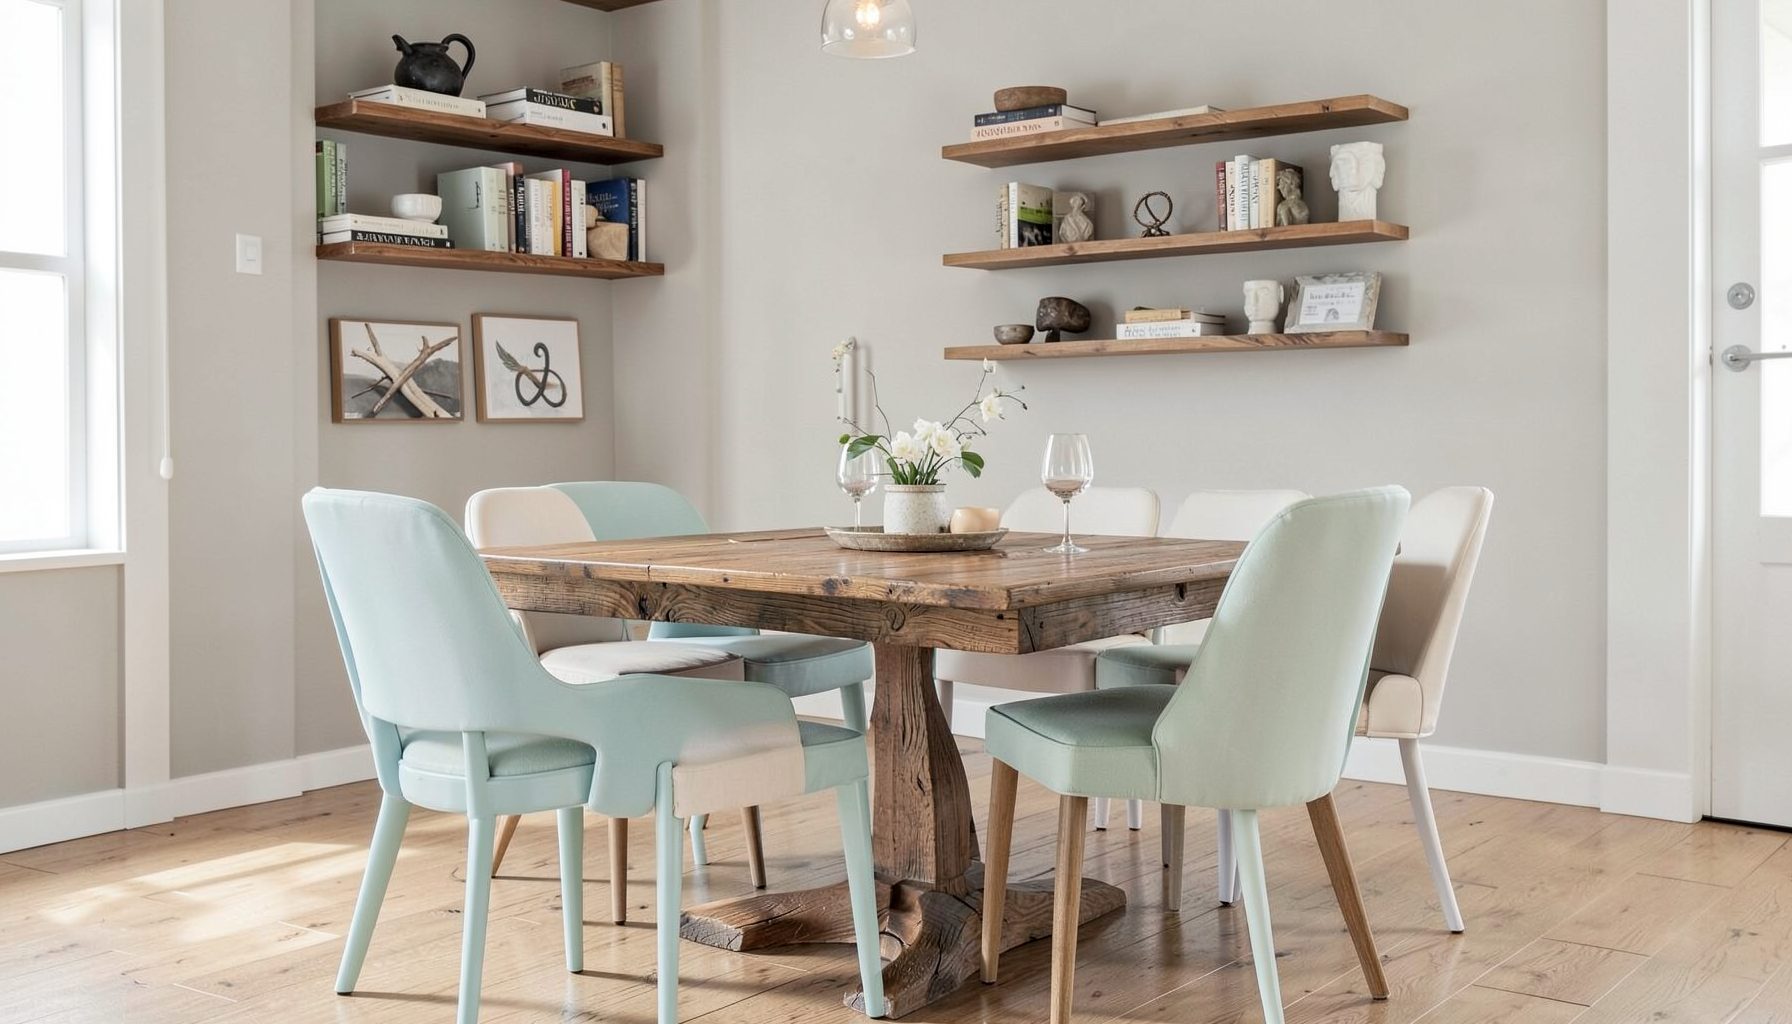
Interior Design
Full-service decorating that blends high and low, vintage finds with modern pieces for spaces that feel personal and collected.
Learn More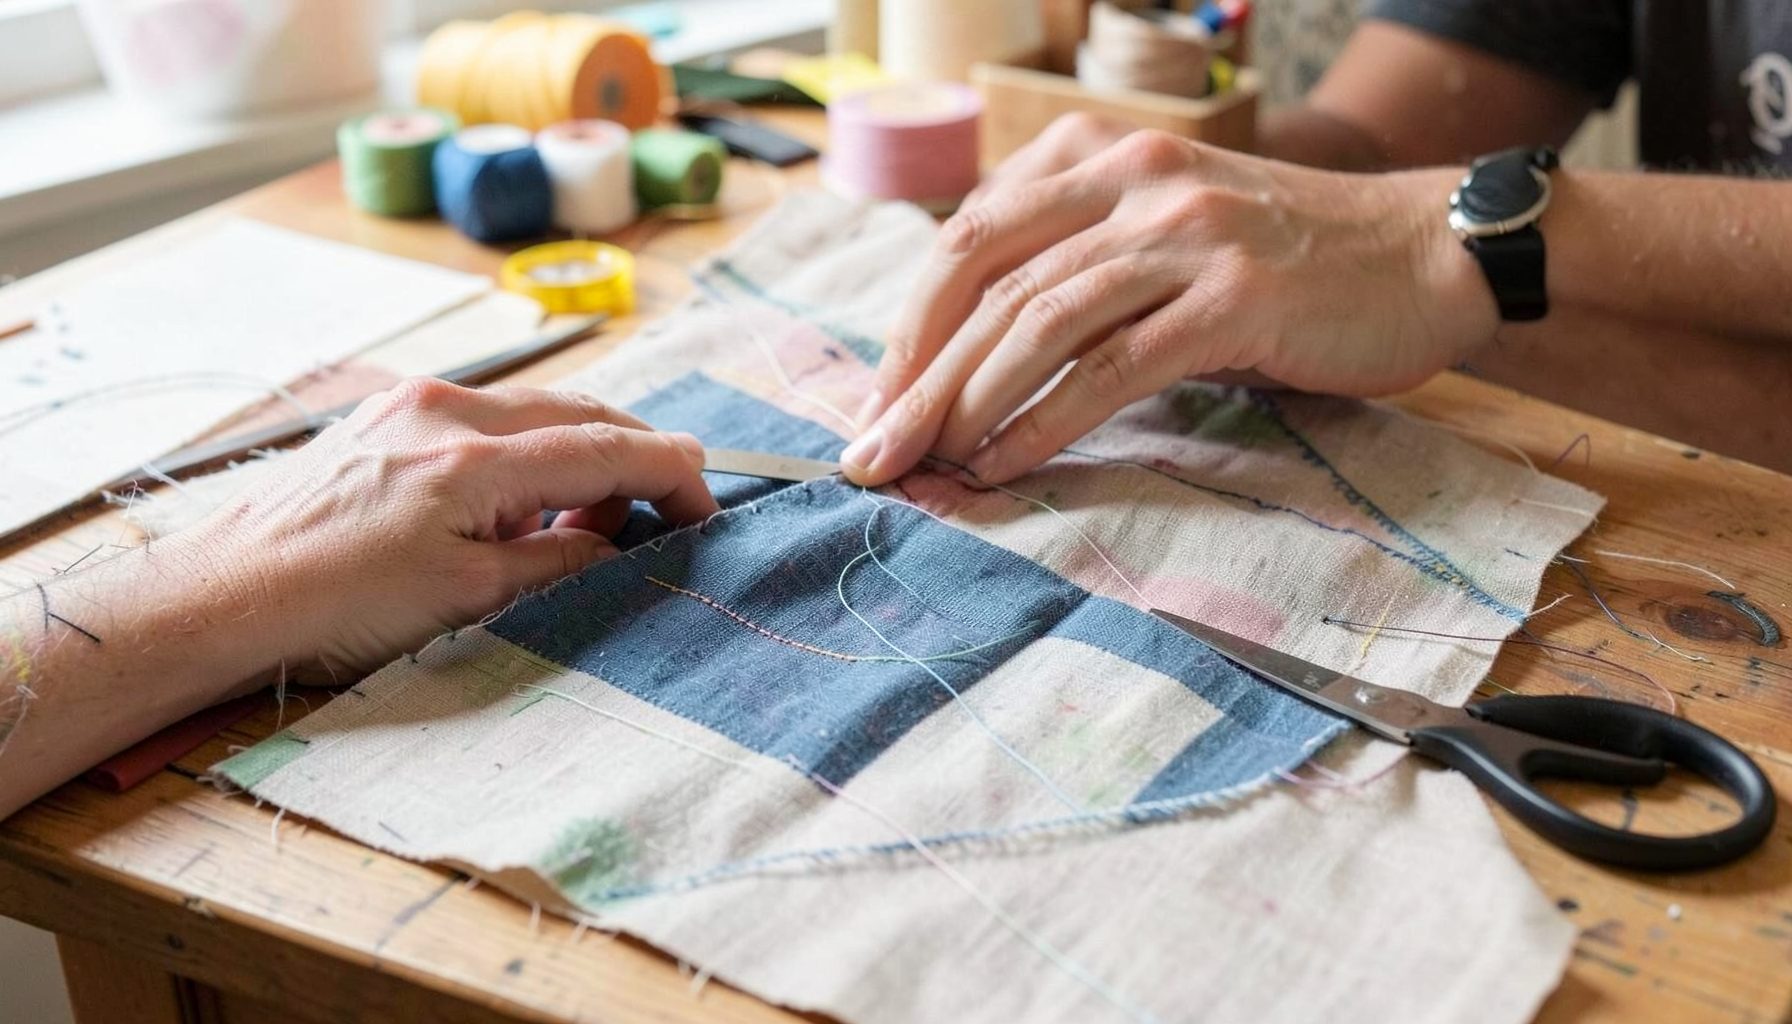
DIY Projects
Step-by-step tutorials for refinishing furniture, sewing pillows, styling bookshelves, and transforming rooms on a budget.
Learn More
E-Decorating
Personalized design guidance delivered online — perfect for clients anywhere in the world who want a professional eye.
Learn More
Portfolio
Browse completed room makeovers, before-and-after transformations, and styling projects from Bay Area homes.
Learn More
Blog
Interior design inspiration, fashion finds, entertaining ideas, and peeks into real home renovations and styling projects.
Learn More
Downloads
Free curated resources for home decorating and design — guides, checklists, and inspiration to help you get started.
Learn MoreTransforming a plain IKEA dresser with new drawer pulls and paint
A flat-pack dresser from IKEA is one of the most useful pieces you can own, and also one of the easiest to underestimate. The brand's modular chests arrive plain, sturdy, and built to last, yet they often look identical to thousands of other units sitting in bedrooms across Sydney, Melbourne, and beyond. With a weekend, a few supplies, and a clear plan, that basic piece can become something that looks like a custom commission rather than a budget buy.
The transformation rests on two simple upgrades: a thoughtful paint finish and a set of well-chosen drawer pulls. Together they can shift a dresser from flat and forgettable to warm, layered, and full of personality. The result feels collected rather than catalogued, which is exactly the kind of look that has defined the best decorating projects coming out of Australian homes in recent years.
Choosing your starting piece and planning the project
Not every IKEA dresser is worth the effort, so the first step is selecting the right base. Solid timber units like the Rast, the Nordli, or the Tarva work beautifully because they take paint evenly and hold hardware securely. The popular Hemnes range, made from a mix of solid pine and fibreboard, can also be repainted, though it asks for a slightly more careful primer on the manufactured sections. If you already own one, give the drawers a quick inspection for swelling at the corners, loose dowels, or chipped laminate edges that might need a small repair before any colour goes on.
Plan the project around the realities of your own home. A spare garage bay in Brisbane, a carport in Adelaide, or a sheltered deck in Hobart can all work as a paint station, provided the weather is mild. Australian conditions can be tricky: coastal air carries salt that affects drying times, and high summer humidity in places like Darwin or far north Queensland can make paint stay tacky far longer than expected. Many people find that spring and autumn in the southern states offer the most reliable window, with temperatures sitting in the comfortable range that manufacturers recommend for water-based paints.
It is worth setting a realistic budget before you start. Aside from the paint and primer, drawer pulls and handles are usually the biggest cost. Prices for solid brass or hand-finished ceramic knobs have crept up across the Australian retail market in the last year, partly because of import changes and shipping costs, so it is sensible to decide on a per-pull ceiling early and stick to it.
Prepping the surface for paint in Australian conditions
Preparation is where most furniture flips succeed or fail. Begin by removing the existing hardware and setting the screws aside in a small container, because losing even one will derail your reassembly. Lightly sand every surface with a fine-grit paper, aiming to scuff the existing finish rather than strip it back to bare timber. A tack cloth or a damp microfibre will lift the dust, and a lint-free cloth with a little sugar soap will remove any grease that has built up on the top from daily use.
Primer is non-negotiable on most IKEA units, particularly those with a melamine or foil finish. A bonding primer made for slick surfaces gives the topcoat something to grip, and one or two thin coats will out-perform a single thick layer every time. If you are working inside, open the windows wide. Australian water-based paints have low odour, but ventilation still helps the film cure properly and keeps the air moving through dry inland heat or damp coastal evenings alike.
For the topcoat, mineral paints and quality acrylic enamels have become the go-to choices for furniture painters from Perth to the Gold Coast. They self-level, require minimal sanding between coats, and stand up well to the knocks of family life. A good foam roller will give a smooth factory-like finish, while a brush suits anyone chasing a more visible, hand-painted texture. Two coats, with proper drying time between them, will give you the depth of colour that makes a piece look considered rather than improvised.
Picking drawer pulls that change everything
Hardware is the jewellery of a dresser, and it is the fastest way to make a flat-pack piece read as something far more expensive. Before you order anything, measure the existing hole spacing on your drawers. Many IKEA dressers use the standard 96mm centre-to-centre, but older or imported models vary, so a quick check with a tape measure will save you from drilling new holes unnecessarily.
Think about the mood you want before you choose a finish. Brushed brass brings warmth and pairs well with painted greens, deep navy, and warm whites. Polished chrome or nickel feels clean and modern, which suits coastal homes from Bondi to Noosa. Matte black remains a workhorse, anchoring timber tops and working in both contemporary apartments and character-filled Queenslanders. Ceramic and porcelain knobs, often handmade by small studios, add an artisan touch and tend to suit country, coastal, and heritage interiors.
Where you source the hardware matters as much as the style. Online specialists offer the widest range and often ship directly to regional postcodes that local hardware chains cannot match. If you are looking for a curated selection of knobs, cup pulls, and bar handles in finishes that suit a layered, collected interior, Kho Decor is a useful place to browse. Local options still exist too: Bunnings stocks a growing range of cabinet hardware, and independent shops in Melbourne's Chapel Street and Sydney's Surry Hills often carry smaller batches from Australian makers that you will not find anywhere else.
Order a couple of samples if you can, or buy one pull to test the proportions against the drawer front before committing to a full set. A knob that looks modest in a product photo can dominate a shallow drawer, while a slim bar pull may look lost on a wide chest.
The painting and assembly process
Lay the dresser out flat in your work zone, ideally across two trestles so you can reach every edge without handling wet paint. A drop sheet underneath will catch drips and let you flip pieces with confidence. Apply your primer in long, even strokes, then leave it to cure fully before the colour coat. Rushing this step is the most common cause of early chipping, particularly in homes where kids are using the piece daily.
Between colour coats, run a pole sander or a folded piece of fine sandpaper very lightly over the surface. This knocks back any raised grain or small imperfections without removing the colour. Wipe clean, then apply the second coat and let it cure for the full period suggested on the tin, not just until it feels dry to the touch. In humid parts of northern New South Wales or coastal Queensland, allow extra time, because the surface may feel ready while the deeper layers are still off-gassing.
Reassembly is where the transformation becomes real. Line up the new drawer pulls using a template, mark the holes, and drill slowly with a bit sized to the screws that came with the hardware. Painter's tape over the spot you are about to drill keeps the surrounding paint crisp. Push the screws through from the inside, thread on the new pull, and tighten by hand so you do not crack a ceramic knob or strip a soft timber thread.
If the existing drawer faces are looking tired, this is also the moment to upgrade them. Bevelled timber panels, cane inserts, or even a layer of grass-cloth wallpaper sealed under a clear coat can lift a basic drawer front into something far more special. None of these changes are difficult, but they do push the piece from a paint-and-pull refresh into a genuine custom build.
Styling your refreshed dresser at home
Once the final coat has cured, the way you style the dresser will lock in the new look. Resist the urge to crowd the top with objects. A table lamp, a small stack of design books, a ceramic vessel, and one piece of greenery is usually enough to make a statement. In a Sydney apartment bedroom, the same piece might anchor a corner with a round mirror above and a linen-curtained basket beside it, echoing the softer tones of the new paint.
Layer in a mix of old and new. A vintage tray, a stoneware bowl picked up at a weekend market, or a framed piece of textile art from a local maker will stop the dresser from looking like a single new purchase. The whole point of this kind of project is to create something that feels gathered rather than bought in one go, which is why so many Australian designers are now steering clients toward customising off-the-shelf furniture rather than ordering bespoke pieces from scratch.
Place the finished dresser where the light can show it off. A spot opposite a window will reveal the depth of the paint finish, while a wall with textured render, VJ panelling, or a soft limewash will give the new hardware room to catch the eye.
The most rewarding part of a project like this is how much character a small amount of effort can unlock. Two weekends, a few hundred dollars in paint and hardware, and a clear plan are usually enough to turn a forgotten flat-pack chest into a piece that genuinely belongs in your home. Start with one dresser, keep the proportions and finishes honest, and let the rest of the room respond to what you have created.

Recent Projects