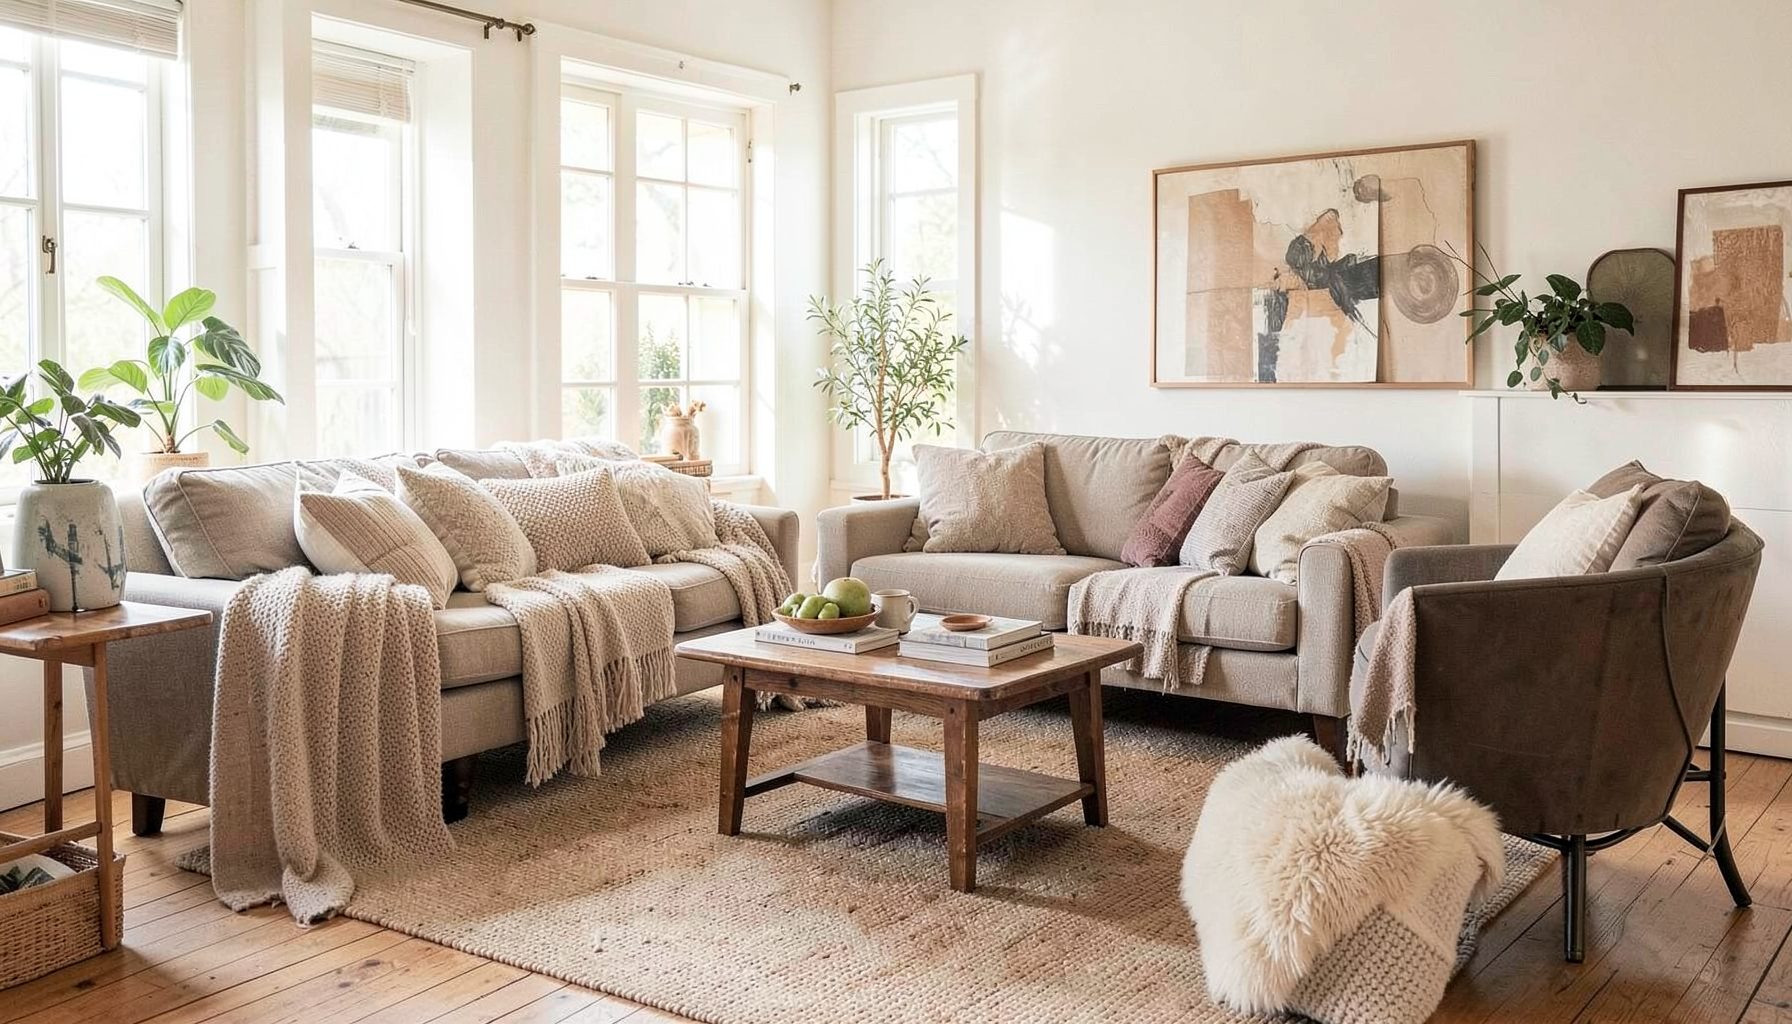
Interior Design
Full-service decorating that blends high and low, vintage finds with modern pieces for spaces that feel personal and collected.
Learn More
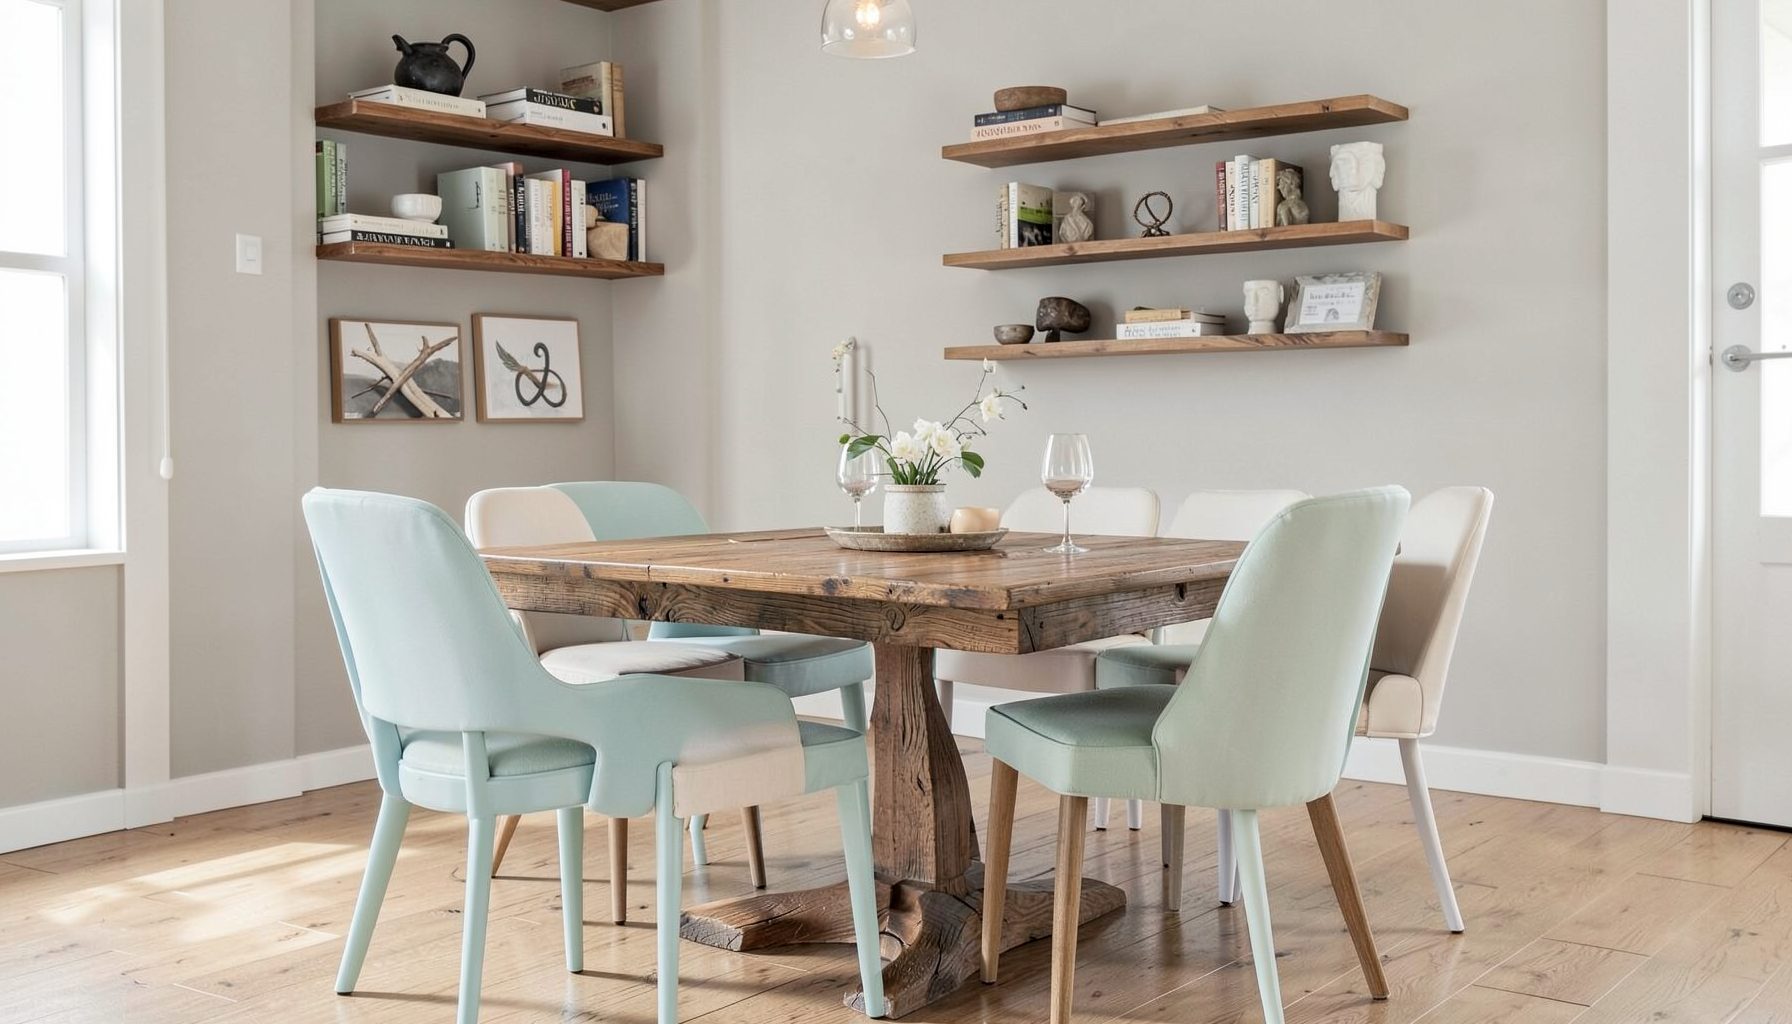
DIY Projects
Step-by-step tutorials for refinishing furniture, sewing pillows, styling bookshelves, and transforming rooms on a budget.
Learn More
E-Decorating
Personalized design guidance delivered online — perfect for clients anywhere in the world who want a professional eye.
Learn More
Portfolio
Browse completed room makeovers, before-and-after transformations, and styling projects from Bay Area homes.
Learn More
Blog
Interior design inspiration, fashion finds, entertaining ideas, and peeks into real home renovations and styling projects.
Learn More
Downloads
Free curated resources for home decorating and design — guides, checklists, and inspiration to help you get started.
Learn MoreMake a Rental Kitchen Look Custom with a Peel-and-Stick Backsplash
A rental kitchen can feel generic even when the rest of the home has character. Flat-pack cabinetry, dated laminate benches and a tired strip of tiles often create a space that looks like it was chosen for convenience rather than for the people living there. A removable backsplash is one of the quickest ways to give the room a more considered, custom feel without committing to demolition.
Peel-and-stick backsplash panels, adhesive tiles and removable wallpaper have improved considerably. Many now imitate zellige tile, terrazzo, encaustic cement, marble and handmade ceramic surfaces with enough variation to look convincing from across the room. The best result comes from treating the material as part of a larger decorating scheme rather than sticking it up as an isolated weekend project.
For an Australian rental, the details matter. Heat from a cooktop, steam from a kettle, uneven walls and strict bond expectations can all affect the choice. With careful preparation, a restrained colour palette and a few well-chosen finishing touches, even a compact kitchen in a Melbourne apartment or a Brisbane unit can feel layered, personal and surprisingly high-end.
Start With The Rental Rules And Kitchen Conditions
Before buying anything, check your lease and any body corporate requirements. Rental rules vary between Australian states and individual agreements, and a landlord may require written permission for changes that could affect paint, plaster or existing tiles. A removable product is generally less risky than permanent renovation, but “peel-and-stick” does not automatically mean damage-free.
Photograph the kitchen before you begin, including the wall, benchtop and existing splashback. Keep the original fittings safely stored if anything needs to be removed. This is especially useful when preparing for a final inspection, when a small adhesive mark or missing trim can become a frustrating bond discussion.
Study the wall at different times of day. Look for grease, flaking paint, grout ridges, moisture, silicone joints and areas that sit directly behind a gas flame. Many adhesive products are suitable for a wall behind a benchtop but are not rated for direct contact with high heat. Follow the manufacturer’s instructions, and leave generous clearance around cooktops where required.
A kitchen that is constantly steamy needs a more cautious approach than a dry, rarely used kitchenette. In tropical or coastal areas such as Cairns, Darwin or parts of the Gold Coast, humidity can test the adhesive over time. In an older Sydney or Adelaide rental, a wall may be slightly crooked or powdery. Those conditions should guide the product and the installation method.
Choose A Pattern That Looks Architectural
The most convincing temporary backsplash usually has a simple, repeatable pattern. Slim vertical subway tiles can make a low ceiling feel taller, while a soft square grid gives a small kitchen a neat, tailored appearance. A handmade-look tile with irregular edges adds warmth, but very busy patterns can reveal the repeat and make the installation look more like a quick cover-up.
Colour is just as important as the pattern. Warm white, pale clay, soft sage, dusty blue and mushroom beige work beautifully with common rental finishes such as white melamine cabinets, grey laminate benches and timber-look floors. If the kitchen already has several competing tones, a quiet backsplash will create cohesion rather than add another visual layer.
For a custom impression, match the undertone of the backsplash to an existing feature. A creamy tile works with aged brass, timber and warm stone; a cool white suits stainless steel and crisp grey; a muted green can connect to indoor plants or a painted dining chair. This is the same layered thinking used in collected interiors: the new element should look as though it belongs with objects already in the home.
Large-format sheets can reduce the number of seams, while individual peel-and-stick tiles allow more flexibility around corners and outlets. Sheets are often faster for a straightforward wall, but individual pieces may look more authentic. Order samples before committing, since online images can make colours appear brighter or more blue than they are in Australian daylight.
Measure For A Clean, Balanced Layout
Measure the full area several times, recording the width, height and position of power points, windows, shelves and rangehoods. Add a small allowance for mistakes and future repairs, but avoid buying so much extra that you are left with different dye lots or an expensive box of unused material. A paper template taped to the wall can reveal whether the pattern will finish awkwardly beside a cabinet.
Start from the most visible point, rather than automatically beginning in the far corner. A full tile centred behind the cooktop often looks more deliberate than a narrow sliver in the middle. If the wall is wider than the product, balance the cuts at both ends. Symmetry is one of the easiest ways to make a budget material appear custom-made.
Use a spirit level or laser level to establish a true starting line. Rental walls and benchtops are not always perfectly level, particularly in older terraces or converted apartments. If the first row follows a sloping bench, the whole backsplash may appear crooked. A temporary straightedge can support the first course while the adhesive sets.
Plan around corners before removing the backing paper. Decide whether the design will wrap around a return, stop at a cabinet edge or finish with a narrow trim. A slim timber moulding, painted edge strip or manufacturer-approved border can conceal a less-than-perfect cut, though it should remain removable and suit the lease conditions.
Prepare The Surface Properly
Cleaning is the step that determines whether the backsplash stays put. Remove dust, cooking oil and cleaning residue with a suitable degreaser, then allow the wall to dry fully. Glossy paint may need light abrasion if the product instructions allow it, while flaking or chalky surfaces should be stabilised before adhesive is applied.
Do not install over damp, crumbling or heavily textured surfaces and expect a smooth result. Tile relief, deep grout lines and bumps can telegraph through thin adhesive sheets. A temporary kitchen deserves a temporary solution, but it still needs a sound base. In some cases, a removable smooth panel fixed with a carefully considered method is more appropriate than placing adhesive directly over an unstable wall.
Switch off power before working around outlets, and never cover sockets, switches or ventilation points. Remove outlet plates only if you are confident doing so safely and legally; otherwise, cut around them with care. The finished edge should sit neatly beneath the plate, not overlap it or leave a large uneven gap.
Lay the pieces out on the floor first. Check the repeat, identify the best cuts and mark the backs lightly. Working in small sections makes it easier to correct alignment, especially in a narrow Australian galley kitchen where the benchtop, cabinets and wall can all compete for elbow room.
Install Slowly For A Professional Finish
Peel back only a portion of the release liner at a time. Position the top edge, press from the centre outward and smooth the material with a soft squeegee or clean cloth. Gradually remove the remaining backing while keeping tension even. Rushing the process can create bubbles, skewed grout lines and creases that are difficult to disguise.
A sharp snap-off blade gives cleaner cuts than blunt scissors. Replace the blade regularly, particularly when trimming around power points or corners. Use a metal ruler for straight lines and make several light passes rather than forcing the blade through in one cut. Protect the benchtop with a cutting mat or thick cardboard.
Keep seams tight but do not stretch the product. If the tiles have printed grout lines, align those lines carefully across the wall. Press the edges firmly, paying particular attention near the benchtop where crumbs and moisture collect. Some products recommend a small bead of removable or approved sealant in vulnerable areas; use only a compatible product, because ordinary silicone can make removal difficult.
Give the backsplash the full curing time specified on the packaging before exposing it to steam, splashes or cleaning. Avoid placing appliances hard against the new surface until the adhesive has bonded. That patience is valuable in a rental: a neat installation is easier to maintain and less likely to lift at the corners.
Finish The Kitchen With Collected Details
A backsplash looks more integrated when the surrounding objects support it. Replace a tired utensil holder with a ceramic crock, add a timber chopping board, or display a small framed print away from direct heat. Open shelving can soften a run of upper cabinets, while a plant such as a compact herb pot brings life to a neutral surface.
Choose metal finishes with intention. Black handles can sharpen a pale geometric tile, brushed brass can warm a cream or terracotta pattern, and stainless steel may be the most cohesive option when the kitchen already has silver appliances. You do not need to replace every handle; even a carefully selected tap, rail or pair of cabinet pulls can create a stronger visual thread.
Australian kitchens often need to work hard, especially in open-plan homes where the cooking zone is visible from the living area. Keep decorative pieces away from the cooktop and leave enough bench space for everyday use. A beautiful styling moment is less successful if it makes meal preparation awkward or encourages clutter around the sink.
The decorating resources and DIY project ideas from Maggie Rose Interiors can help extend the same approach beyond the backsplash. Think in layers: practical lighting, useful storage, vintage finds, affordable accessories and a few elevated pieces can make a rental kitchen feel individual without making it look overworked.
Care For It And Remove It Carefully
Treat a temporary backsplash gently. Wipe spills with a soft, damp cloth and mild detergent, then dry the surface. Avoid abrasive powders, steam cleaners and harsh solvents, which can dull the print or weaken the adhesive. Clean around the cooktop regularly so grease does not settle along the seams.
Watch for early signs of failure, including lifting corners, bubbling, discolouration or moisture behind an edge. Addressing a small problem is easier than waiting for an entire panel to detach. Keep leftover material labelled and stored flat or in its original packaging so you can patch a damaged section later.
When the lease ends, warm the adhesive gradually with a hairdryer and pull the material back slowly at a low angle. Do not yank it straight out from the wall. Stop if paint begins to lift, and follow the manufacturer’s removal instructions. A test patch in a discreet area before the full installation is the best safeguard against an unpleasant surprise.
The strongest rental kitchen updates are reversible, practical and visually connected to the rest of the home. A peel-and-stick backsplash does not need to imitate a permanent renovation perfectly; it needs to add intention, colour and polish while respecting the property underneath.
A custom feel comes from the decisions around the product: the scale of the pattern, the accuracy of the layout, the condition of the wall and the objects chosen to finish the room. Remember that a thoughtfully installed removable backsplash can turn a bland rental kitchen into a space that feels collected, personal and genuinely yours.

Recent Projects