Interior Design
Full-service decorating that blends high and low, vintage finds with modern pieces for spaces that feel personal and collected.
Learn More
DIY Projects
Step-by-step tutorials for refinishing furniture, sewing pillows, styling bookshelves, and transforming rooms on a budget.
Learn More
E-Decorating
Personalized design guidance delivered online — perfect for clients anywhere in the world who want a professional eye.
Learn More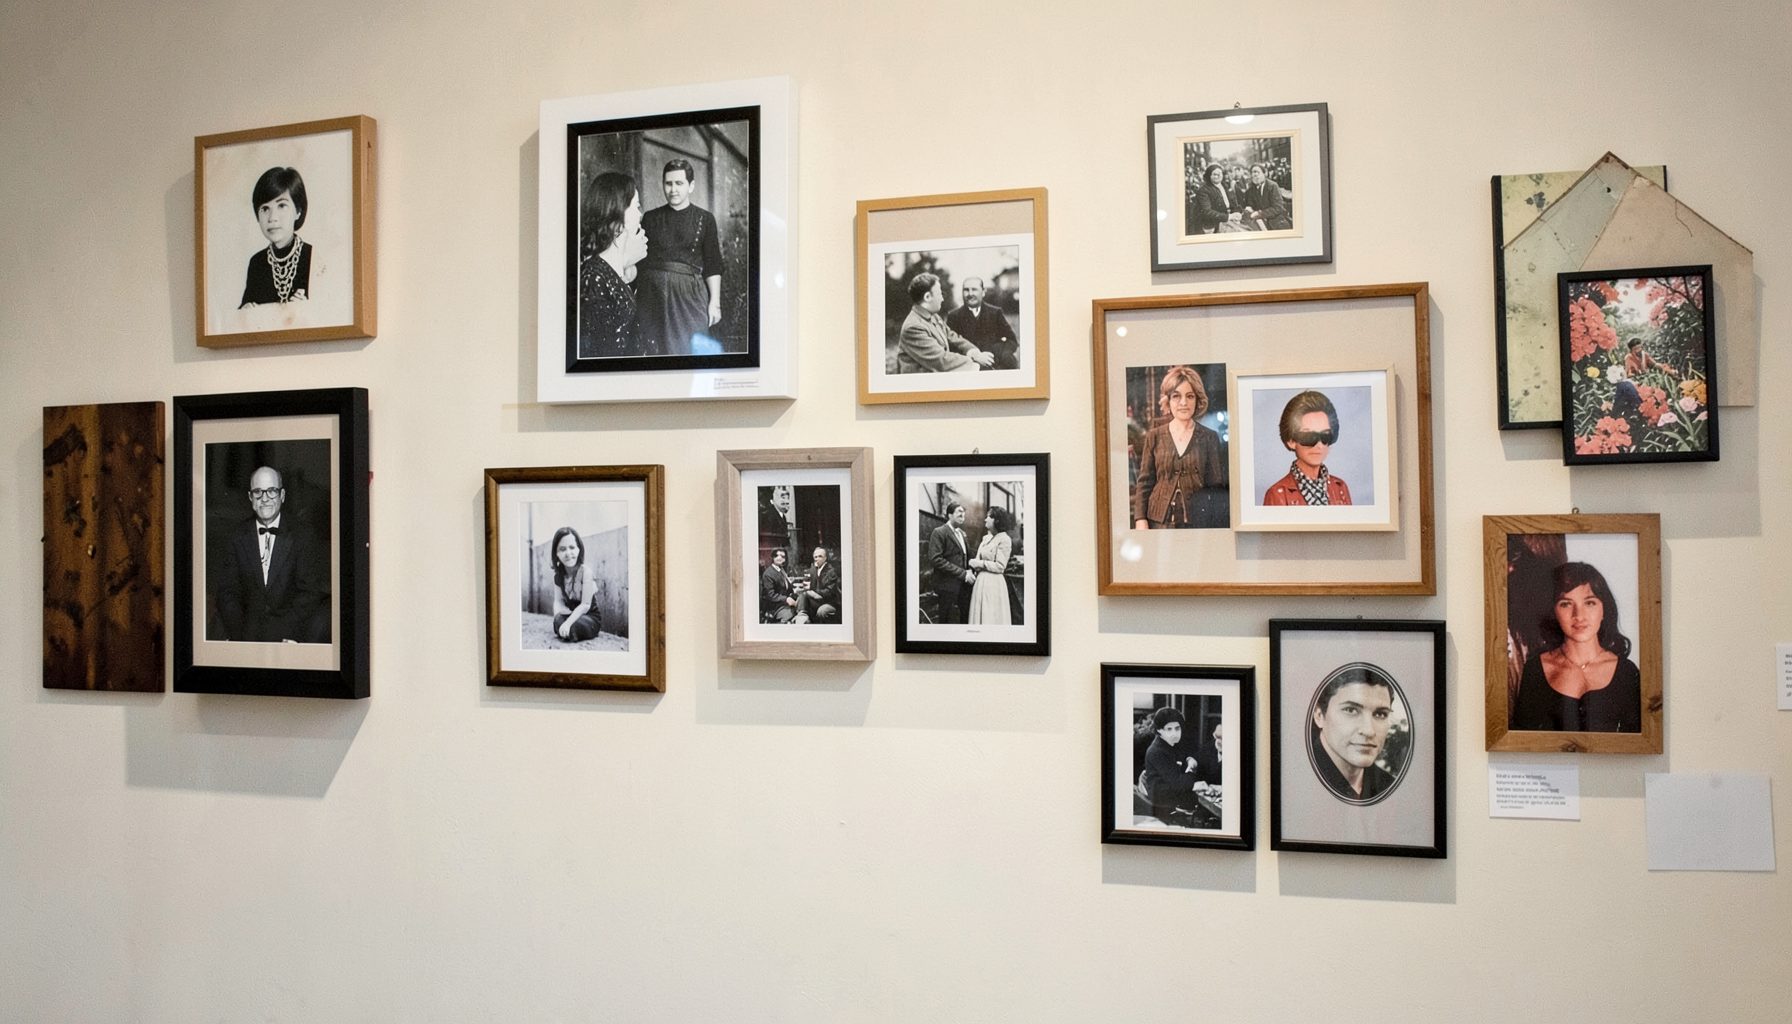
Portfolio
Browse completed room makeovers, before-and-after transformations, and styling projects from Bay Area homes.
Learn More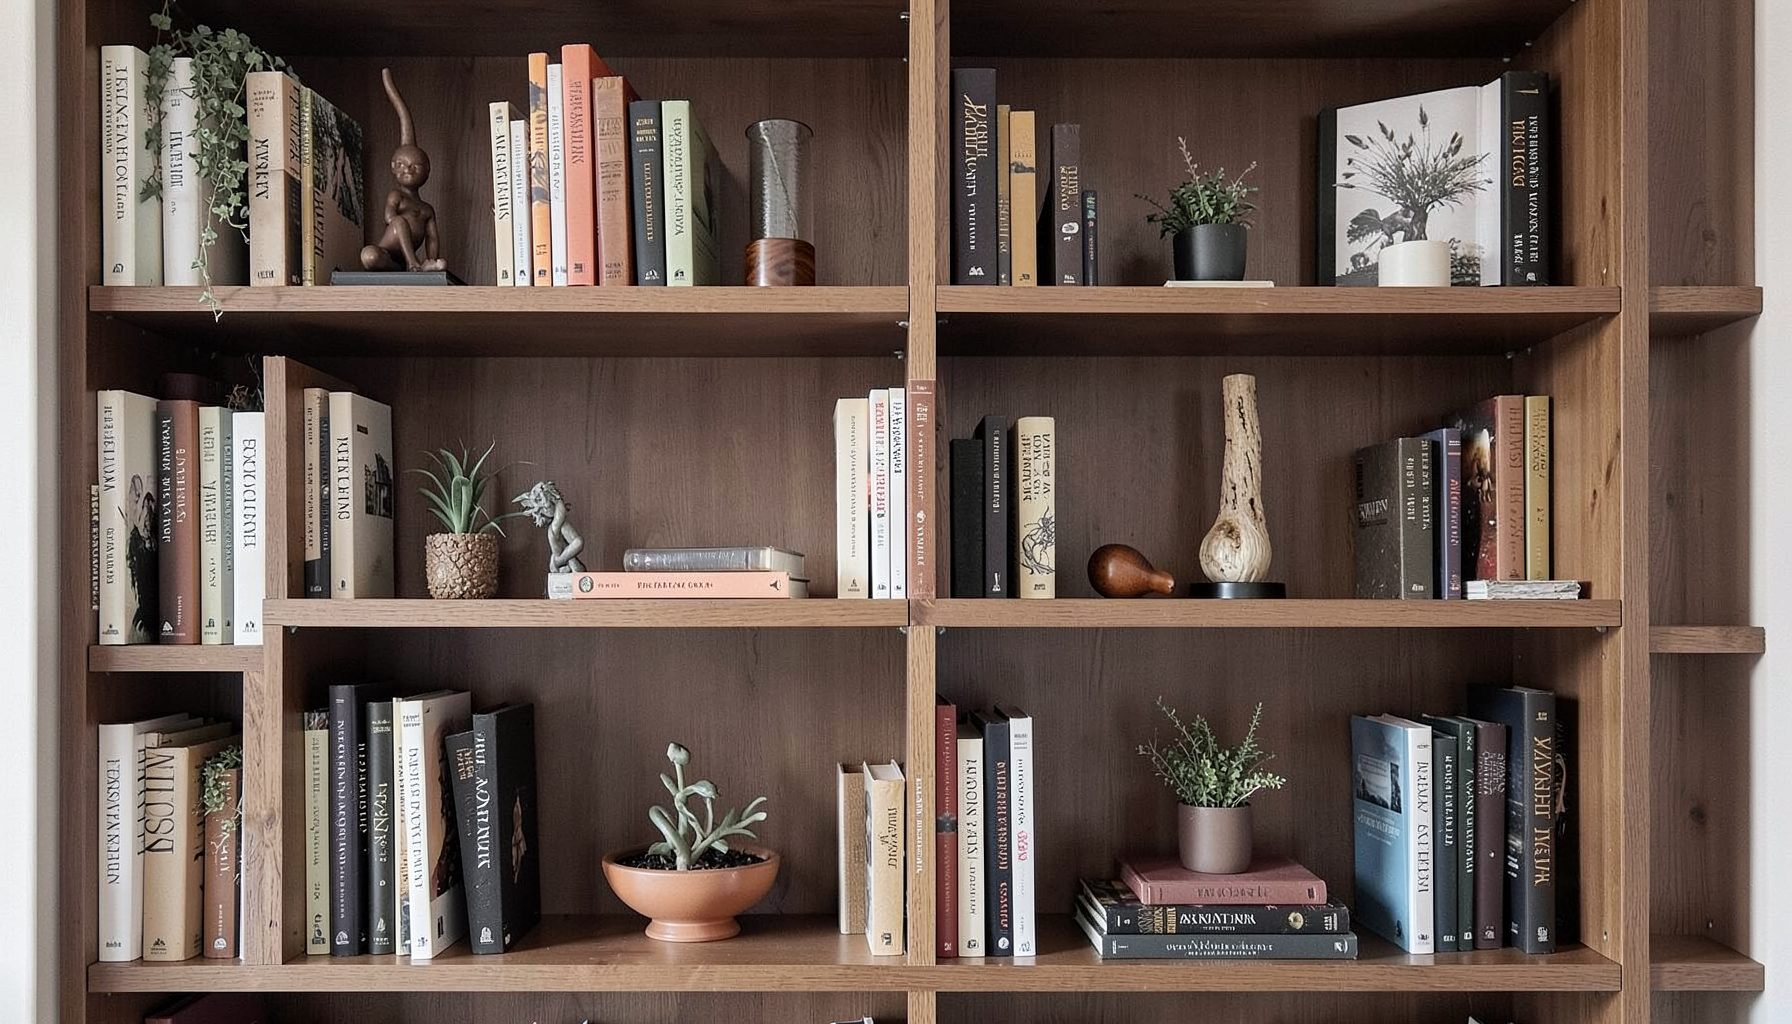
Blog
Interior design inspiration, fashion finds, entertaining ideas, and peeks into real home renovations and styling projects.
Learn More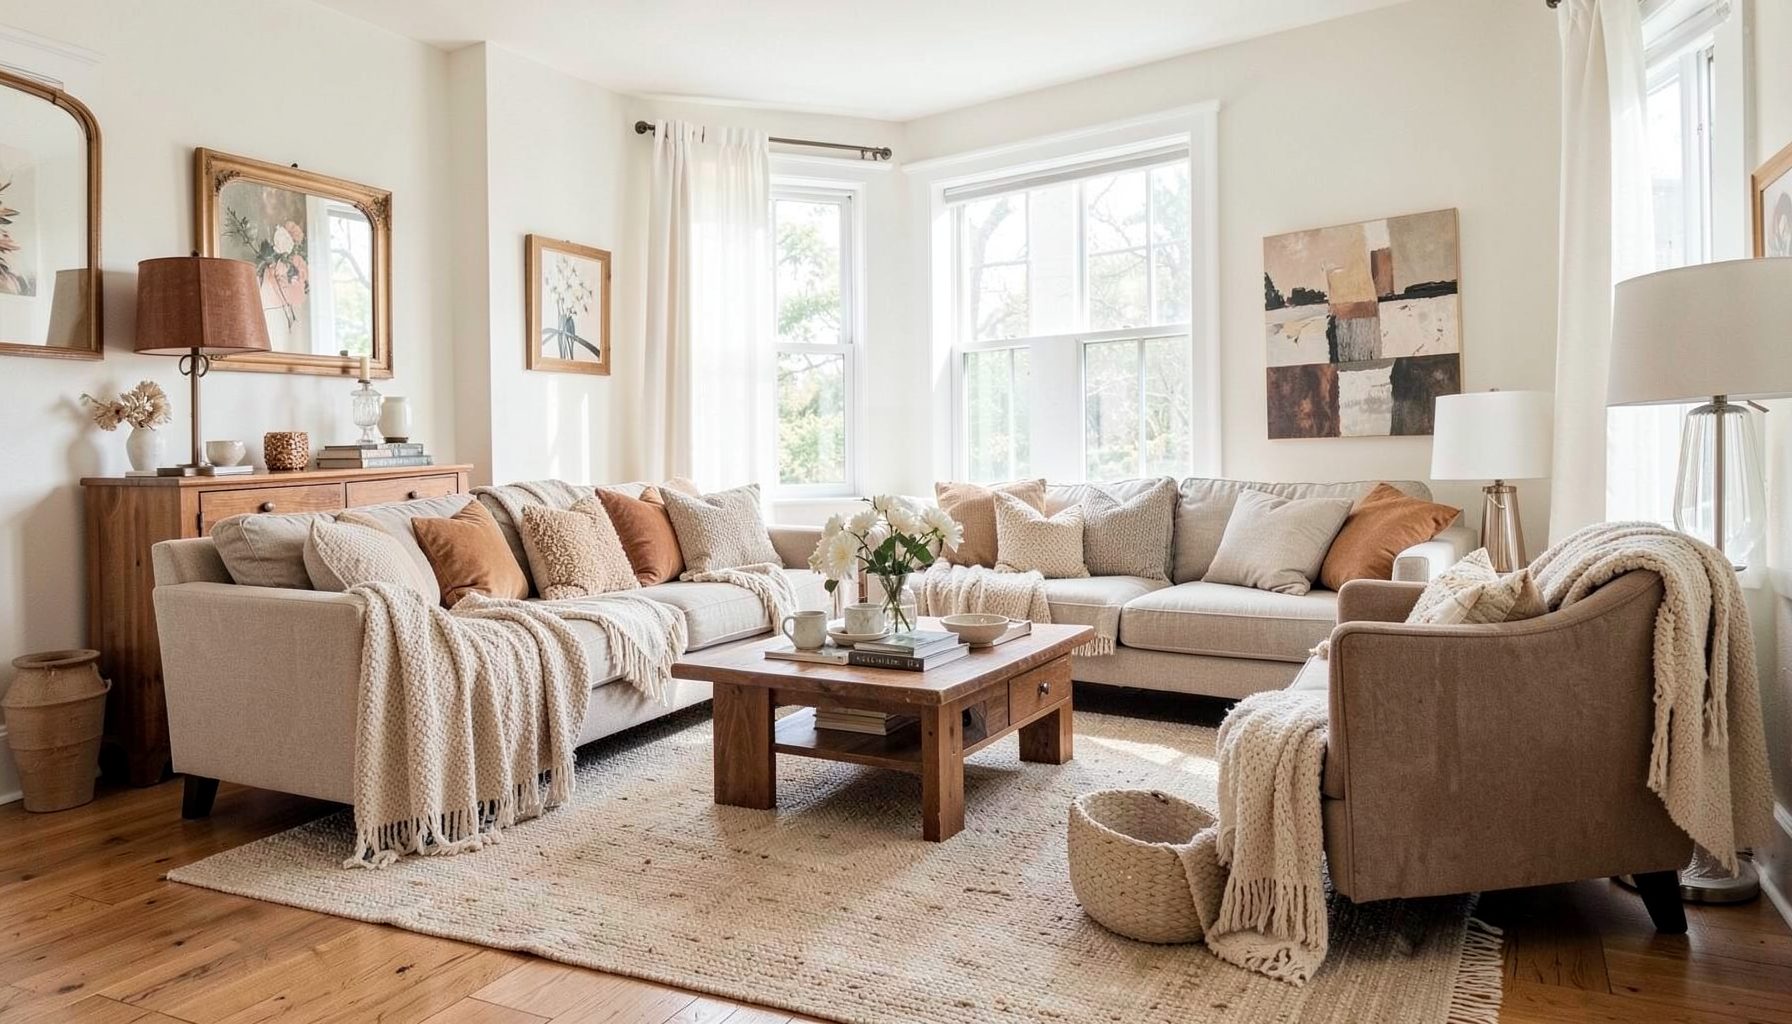
Downloads
Free curated resources for home decorating and design — guides, checklists, and inspiration to help you get started.
Learn MoreHow to create a gallery wall without damaging the wall with nails
A gallery wall gives personality to a hallway, living room, stairwell or compact Australian home, but the easiest arrangement to regret is one made by drilling first and planning later. If you want to create a gallery wall layout without damaging the wall with nails, work from the frames you already own, the wall surface and the weight of each piece. The goal is a display that looks deliberate while every fixing can be removed cleanly at the end of the tenancy or the next redesign.
Damage-free hanging is practical for most home galleries. It relies on a combination of careful spacing, removable mounting products and, for heavier pieces, a freestanding or weight-bearing alternative. It also asks for a little patience while adhesive cures. This guide explains how to choose a surface, map a layout, coordinate frames and install the display so it remains secure without leaving holes, cracks or paint marks.
Find a wall that suits the display
Begin with placement rather than hardware. Look at the wall in daylight and at night, then check how the sun moves across it. Australian summer light can be intense, and UV exposure fades photographs, paper and fabric. If the wall faces a west-facing window, a bright landing or an open-plan living area, choose UV-resistant glazing or rotate the display rather than testing art durability by leaving it there.
Next, identify what sits behind the wall. Many Australian houses use brick veneer covered by plasterboard, while renovations and rear additions may use lightweight plasterboard panels. Apartments in Sydney and Melbourne often have concrete or masonry walls. Appearance alone is not enough because an adhesive needs the correct surface, and old paint or patching compound can weaken even a strip that looks secure.
Set the visual centre about 145 to 155 cm above the floor, or slightly lower in a room viewed from a sofa. Above a sofa, leave roughly 15 to 20 cm between the frame edge and furniture, then check the proportion from the doorway. On a stair wall, follow the slope with stepped rows rather than forcing every frame onto one horizontal line.
Map the arrangement on the floor
Choose a layout that matches the frames. A grid suits similarly sized portraits; a salon arrangement welcomes mixed shapes; an organic grouping can make a relaxed corner feel collected. Measure the outside width and height of every frame, including the visible border, and write the dimensions on each template. A frame’s overall size matters more than the size of the artwork inside it.
Recreate the arrangement on the floor with paper templates cut to the exact frame dimensions. Move them until the negative space feels even and the grouping has a clear shape. A useful check is to photograph the layout from eye level: the outer edges should look intentional, while the gaps should not vary so widely that one frame appears to float away from the group.
Translate the floor plan into wall positions with removable masking tape. Mark the outer boundary and a few reference points rather than covering the wall with pencil marks. Keep about 5 cm between small frames and 8 to 10 cm around larger pieces, adjusting for wide mats. Use a spirit level to confirm horizontal alignment, and step back often because a small error becomes obvious across a row of six or eight frames.
Choose a damage-free hanging method
For lightweight framed prints and photographs, removable picture-hanging strips are usually the simplest option. Buy strips rated for the combined weight of the frame, backing board, glass and artwork, then use the number specified by the manufacturer. Stay within the total load limit; the per-strip rating should not be multiplied without checking the instructions. Avoid using strips on fresh paint, wallpaper, dusty brick or a recently patched wall unless the product instructions allow it.
Adhesive hooks can support canvas hangers, small shelves or lightweight frames with built-in loops. A narrow picture ledge fixed with removable brackets creates a layered display and allows frames to overlap slightly. For objects without a flat frame back, use a canvas hanger designed to sit flush against the wall. Check that the frame will sit flat; a bump can push the adhesive away from the surface and spoil the seal.
Test one strip in a discreet spot and leave it unloaded for the full time stated on the packet. The wall and room should be at a moderate temperature, since very hot or cold conditions can affect adhesion. Clean the marked area according to the instructions, let it dry and keep it free of moisture. If the test strip lifts, leaves a mark or bends the paint, stop and use another surface or method rather than trusting a weak bond.
Heavier or valuable work may need a support that is not glued to the wall. A timber gallery ledge resting on two solid console tables, a floor-standing frame, an easel arrangement or a bookcase with clips can create the same visual effect without a fixing. This is also the safer choice for antique glass, large canvases or frames with old, brittle sawtooth fittings that are not designed for adhesive mounts.
Build a collected but cohesive display
Treat mixed frames as a family rather than a matching set. Repeat one or two colours in the mats, frame mouldings or artwork so the eye can travel between pieces. Keep the palette limited to three main tones, but vary scale, orientation and texture. This lets an inexpensive thrifted print sit beside a premium artwork without making either one look out of place.
The layered decorating approach at Maggie Rose Interiors is a useful reference for combining vintage finds with modern pieces without making the wall feel cluttered. Start with the largest frame as the anchor, add medium pieces around it, then finish with small works. Odd-numbered groupings often feel balanced, although the final arrangement should be judged as a whole rather than by an arbitrary count.
Balance visual weight before adding the final item. A dense cluster of dark frames can make the opposite side of the wall feel empty, while a single oversized piece can overpower everything nearby. Hang or lean pieces so faces are comfortably visible from the main viewing position. In a narrow hallway, keep frames close enough to read as one composition but allow enough wall to breathe between the outer edge and the door frame.
Plan for Australian walls and rental homes
If you rent, treat wall permission as part of the design process. Residential tenancy law varies by state and territory, including the Residential Tenancies Act 2010 in New South Wales and the Residential Tenancy Act 1997 in Victoria, so check your lease and the applicable rules. Written landlord consent is the safest approach for any fixed change. Take dated photographs before installation and keep the removal process simple; a clean wall at the end of the lease protects both the bond and the relationship with the property manager.
Damage-free products are useful in Australian rental homes because they can be removed without patching in many cases, but they are not permission to change the property permanently. Do not drill, remove fixtures or paint over filled holes without approval. For apartments governed by a body corporate or owners corporation, check any rules about common areas, hallways and shared entrances, especially if the gallery is positioned near a lift lobby or on a stairwell.
Local retailers such as Bunnings and Officeworks stock removable strips, hooks, masking tape, picture ledges and other mounting supplies. Compare the stated load, surface compatibility and curing time rather than choosing by price. Australian pack sizes and metric measurements make it easy to calculate spacing, but they can also encourage overordering; bring the frame measurements and a list of suitable methods to the store.
Climate also affects how long a display should remain in place. Coastal homes in Brisbane, Adelaide, Perth and Sydney may experience humidity and salt-laden air, while air-conditioning can create rapid temperature changes indoors. Keep adhesives away from damp areas and direct airflow. Wipe glass gently with a microfibre cloth, lift frames occasionally and check the wall around the strips for lifting paint or adhesive residue before replacing the full arrangement.
Install the display and check its stability
Prepare the wall once the layout is final. Remove dust, mark the reference points with low-tack tape and install the top or central element first, using the spirit level to set the baseline. Follow the product’s curing time before adding the remaining frames. Work outward from the anchor rather than attaching every strip first; this makes it easier to correct an uneven row without repeatedly disturbing the adhesive.
Load each frame gently and press the strip against the wall across its full surface, following the manufacturer’s instructions. Avoid leaning heavy objects against the display while the bond sets. After installation, stand at the normal viewing distance and inspect from an angle as well as straight on. Slightly crooked frames are easier to adjust now than after dust, moisture or time have settled into the joins.
Keep maintenance light by checking the fixings every few months, especially before holidays or a period of family gatherings. Use the same careful preparation, tested product and measured layout if the wall changes, and remove each fixing slowly at a slight angle. The most reliable damage-free gallery comes from mapping first, staying well within the load rating, testing the surface and giving every adhesive strip its full curing time before the frames go up.

Recent Projects