Interior Design
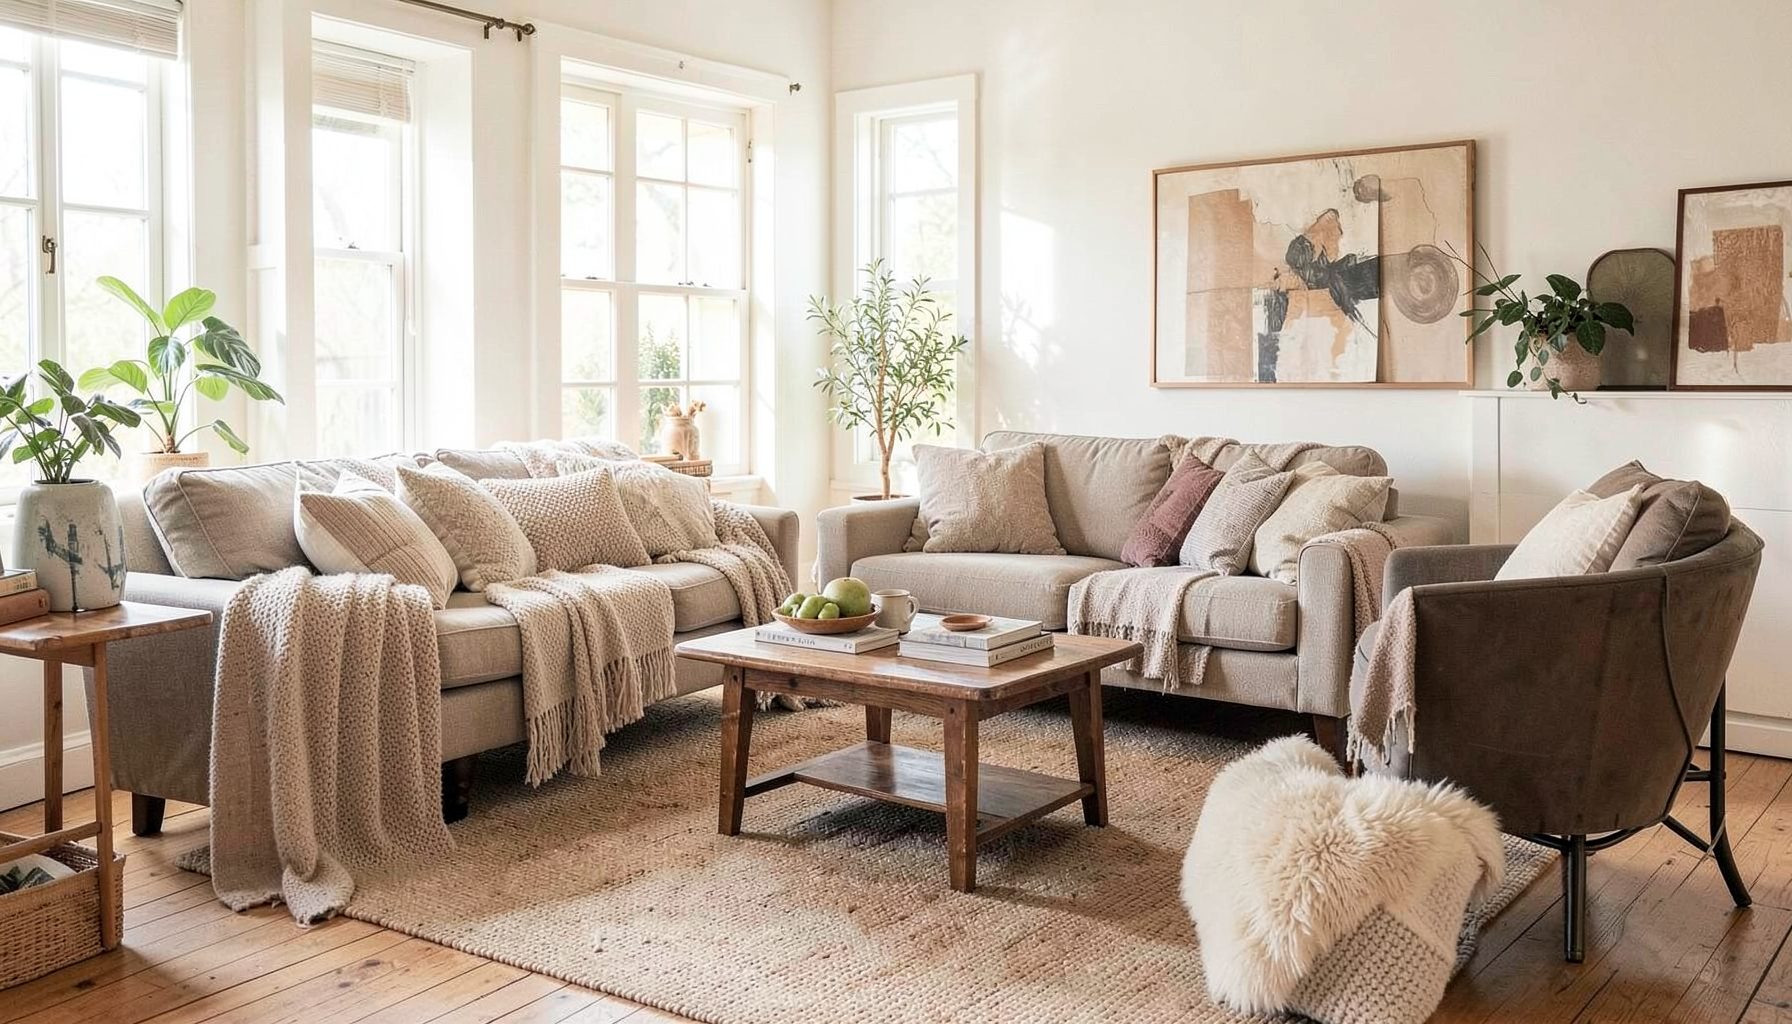
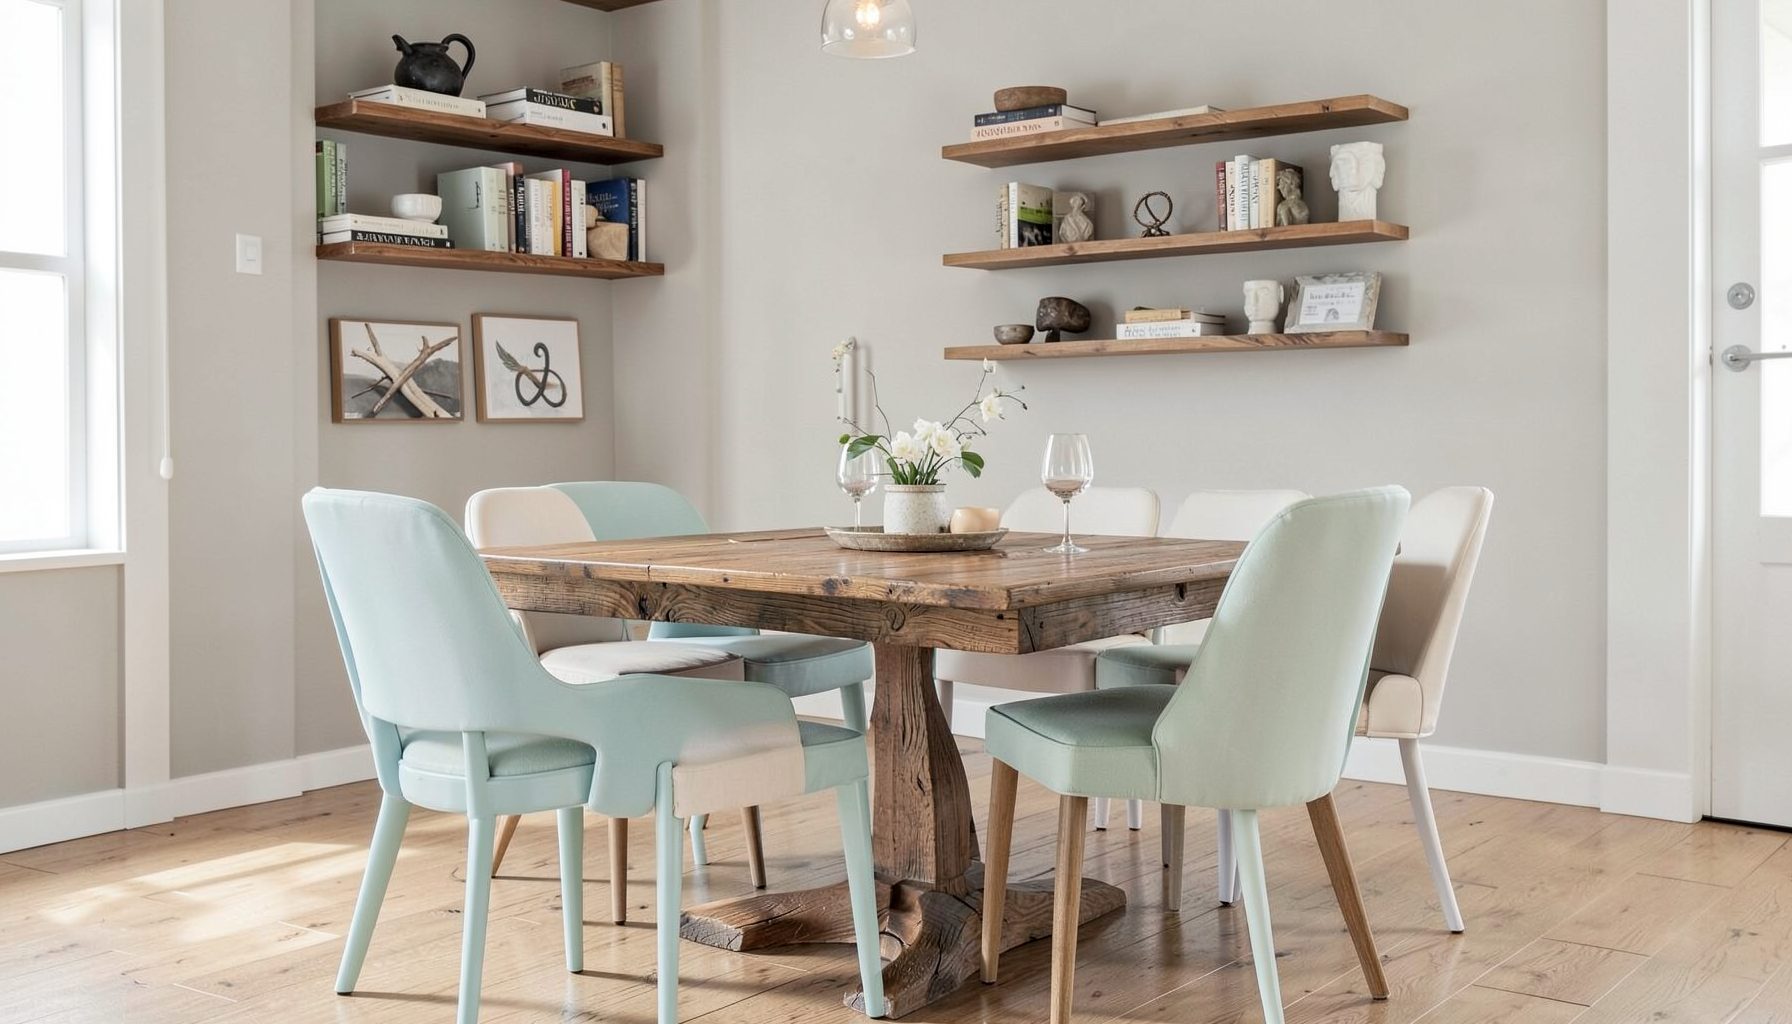
Full-service decorating that blends high and low, vintage finds with modern pieces for spaces that feel personal and collected.
Learn More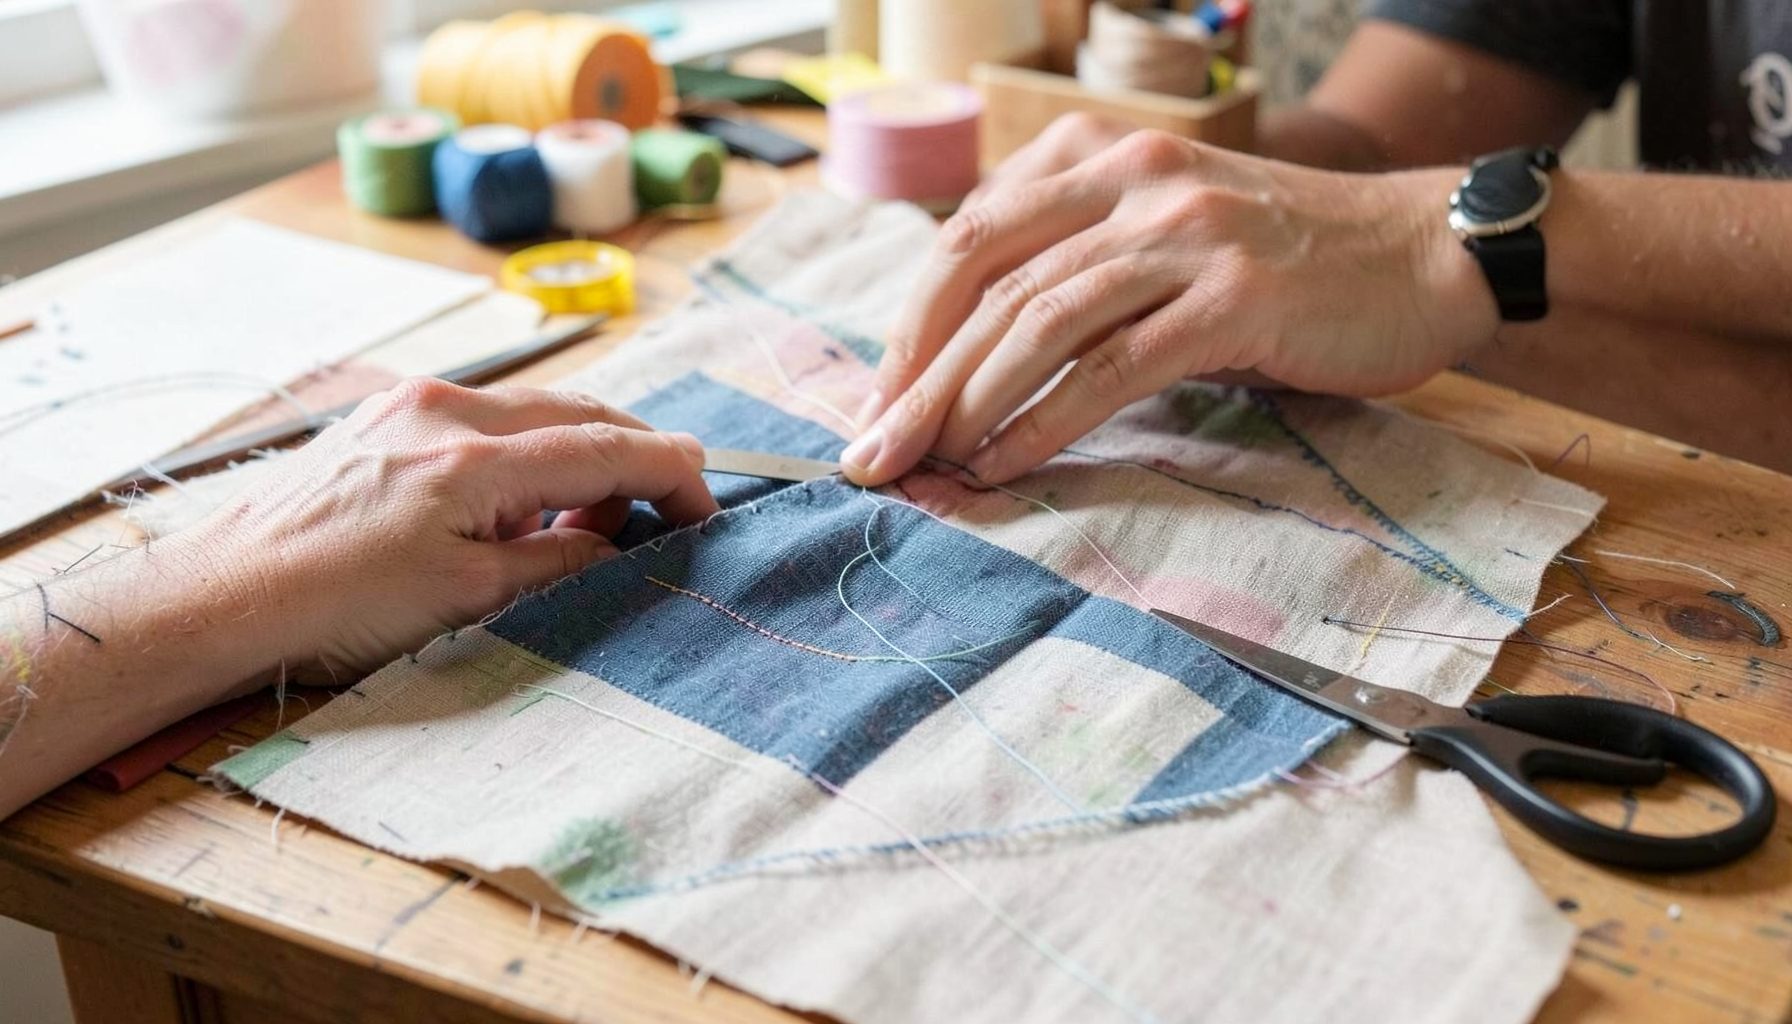
DIY Projects
Step-by-step tutorials for refinishing furniture, sewing pillows, styling bookshelves, and transforming rooms on a budget.
Learn More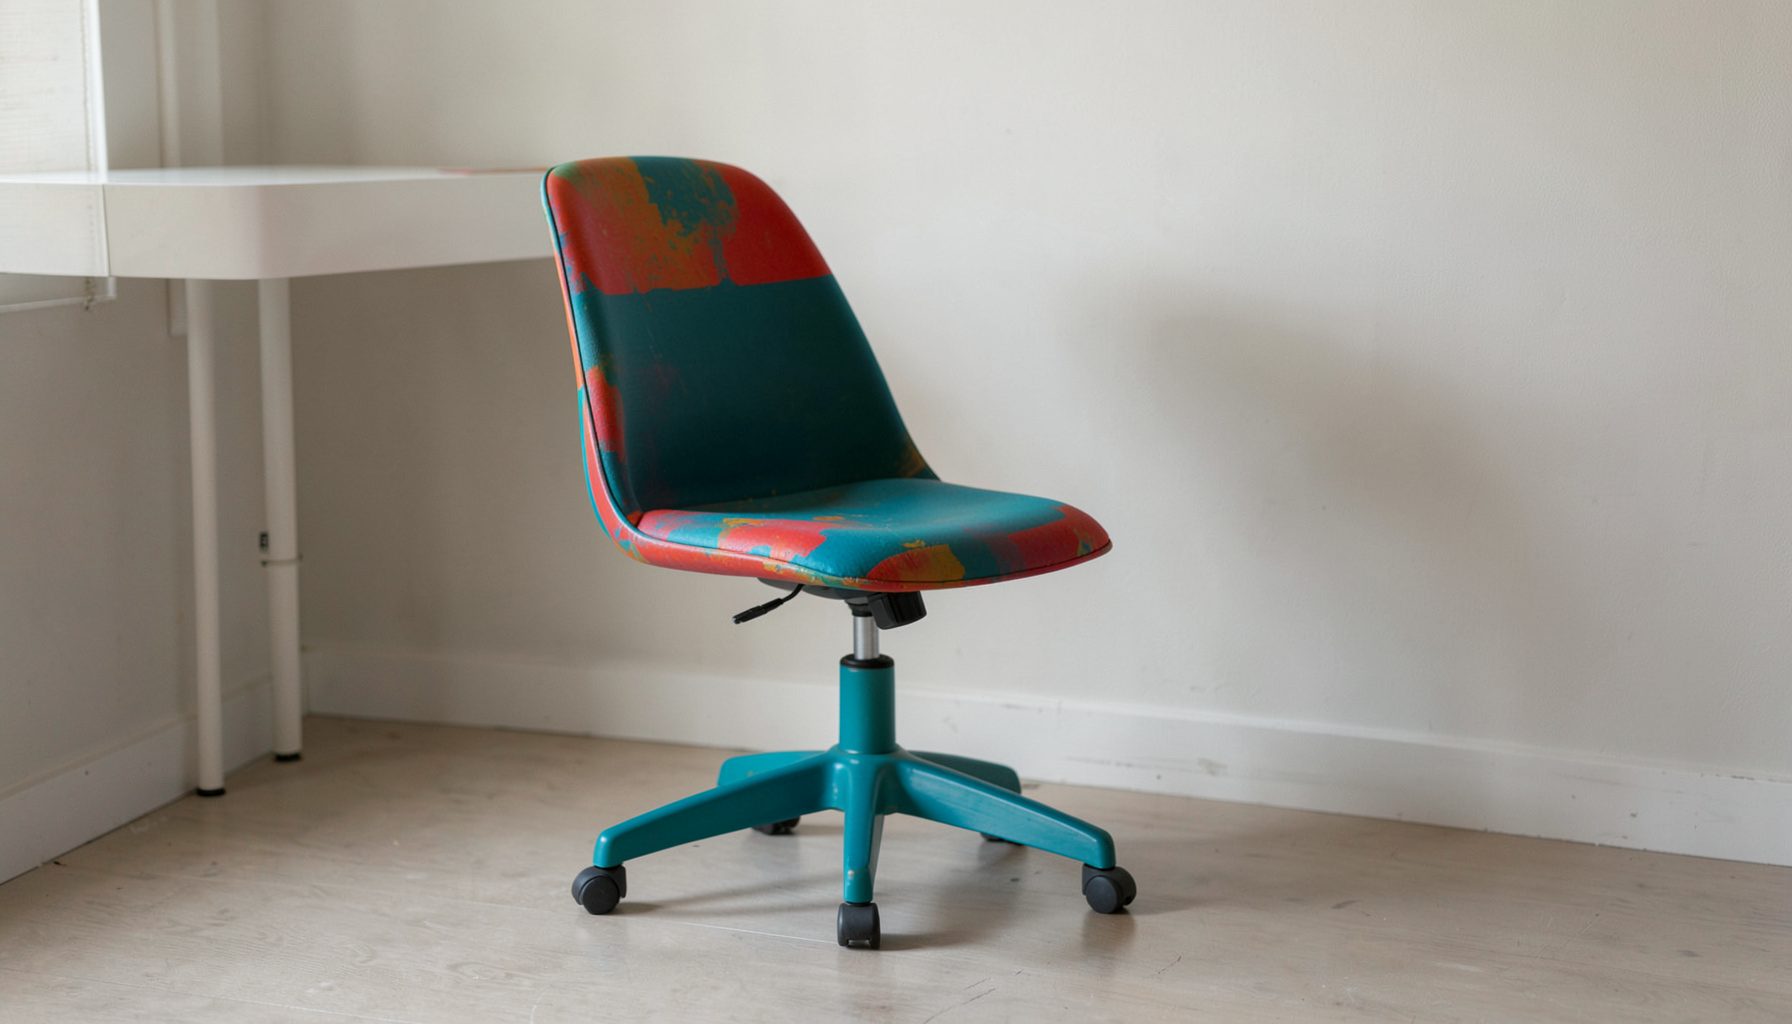
E-Decorating
Personalized design guidance delivered online — perfect for clients anywhere in the world who want a professional eye.
Learn More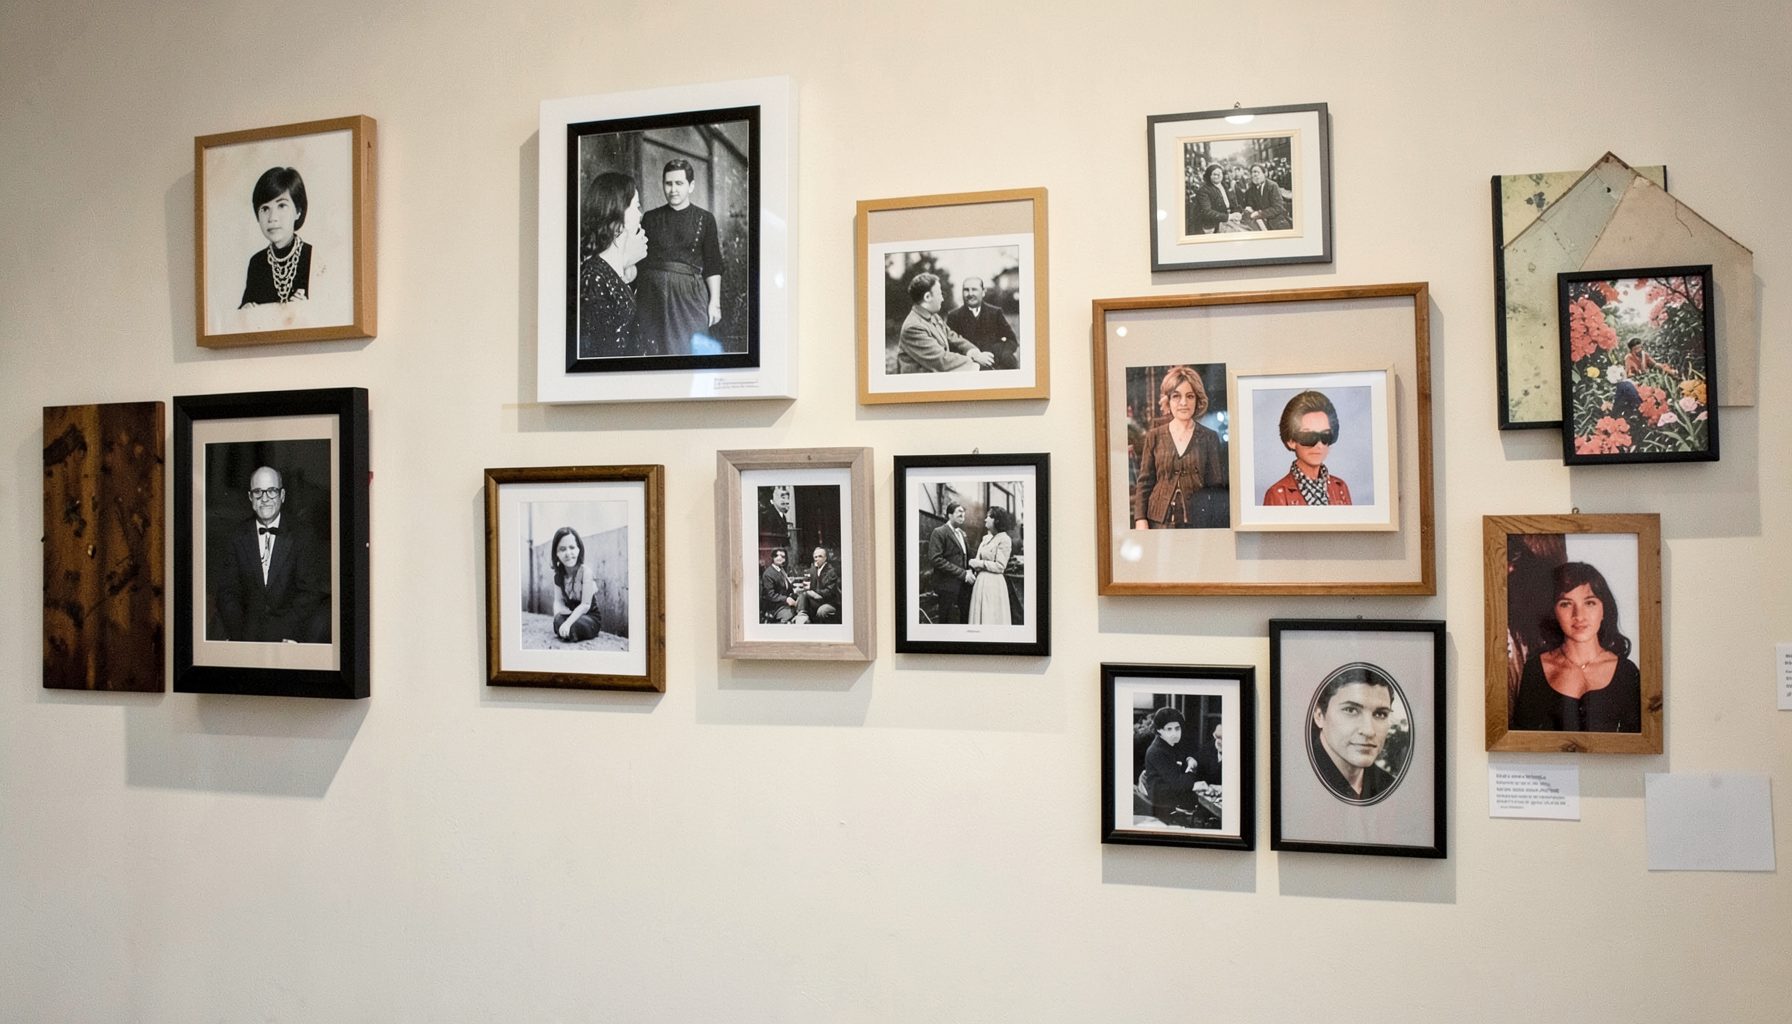
Portfolio
Browse completed room makeovers, before-and-after transformations, and styling projects from Bay Area homes.
Learn More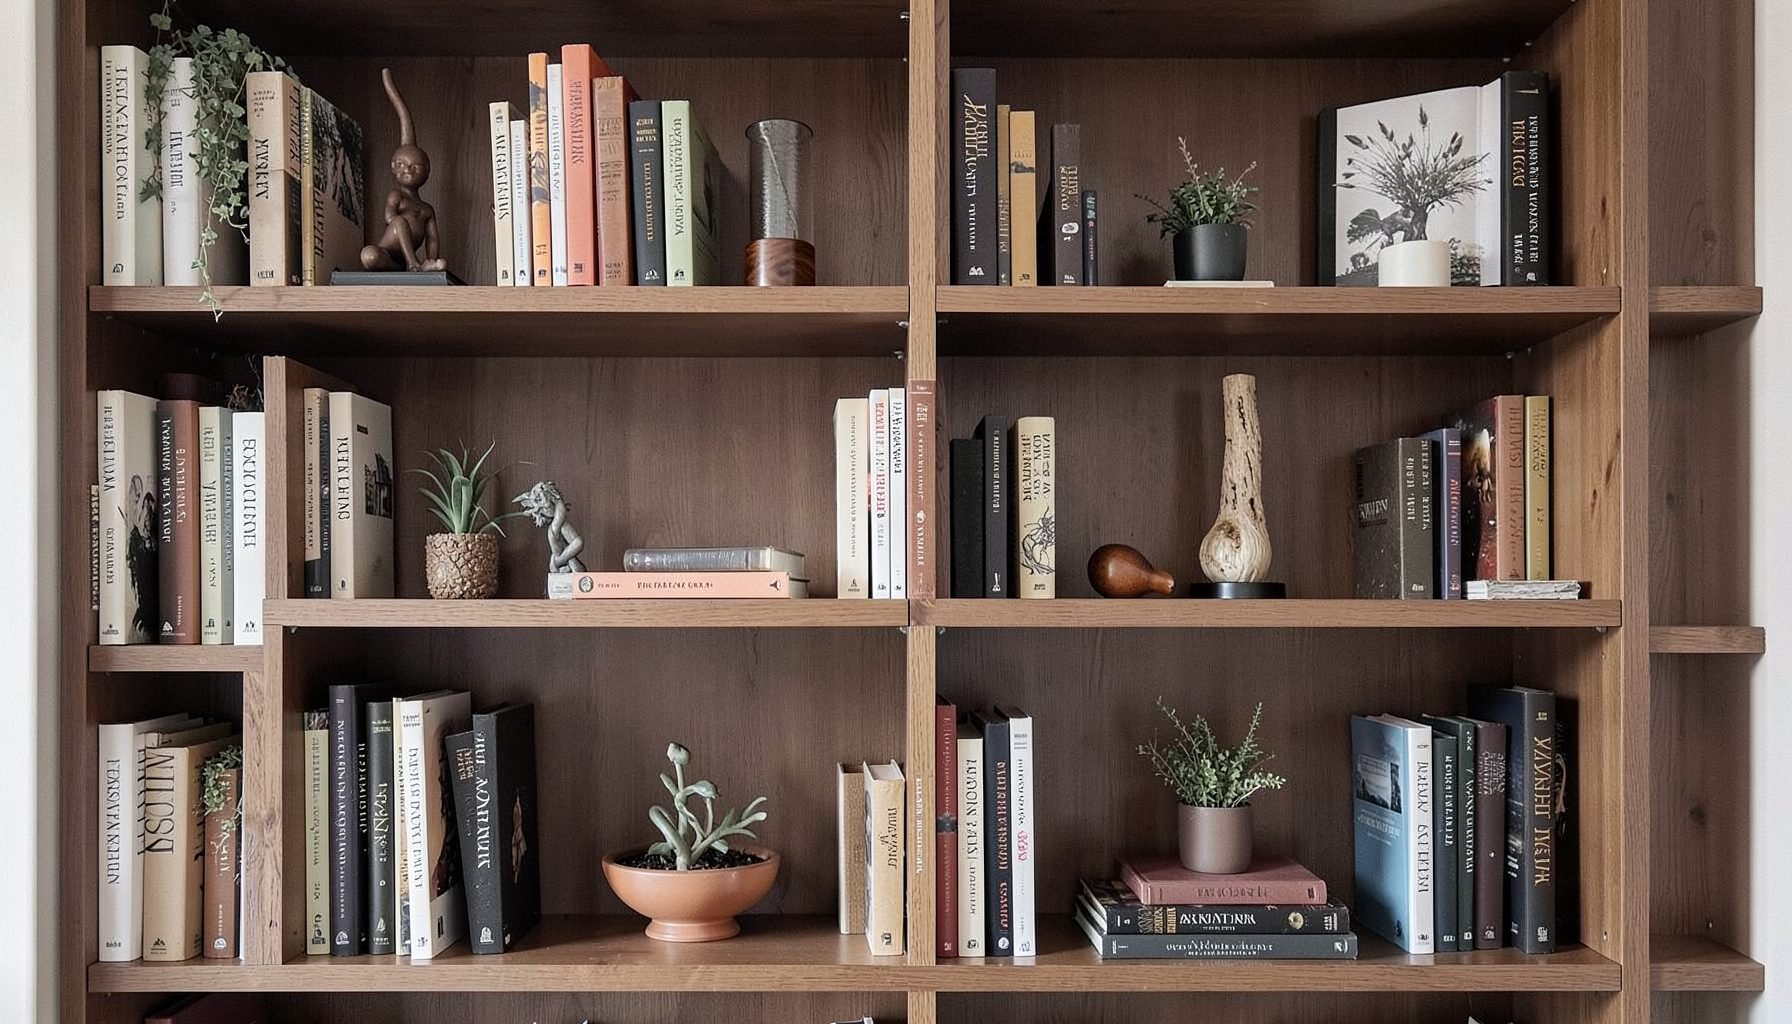
Blog
Interior design inspiration, fashion finds, entertaining ideas, and peeks into real home renovations and styling projects.
Learn More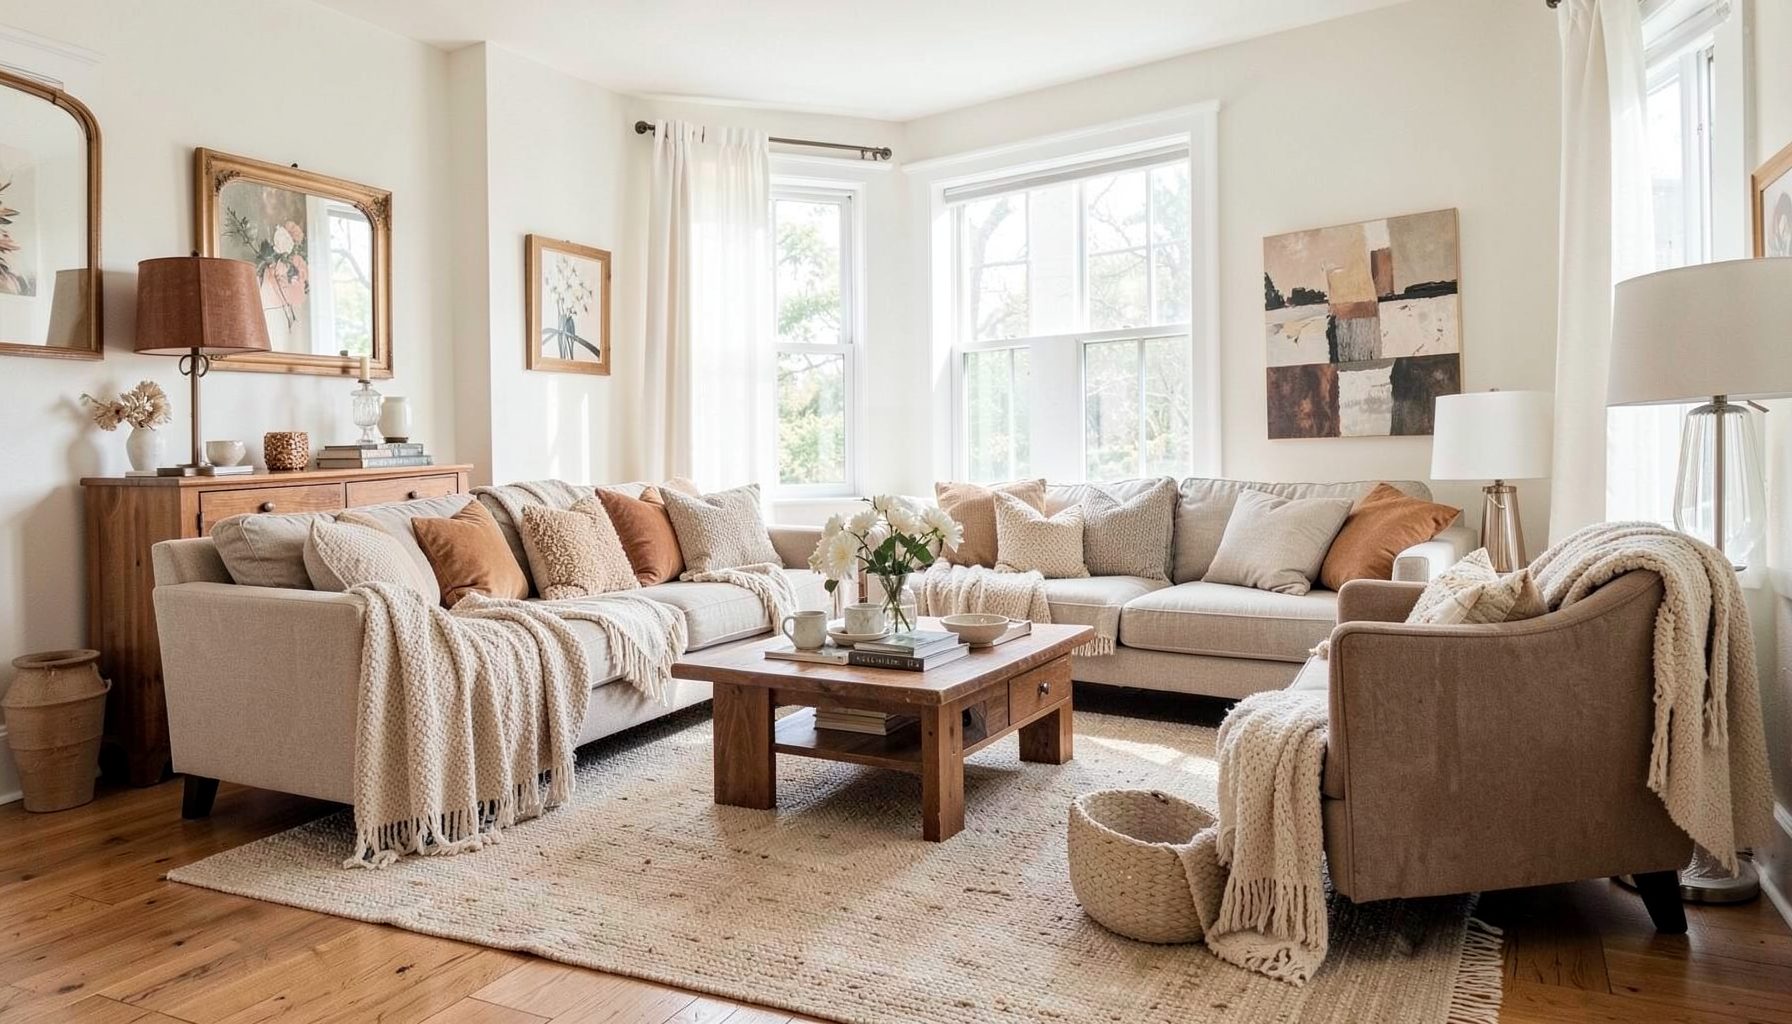
Downloads
Free curated resources for home decorating and design — guides, checklists, and inspiration to help you get started.
Learn MoreA Floor-to-Ceiling Gallery Wall That Transforms Your Stairwell
Many stairwells get dismissed as a passage rather than a room. But the wall beside the staircase is one of the largest vertical surfaces in a typical Australian home, and a properly hung display can turn it into the most expressive part of the house. Whether you live in a heritage terrace in Paddington, a weatherboard Queenslander in Brisbane, or a new build in the western suburbs of Melbourne, the same principle applies: the climb from first floor to second deserves more than a lonely print or two.
A salon-style or floor-to-ceiling gallery wall works particularly well in a stairwell because the eye naturally travels upward as you ascend. The changing angle of view keeps the arrangement interesting from every step. Mixed heights, layered frames, and a blend of vintage and contemporary pieces all read as intentional, especially when the staircase itself features warm timber like Tasmanian oak or spotted gum, which many Australian builders still favour.
The trick is restraint within abundance. You want the wall to feel collected, not chaotic. With a few hours of planning and a trip to a local picture framer or market, the result can rival the entrance halls of some of the most photographed homes in Sydney and Melbourne, without the boutique price tag.
Planning the Layout Before You Buy a Single Frame
Before anything is mounted, the stairwell wall needs to be measured at three heights: bottom (where the wall meets the lowest visible tread), middle (roughly waist height on the upper landing), and top (just below the ceiling line or picture rail). Photograph the wall at each of those heights and print the images at home, or sketch them in a notebook, so you can scribble frame outlines directly onto the photo. This kind of paper mock-up saves hours of rearranging later and is the single most useful step in the whole project.
Lay your frames and objects on the floor first, ideally on the landing rather than the bedroom, so the grouping can be tested at the same scale as the wall. Aim for a centre line that follows the staircase angle rather than the horizontal floor. In a typical Australian stairwell with 170mm to 180mm treads, that line climbs about 35 to 40 degrees, which gives you permission to step the frames diagonally up the wall rather than stacking them in rigid rows.
Decide early whether you want a tight, symmetrical composition or a looser, salon-style hang. The former suits contemporary homes with clean plasterboard walls and minimalist balustrades, such as the new builds popping up in inner Brisbane. The latter works beautifully against the VJ panelling or dado rails found in post-war fibro homes across Adelaide and Sydney's inner west. Either way, leave at least 40mm between frames as a starting point and resist the urge to fill every gap. Negative space is what makes a layered wall feel curated rather than cluttered.
Choosing Frames, Art and Objects That Read as One Family
The secret to a successful floor-to-ceiling arrangement is consistency in two or three elements, and variety in everything else. A simple rule is to choose frames in just two finishes, say raw oak and matte black, and stick to that across the whole wall. Beyond that, mix it up: original artworks, framed children's drawings, vintage botanical prints sourced from an op shop in Fitzroy or Glebe, architectural drawings of your own home, and a few mirrors to bounce the light from any nearby window.
Australian conditions are worth factoring in early. Direct sun streams through stairwell windows in many two-storey homes, particularly those on the east coast, and UV will bleach unprotected paper within months. Use UV-resistant glass or acrylic on anything valuable, and consider rotating seasonal pieces so no single print takes the brunt of a hot Sydney arvo. Original Aboriginal art, which holds deep cultural significance and should always be sourced from Aboriginal-owned galleries or art centres such as those represented at the Sydney Contemporary fair, deserves archival framing from the outset.
Layering also extends beyond flat art. A small vintage hat, a round rattan mirror, a piece of woven wall art from a trip to Bali, or a wooden cutting board hung as a sculptural object can break up the rectangles and add depth. Hardware stores like Bunnings and specialty picture-hanging suppliers sell sawtooth brackets and D-rings in sets, but for heavier objects, ask a local picture framer in suburbs like Melbourne's Collingwood or Brisbane's Paddington to install proper French cleats or security hangers before you take the piece home.
Hanging Hardware for Brick, Plasterboard and Timber
Australian stairwell walls are rarely uniform. You might hit double brick in a 1920s Sydney terrace, single brick with a plaster skim in a 1950s Melbourne home, or straight plasterboard with studs at 600mm centres in a newer build. Each surface demands different fixings, and the first nail should always go into a stud or brick, not just the plaster.
For plasterboard, look for self-drilling plasterboard anchors rated for at least 10kg, or use a stud finder to locate the timber framing behind the wall. Many Australian homes built after 2010 have steel studs, which require specialist metal screws available from any Bunnings. For brick or masonry, a 6mm masonry bit and matching wall plugs are standard, but always drill into the mortar joint where possible so the wall can be repaired more easily later.
Picture rails, common in Victorian and Federation homes from Perth to Hobart, are a gift for gallery walls. S-shaped hooks and braided wire drop neatly from the rail and let you adjust heights without leaving dozens of holes. If your home doesn't have a picture rail, a slim brass or black rod mounted near the ceiling can mimic the look and serve the same function. Hanging from a single line keeps the arrangement feeling intentional and makes future swaps painless.
If renting, avoid adhesive hooks for anything heavier than a small print, as they tend to fail on the temperature swings common in uninsulated Australian stairwells. Picture rail hooks, removable adhesive strips rated for the actual frame weight, or slim pin hooks in the plaster are far safer. Always lift each frame with two hands after hanging to confirm the fixings are seated, and step back two treads to view the wall before tightening anything.
Arranging From the Floor Up, and the Ceiling Down
The most common mistake with stairwell gallery walls is starting in the middle and working outward, which leaves awkward gaps at the top and bottom. Instead, anchor the wall with two strong pieces: one about 30cm above the bottom step tread and one just below the ceiling or picture rail. These bookend the arrangement and give the eye fixed reference points as you walk up.
Between those anchors, build in clusters of two to four frames, leaving generous breathing room between clusters. Each cluster should have a centre of visual weight, usually the largest or darkest frame, with smaller pieces orbiting it. Mirrors or objects with reflective surfaces work best at the points where the staircase turns, because they catch the eye of someone approaching from either floor.
Step back frequently as you work, and photograph the wall at night with the landing lights on. Australian stairwells often have a single overhead bulb that casts harsh shadows down the wall. If you spot heavy shadows around any frame, the lighting needs addressing before you hang more pieces. Tape paper templates of every frame to the wall and live with them for a few days before drilling. A template sheet printed at home with the frame dimensions drawn to scale lets you shuffle the layout without risking the plaster.
Lighting, Safety and Long-Term Care
A stairwell gallery wall lives or dies by its lighting. The standard single ceiling batten found in many Australian homes is not enough. Consider adding two slim LED picture lights at the top and bottom of the wall, on a separate switch from the stair light, so the arrangement can be appreciated without flooding the staircase. Warm white, around 2700K, flatters timber treads and most artwork. Cooler temperatures can make spotted gum and Tasmanian oak look greenish.
Safety matters because people use this wall while walking. All frames should sit flush against the wall with no protruding glass corners at hand height, especially on the lower landing where elbows and school bags tend to brush past. Use security wire on anything above 1.5m, particularly in homes with young children or enthusiastic dogs. Anti-slip nosing on the treads themselves is a worthwhile investment if you intend to stop on the stairs to admire the wall.
Once a year, dust the frames with a soft microfibre cloth and check the fixings. Australia's seasonal humidity swings, particularly the dry heat of a Melbourne summer or the wet stretch of a Brisbane wet season, can loosen plugs in older brickwork. Tighten anything that has shifted and rotate any paper-based pieces that have sat in direct sun. The wall will evolve with you: swap in a new print from a weekend visit to the Finders Keepers market in Sydney, add a child's latest masterpiece at child height, or retire a piece you have grown tired of. A gallery wall is never really finished, and that is exactly the point.
Measure the full height of your stairwell wall and photograph it from the bottom tread and the top landing, then take both images to your nearest bespoke framer so they can suggest frame sizes and finishes that will work with your specific ceiling height and staircase pitch.

Recent Projects