Interior Design
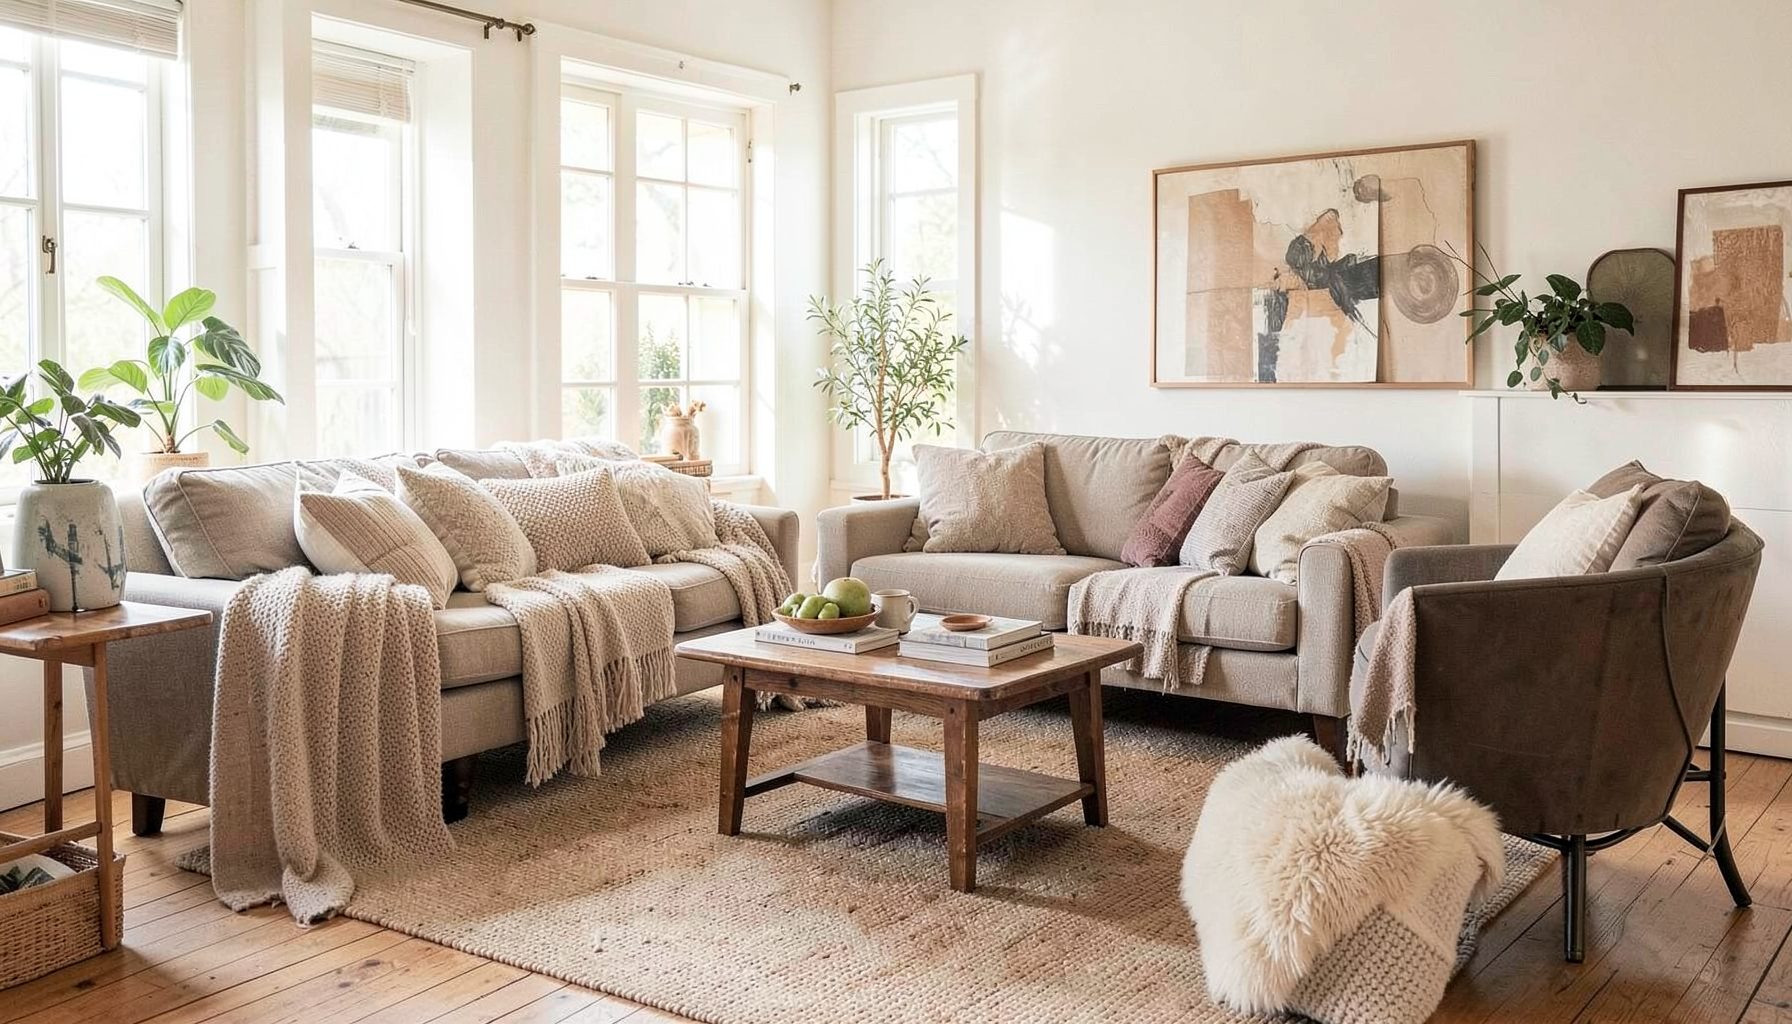
Full-service decorating that blends high and low, vintage finds with modern pieces for spaces that feel personal and collected.
Learn More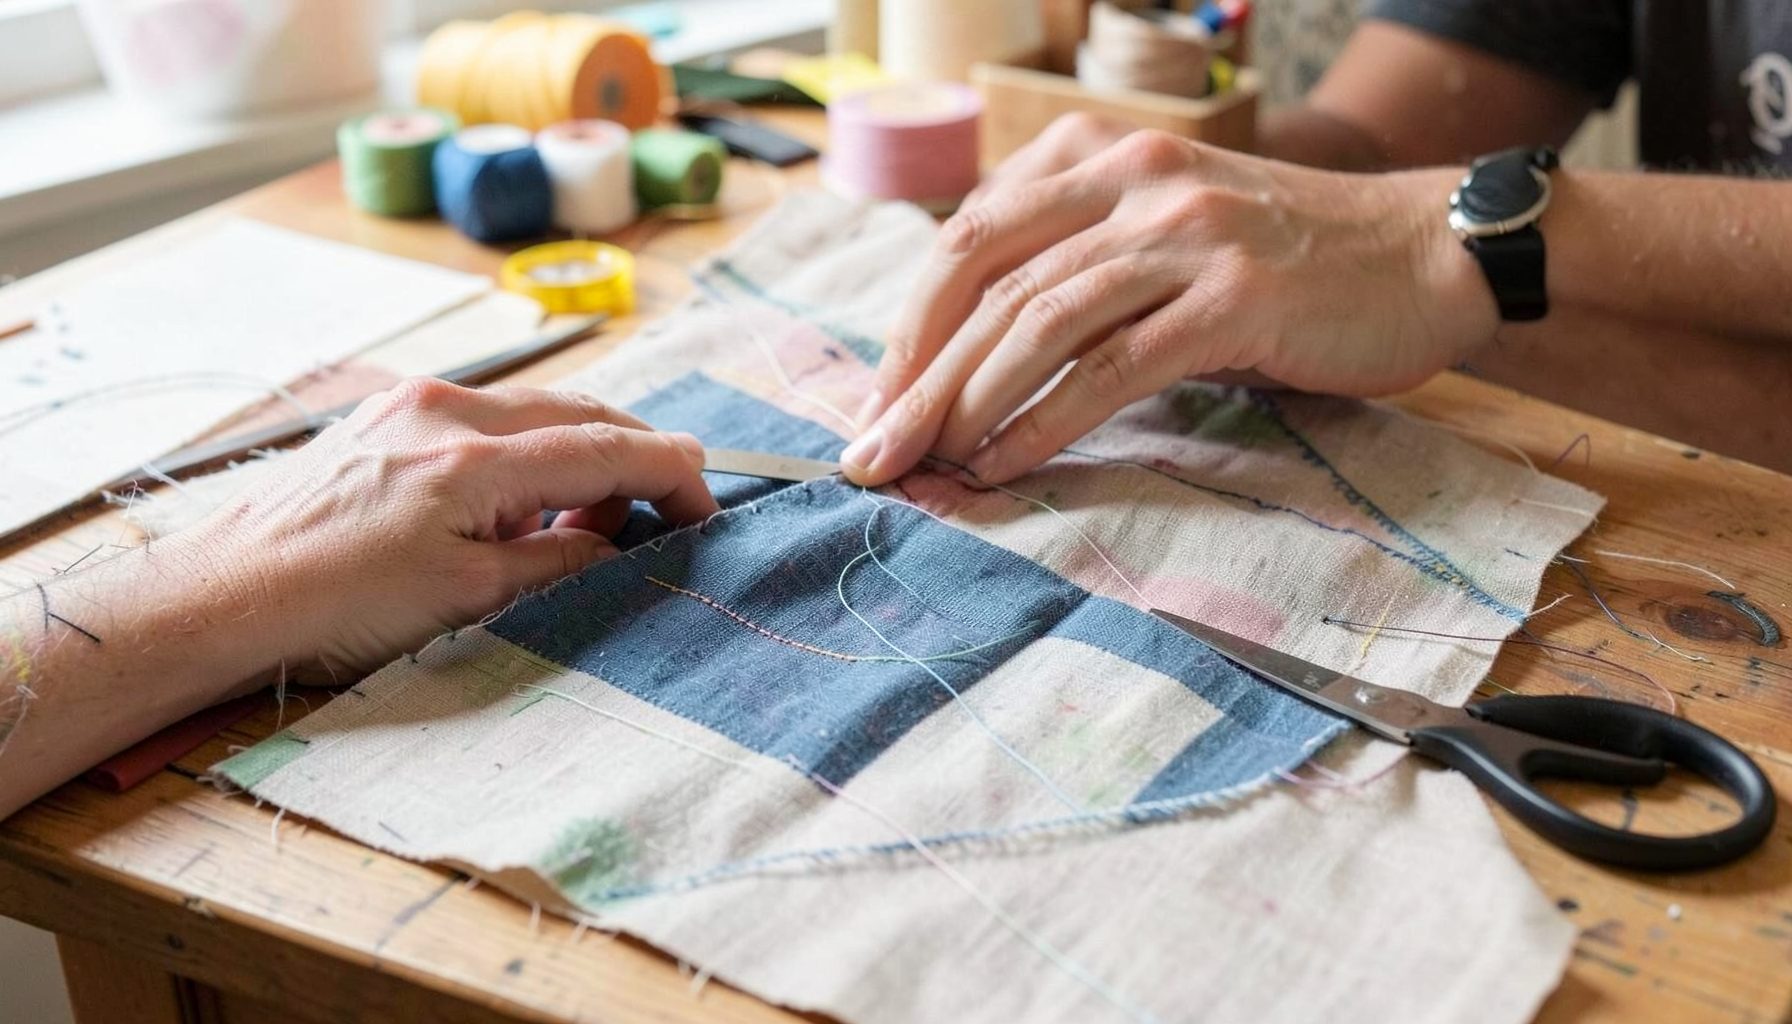
DIY Projects
Step-by-step tutorials for refinishing furniture, sewing pillows, styling bookshelves, and transforming rooms on a budget.
Learn More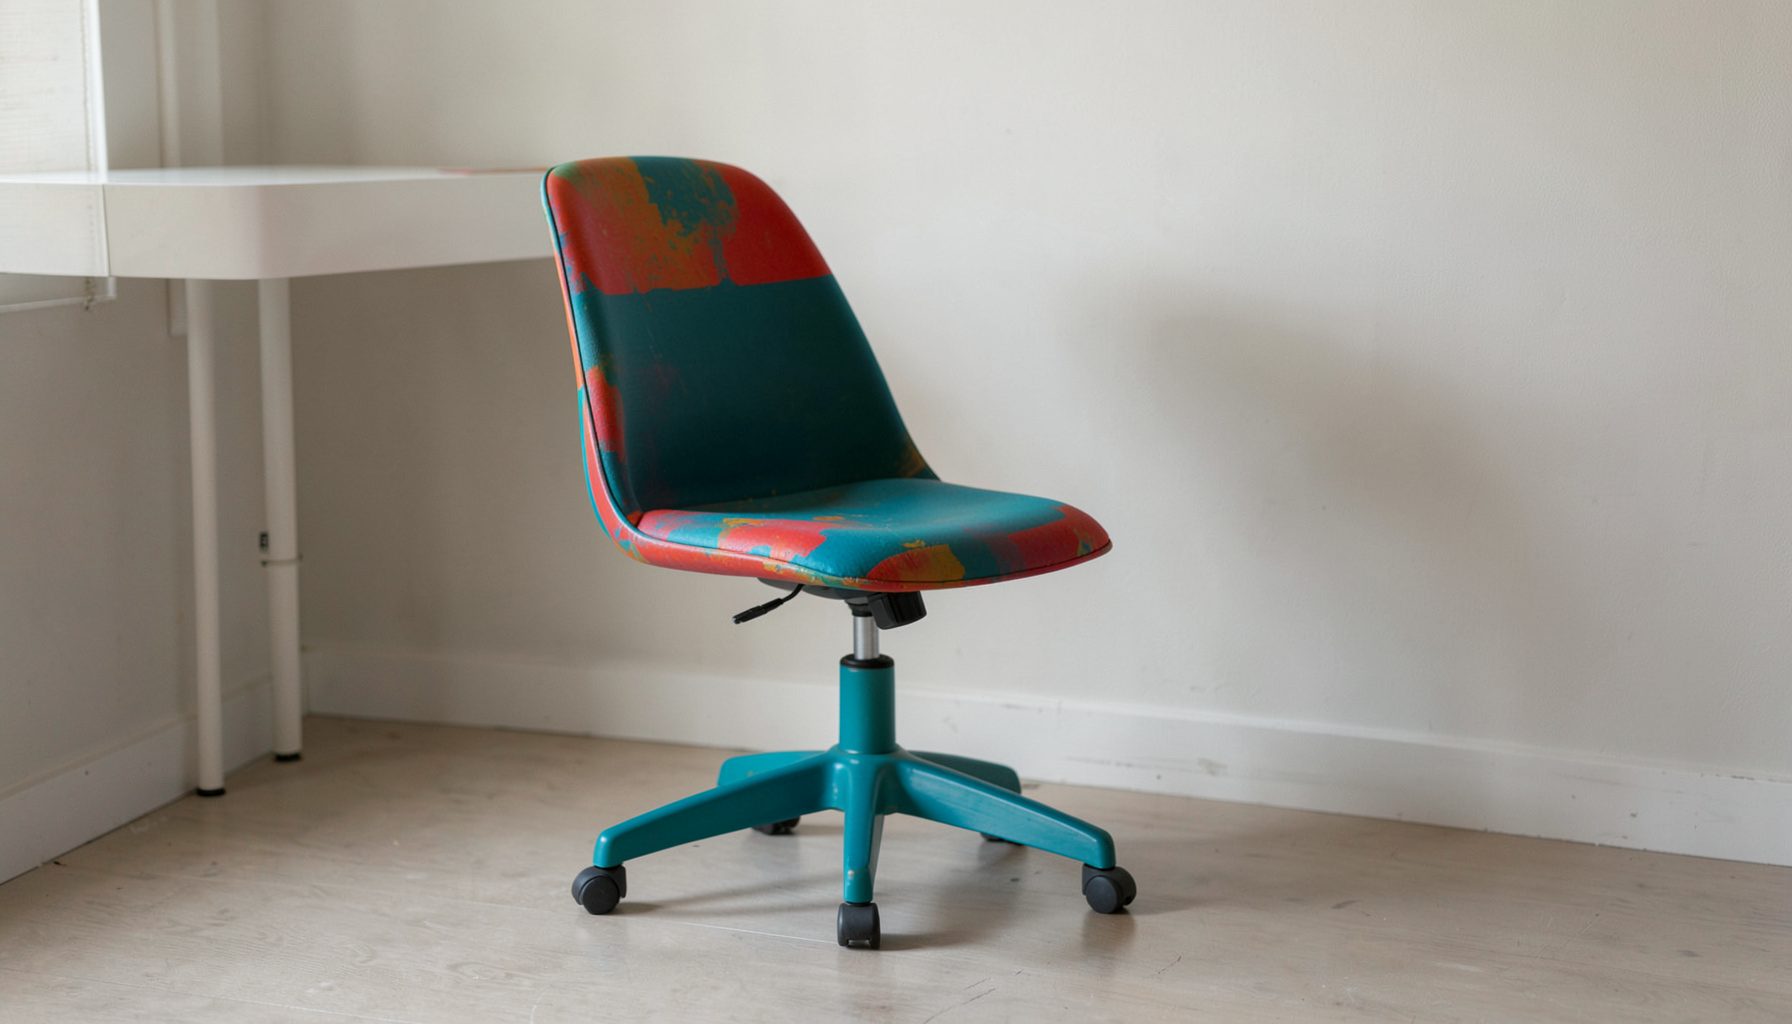
E-Decorating
Personalized design guidance delivered online — perfect for clients anywhere in the world who want a professional eye.
Learn More
Portfolio
Browse completed room makeovers, before-and-after transformations, and styling projects from Bay Area homes.
Learn More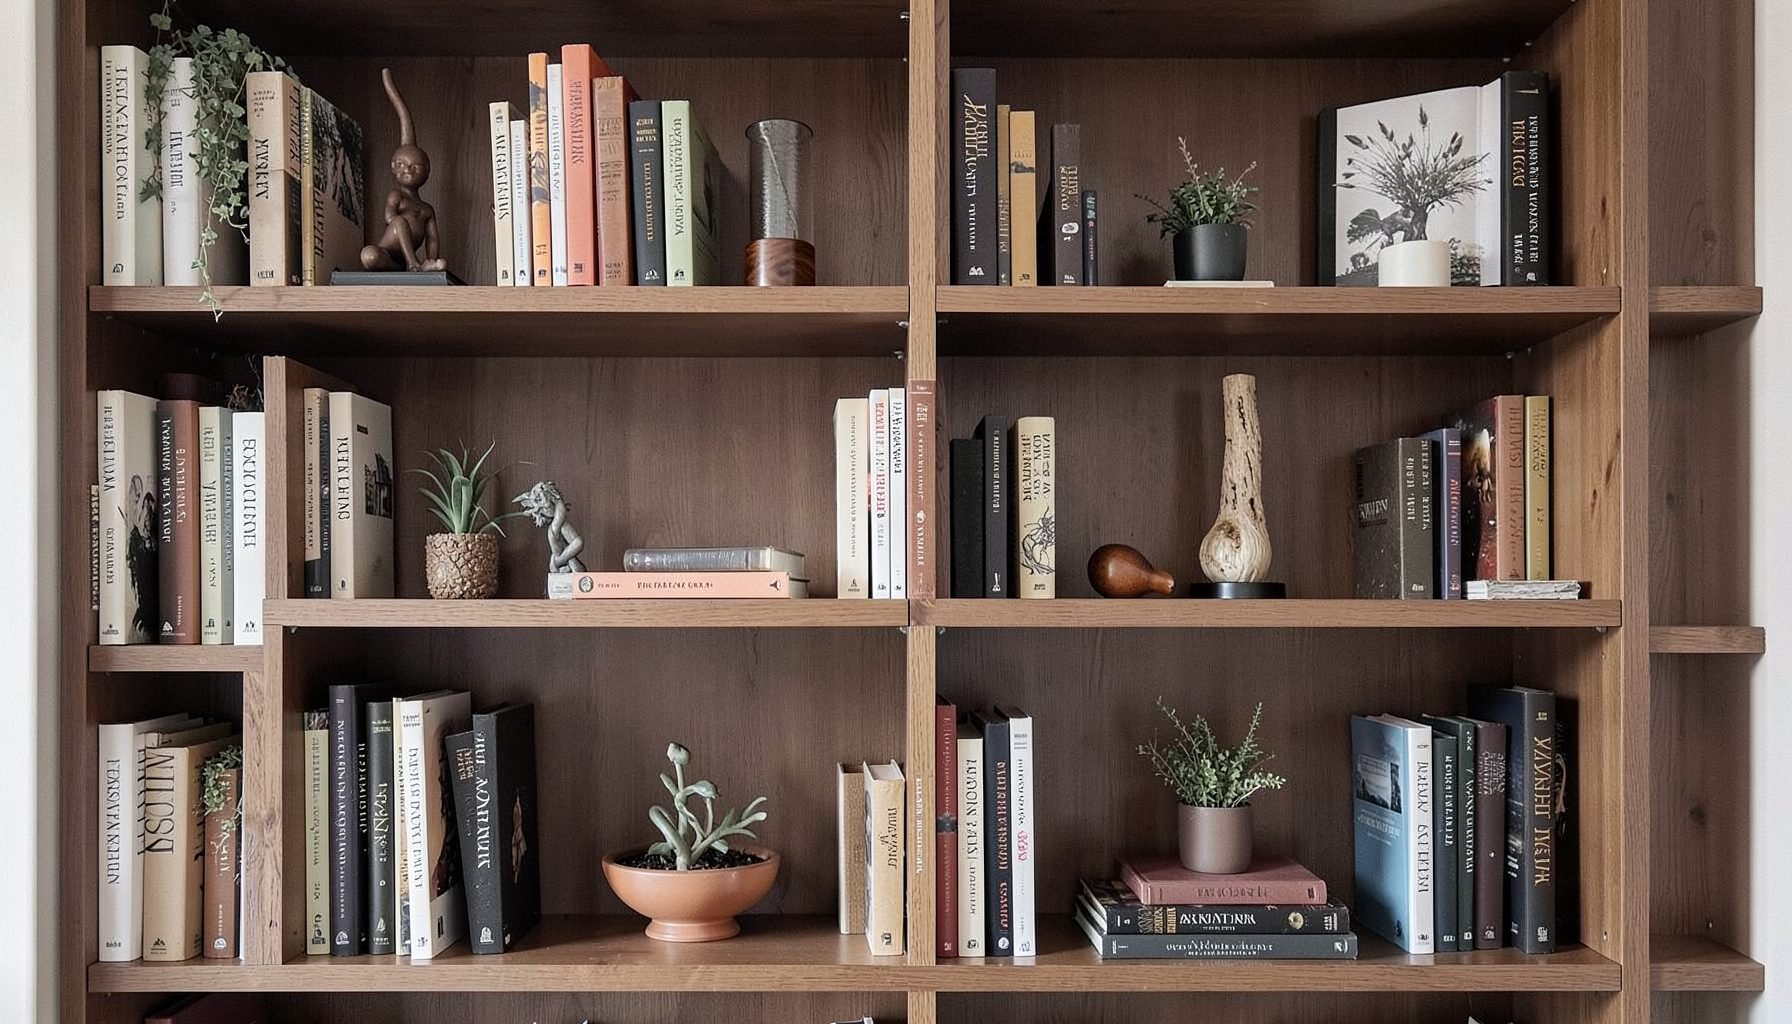
Blog
Interior design inspiration, fashion finds, entertaining ideas, and peeks into real home renovations and styling projects.
Learn More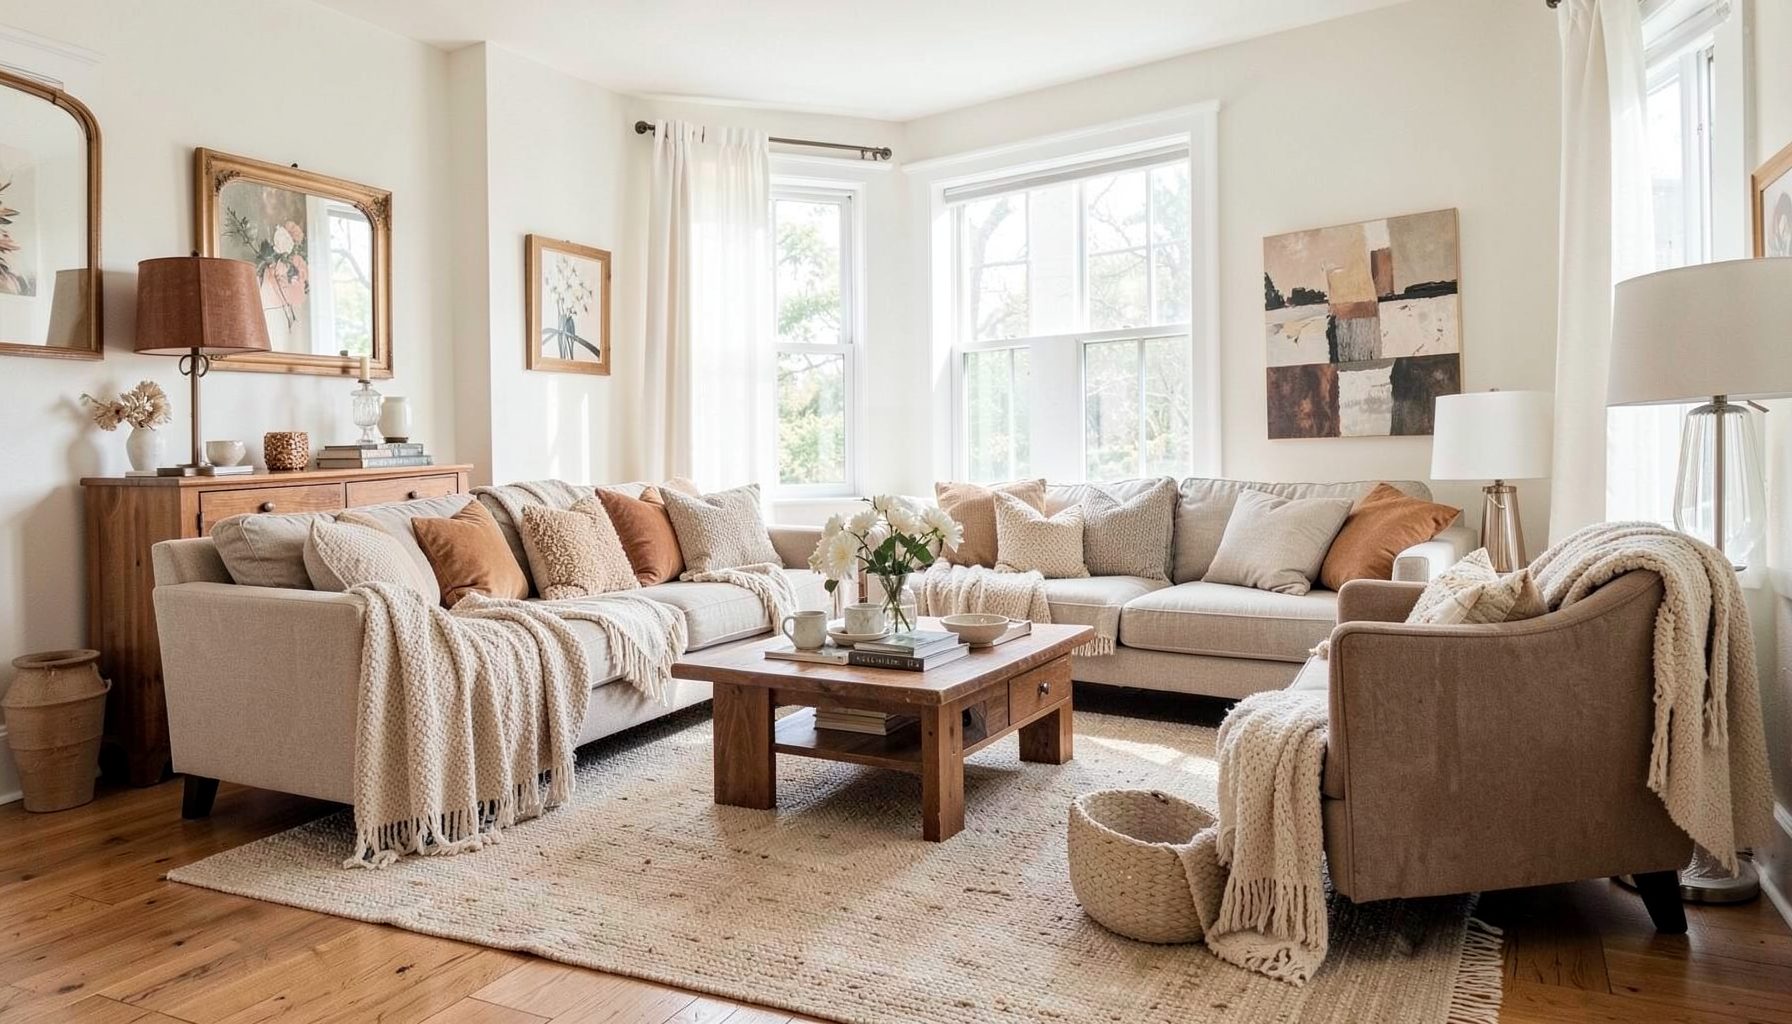
Downloads
Free curated resources for home decorating and design — guides, checklists, and inspiration to help you get started.
Learn MoreCrafting a reclaimed timber accent wall that tells a story
A weathered timber feature wall can transform a flat, forgettable surface into the soul of a room. For homeowners in Melbourne, Sydney, Brisbane and beyond, reclaimed planks offer a sustainable path to authentic texture, warmth, and character that simply cannot be replicated by factory-finished products. Whether salvaged from an old woolshed in regional New South Wales or recovered from a demolished wharf in inner Sydney, each board carries decades of grain, patina, and story into your home.
Before picking up a hammer, it pays to think carefully about the wall you want to dress, the timber you will use, and the conditions it will face once in place. Australian homes range from coastal Queenslanders with high humidity to dry inland interiors where winters can be cold, and each setting influences how reclaimed boards behave. With thoughtful planning, a weekend of effort, and the right finishing products, your feature wall can become the anchoring element of a layered, personal interior that looks as if it has always belonged.
Finding salvaged boards that suit your space
The hunt for good reclaimed timber is half the joy of the project, and Australia offers a surprising variety of sources. Specialist salvage yards in Melbourne's inner suburbs and around Sydney's Inner West regularly stock boards pulled from old woolsheds, weatherboard cottages, and even decommissioned woolstores in Fremantle. Community recycling centres and tip shops, particularly those run by local councils or organisations such as Reverse Garbage in Sydney and similar groups in Brisbane, occasionally stock small batches of mixed hardwood offcuts suitable for smaller feature walls.
When choosing planks, look for boards with consistent thickness, ideally between twelve and twenty millimetres, so they sit flat against your wall framing. Older Australian hardwoods such as Blackbutt, Spotted Ironbark, and Tallowwood are dense, durable, and resistant to termites, but they can be heavy and harder to work with than soft pine salvaged from older weatherboard cottages. Pine boards are easier to cut and nail, while genuine Australian hardwoods reward patience and look spectacular once sealed.
Budget-conscious renovators often turn to Bunnings Warehouse, where pallet timbers, fence palings, and their Mountain Ash range offer an affordable starting point. While not technically reclaimed, these boards mimic the weathered look once treated with the right stain. Whatever the source, inspect every board for hidden nails, staples, and signs of rot. Run a magnet along each plank and tap it lightly with a hammer; a dull sound often indicates hidden decay.
Measuring and planning your feature wall layout
Once timber is sorted, take time to measure your wall accurately and decide on a pattern. A simple horizontal layout reads calm and contemporary, while a herringbone or chevron arrangement introduces movement and complexity. Many homeowners in coastal suburbs such as Bondi or Byron Bay favour a relaxed, slightly irregular pattern that mimics the natural drift of beach fencing.
Sketch the wall on graph paper, marking the height of power points, light switches, and any window or door trims that will meet the timber. Subtract ten to fifteen millimetres from the ceiling height when calculating plank length, allowing the timber to expand slightly with seasonal humidity. This is especially important in homes near the coast, where salt air and summer storms push moisture levels higher than inland properties experience.
Order roughly fifteen percent more timber than your measured total. Reclaimed boards often have irregular widths, hidden damage, or splits that rule them out once cut. Sorting planks by colour and grain before installation also prevents jarring transitions in the finished wall, and lets you distribute knot-heavy pieces evenly across the surface.
Preparing the timber for installation
Newly salvaged boards almost always need cleaning, drying, and sometimes sanding before they touch a wall. Start by removing any old nails with a claw hammer or pincers, then brush each plank with a stiff wire brush to dislodge dust, cobwebs, and loose splinters. Vacuum both faces once the worst of the grime is dislodged, paying particular attention to the grooves where old nails once sat.
Lightly sand the surface so the sealer soaks in evenly while preserving the weathered patina that gives reclaimed timber its appeal. A random orbital sander with one hundred and twenty grit paper is ideal for most boards. Wipe each plank with a damp microfibre cloth and let them rest flat in a dry garage or shed for at least seventy-two hours so any absorbed moisture evaporates.
In Australian conditions, treating the timber against pests and rot is a wise investment. Boron-based timber preservatives sold at most hardware stores deter termites and other wood-boring insects without altering the natural colour of the wood. Apply two coats to the back and edges of each plank, where moisture is most likely to penetrate. Avoid treatments containing harsh solvents if the wall will sit near a bedroom or nursery, and instead choose low-VOC or natural wax-based options that comply with Australian indoor air quality standards.
Installing your plank wall with confidence
A solid, level substrate is the foundation of a good plank wall. Painted plasterboard is common in modern Australian homes and will hold planks directly once it is clean, dry, and free of peeling paint. For older weatherboard or brick homes in suburbs like Paddington or Fitzroy, you may need to first install a frame of structural plywood strips or battens across the wall to create a flat mounting surface.
Begin installation at the most visible corner of the room so that any angled cuts fall on the opposite, less noticed edge. Use a laser level to mark a true starting line, then nail the first plank with a brad nailer into the wall studs or battens. A twenty-five millimetre brad is usually sufficient for pine, while hardwoods may require pre-drilled pilot holes to prevent the boards from splitting.
Continue working across the wall, checking level every third or fourth plank. Stagger the joins between rows so they do not line up vertically, which creates a more relaxed, organic look that suits both contemporary and Hamptons-inspired interiors. When you reach power points and light switches, mark their position carefully on each plank, then cut openings with a jigsaw before fixing the plank in position. Leave a small gap around electrical fittings to satisfy Australian wiring standards and allow the timber to breathe.
For homes with concrete or brick walls, particularly in newer apartments in Brisbane or Perth, direct nailing is not always possible. In these situations, construction-grade adhesive applied in vertical beads along the back of each plank works well. Combine adhesive with a few brad nails for the first twenty-four hours while the glue cures, then remove the temporary nails for a clean finish.
Finishing, sealing, and styling the surface
The final step is sealing the timber to lock in colour and protect against scuffs, spills, and humidity. Hardwax oils such as those made by Osmo or Rubio Monocoat are popular in Australian design circles because they enhance the natural grain without leaving a plastic-looking sheen. Two thin coats, buffed between applications, will keep the wall looking rich and tactile for years. In homes with open fireplaces or near kitchens, a water-based polyurethane offers tougher protection against heat and grease.
Once sealed, style the wall with restraint. A single oversized landscape painting, a vintage mirror salvaged from a local op shop, or a cluster of woven wall hangings from a Byron Bay artisan will draw the eye without competing with the timber's texture. Layer in a soft wool throw, a vintage leather armchair, and a ceramic lamp to echo the lived-in, collected feel that makes reclaimed timber feature walls feel so inviting.
Plan to wipe the finished surface with a dry microfibre cloth every few weeks, and refresh the wax coat annually in high-traffic zones. With simple, ongoing care, your reclaimed timber feature wall will continue to deepen in colour and character for decades to come.
A practical place to begin is by spending a Saturday morning at a local salvage yard or council tip shop in your area, collecting a few sample boards to test stains and finishes at home. This small investment of time before any cutting or nailing begins will save wasted materials later and give you a clear vision of how the finished wall will feel in your own room.

Recent Projects