Interior Design
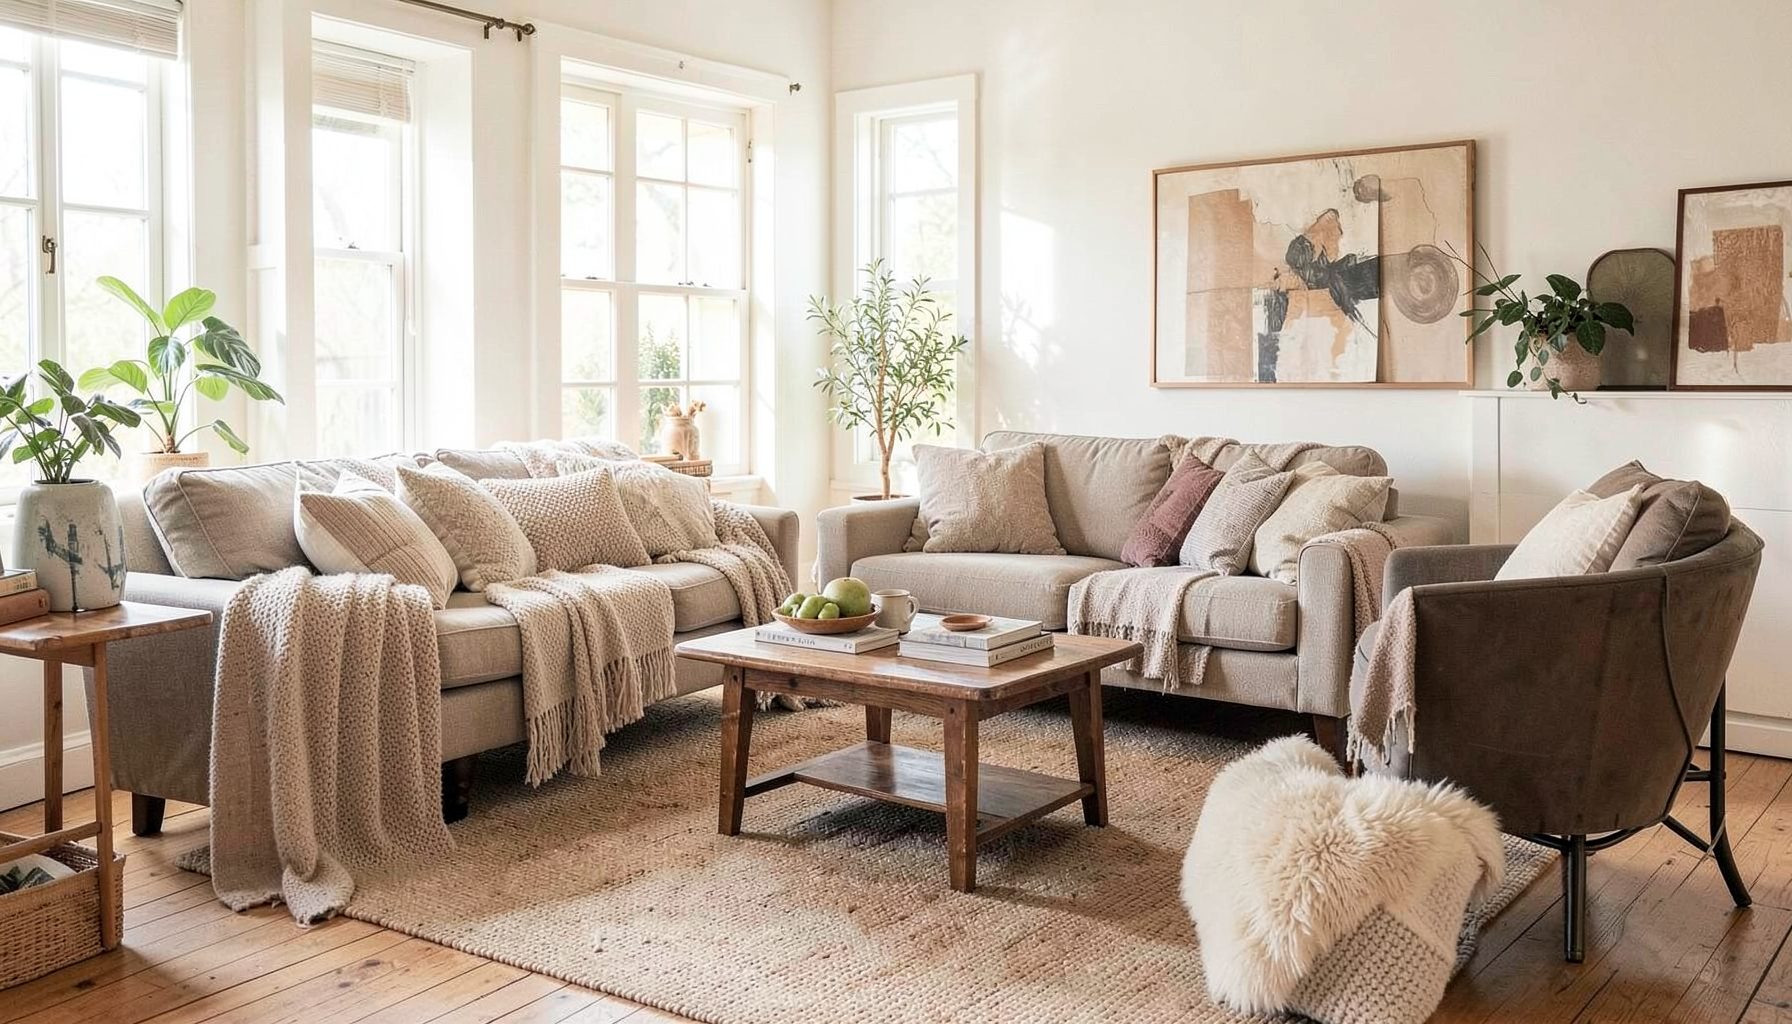
Full-service decorating that blends high and low, vintage finds with modern pieces for spaces that feel personal and collected.
Learn More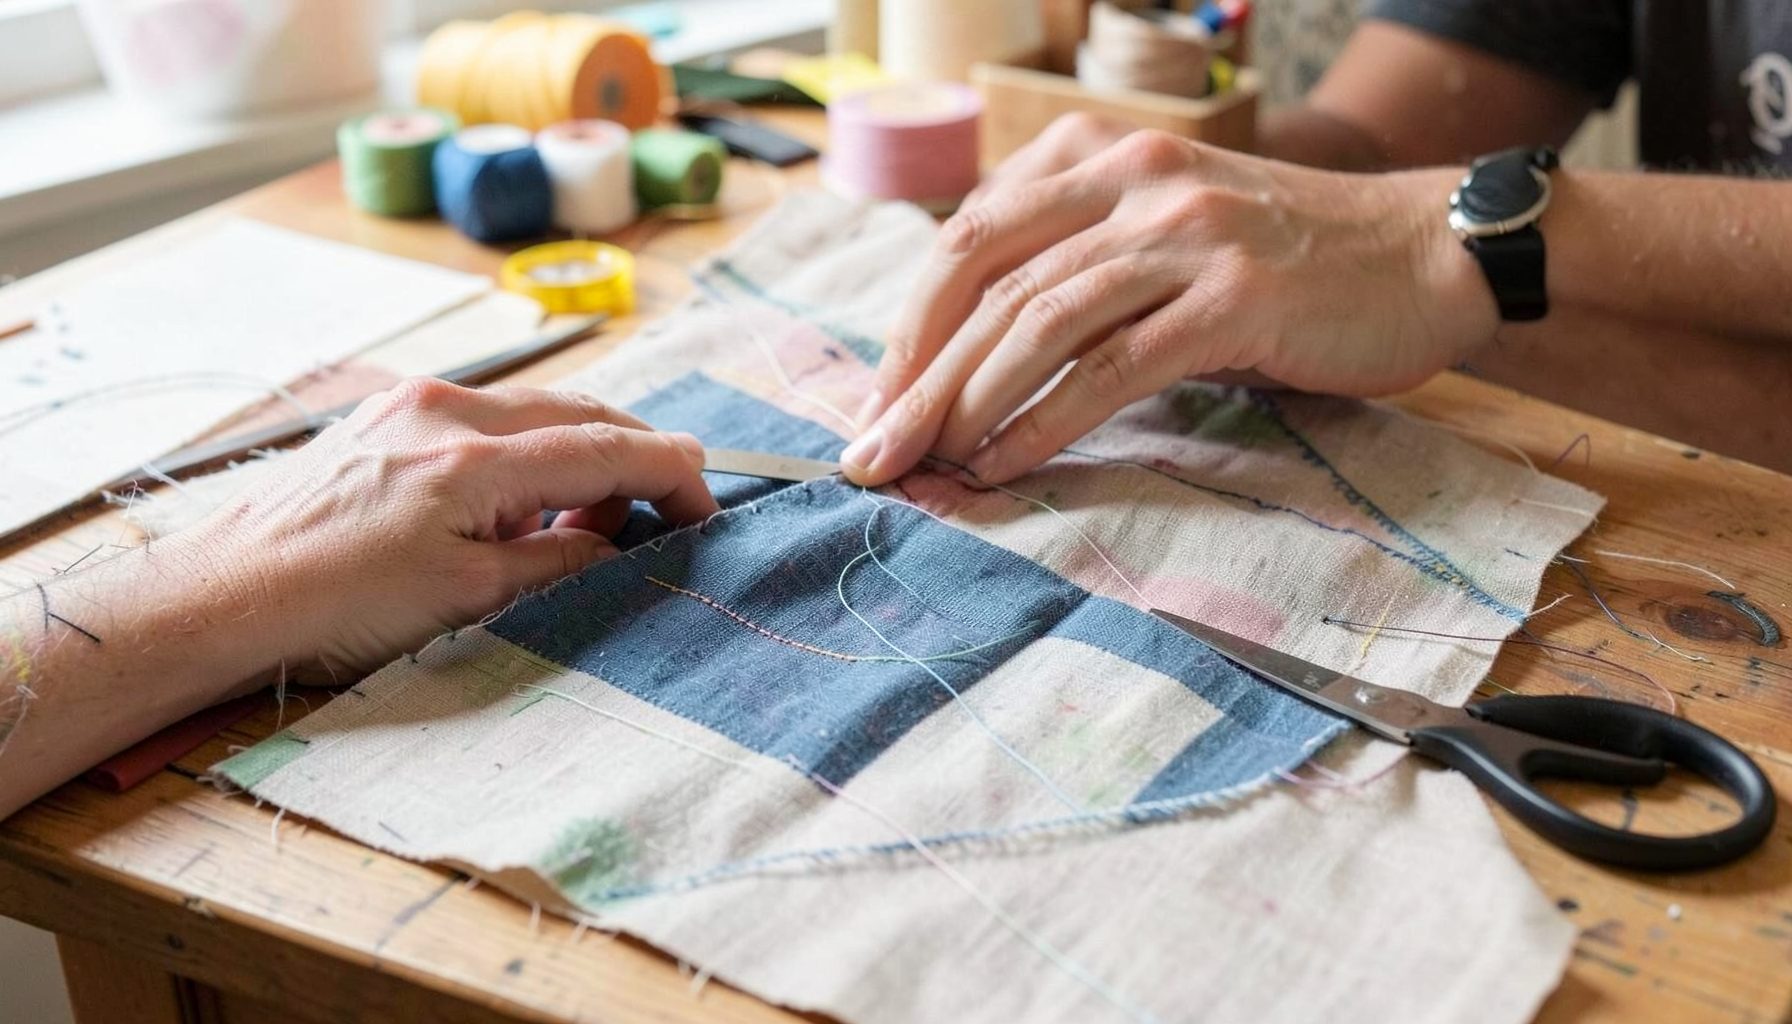
DIY Projects
Step-by-step tutorials for refinishing furniture, sewing pillows, styling bookshelves, and transforming rooms on a budget.
Learn More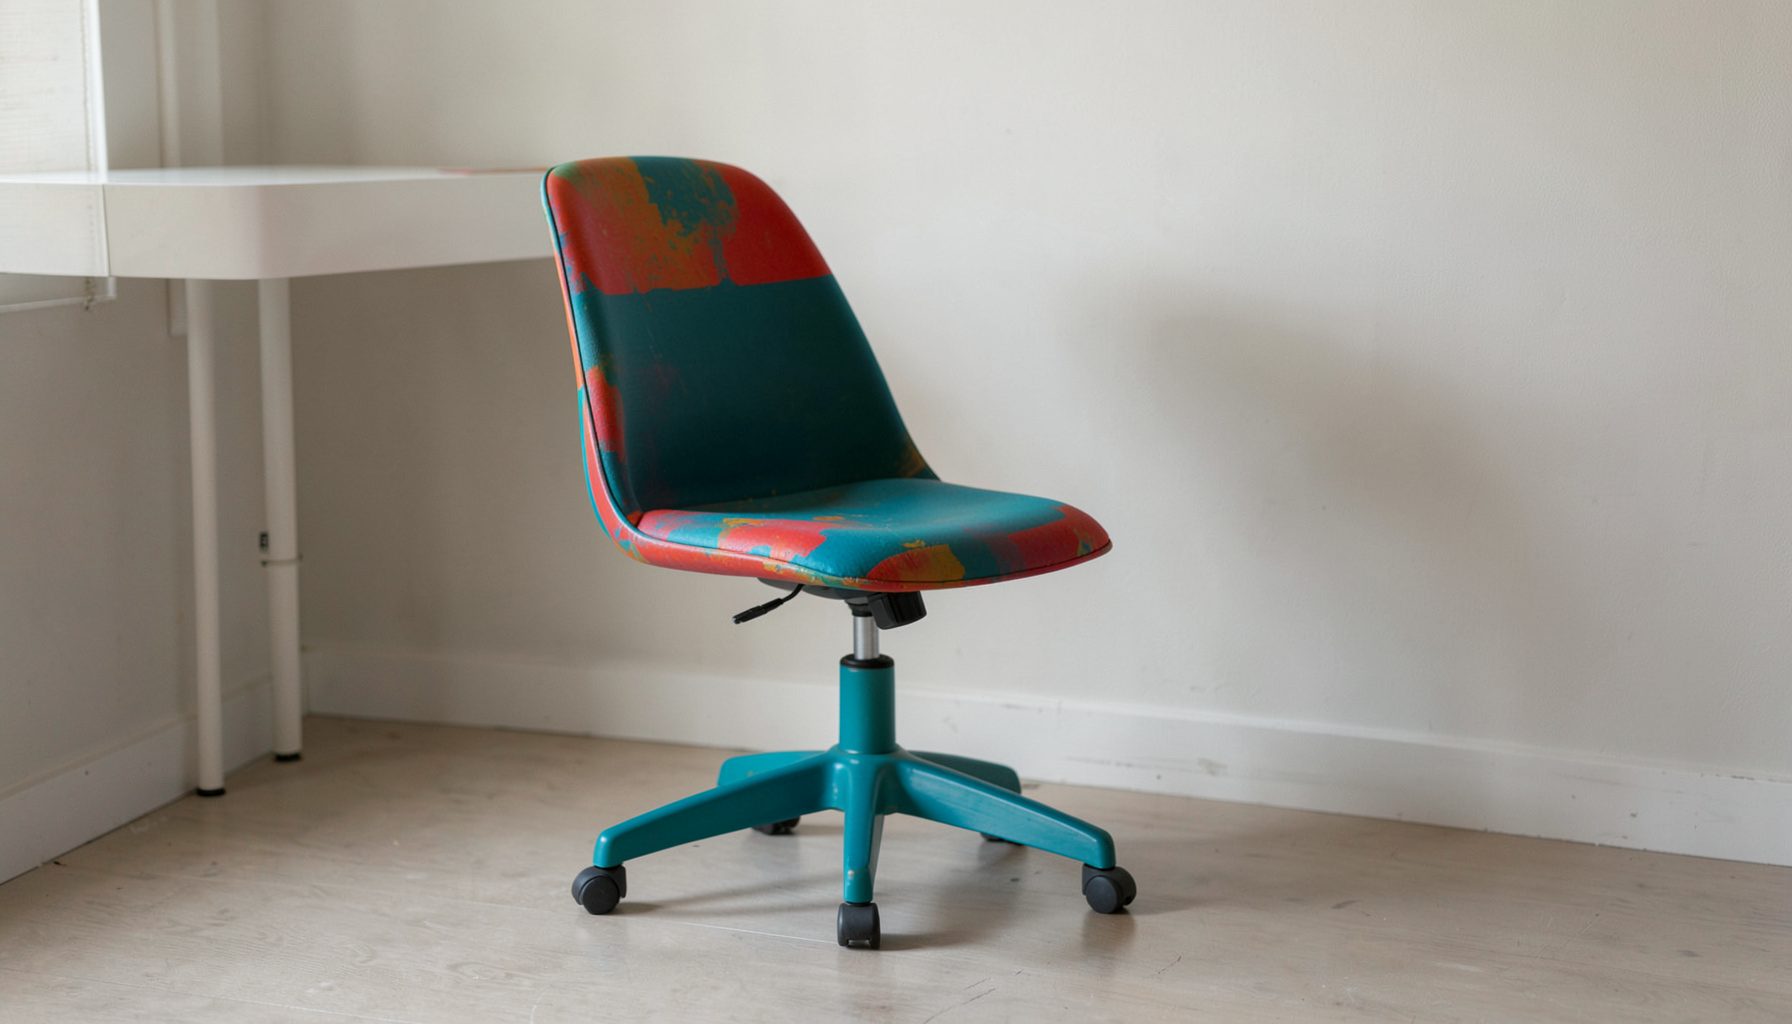
E-Decorating
Personalized design guidance delivered online — perfect for clients anywhere in the world who want a professional eye.
Learn More
Portfolio
Browse completed room makeovers, before-and-after transformations, and styling projects from Bay Area homes.
Learn More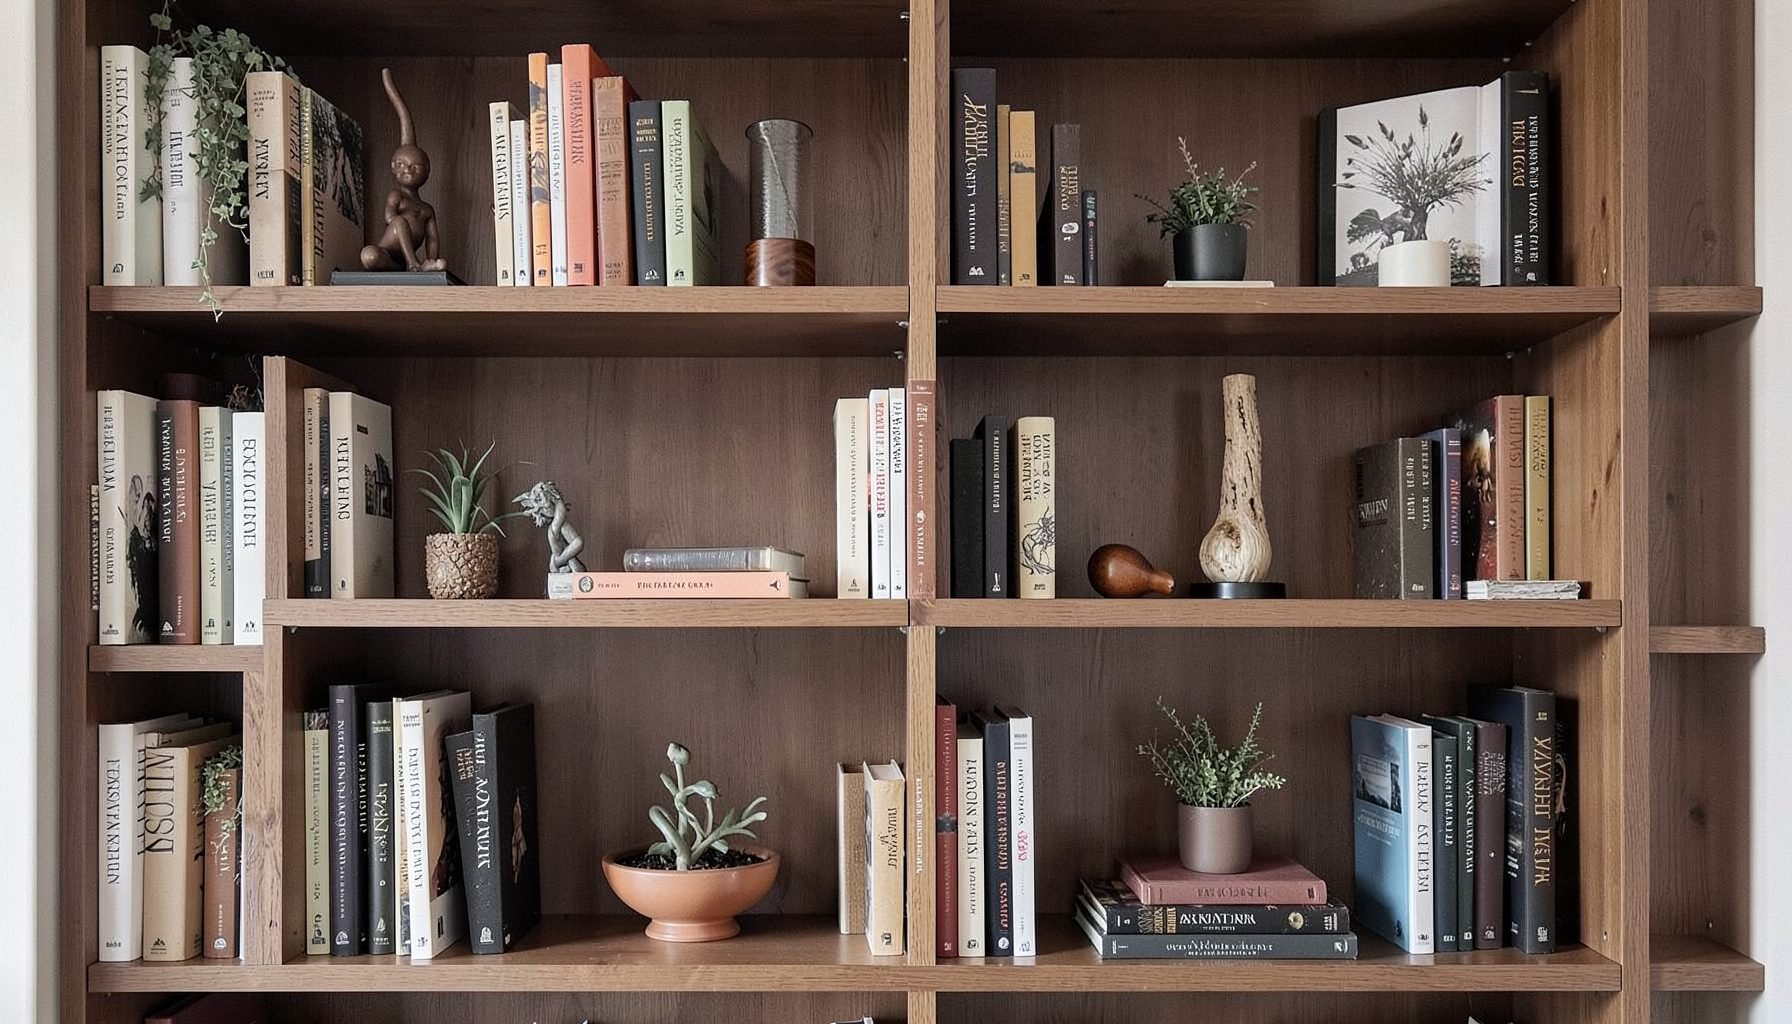
Blog
Interior design inspiration, fashion finds, entertaining ideas, and peeks into real home renovations and styling projects.
Learn More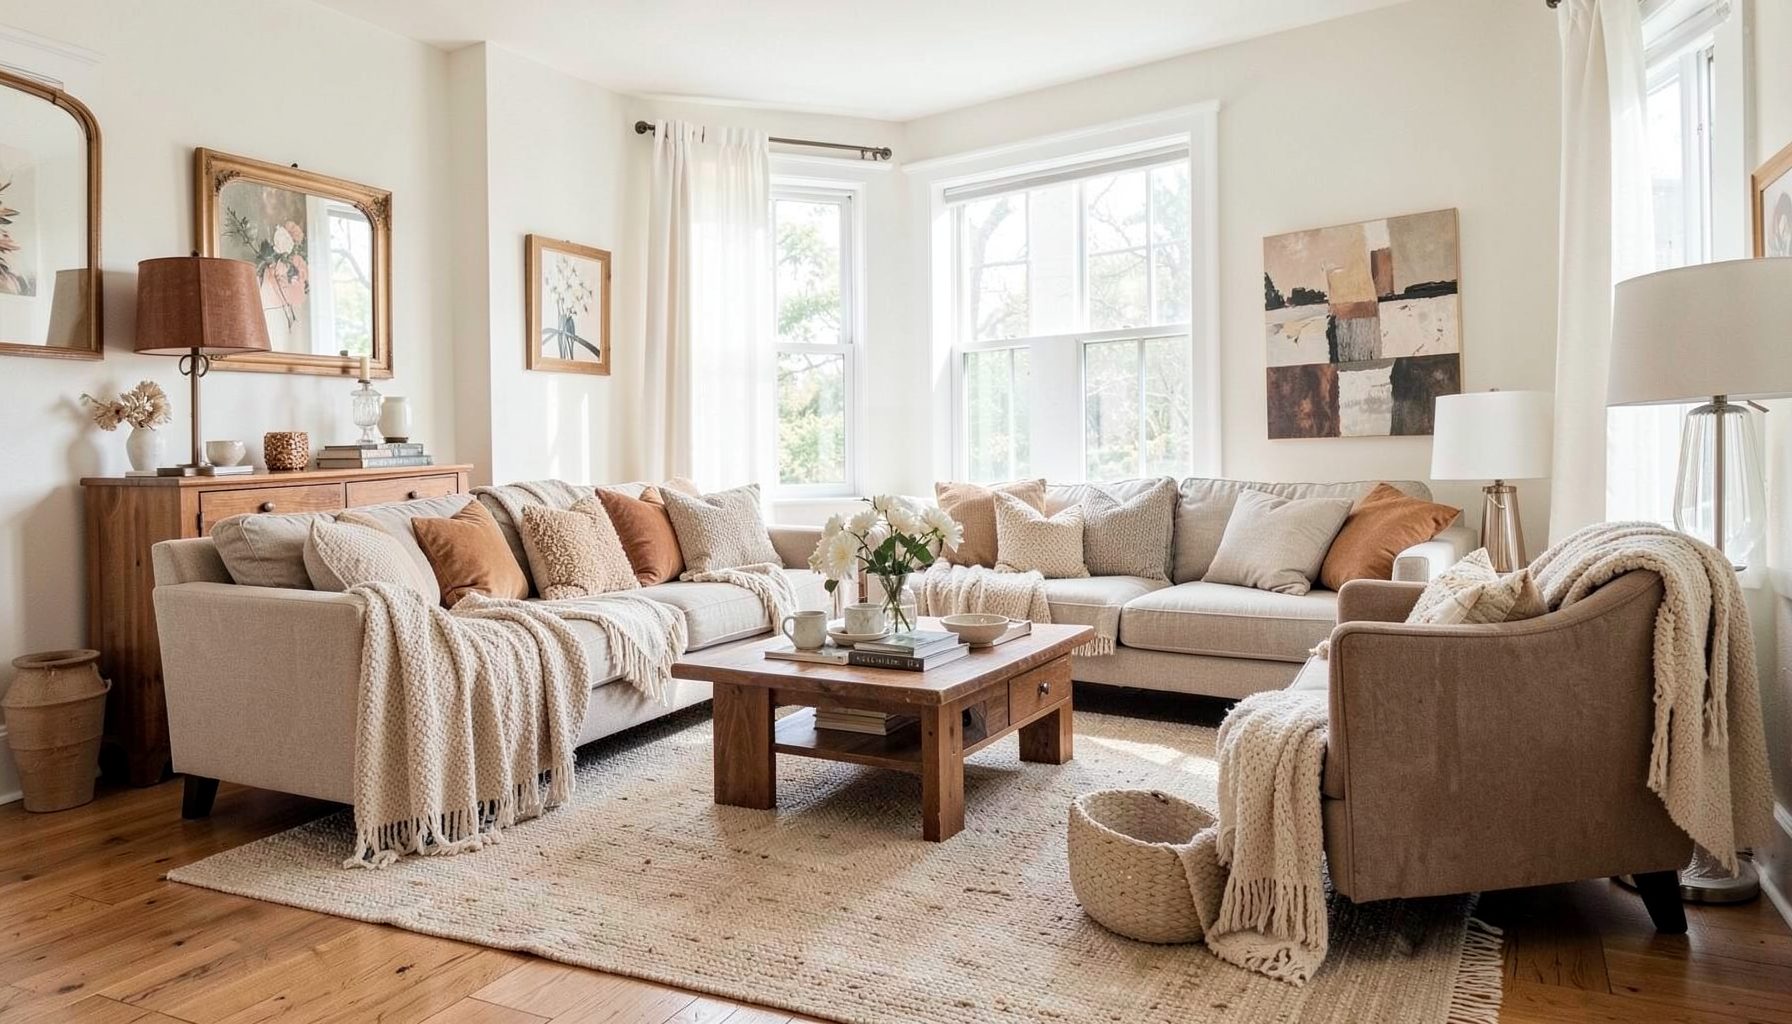
Downloads
Free curated resources for home decorating and design — guides, checklists, and inspiration to help you get started.
Learn MoreA DIY bed platform for extra under-bed storage
Across many Australian homes, the bedroom has become the hardest space to keep tidy. Flats in Sydney's inner west, townhouses in Brisbane's outer suburbs, and fibro cottages in coastal Victoria all seem to share the same problem — there is never quite enough room for the things you only use a few times a year. Building a low platform beneath your existing bed frame is one of the most affordable ways to reclaim that wasted air, and it is a weekend project well within reach of anyone comfortable using a drill and a tape measure. Learn more about Maggieroseonline.com.
The platform sits between the floor and the bottom of the mattress, lifting the sleeping surface by roughly fifteen to twenty centimetres. That extra clearance creates a generous cavity for plastic tubs, suitcases, or even shallow drawers, without changing the look or feel of the bed you already love. The build below uses standard materials stocked at any large hardware chain, and the same approach has been used by renters across Melbourne who needed a temporary but sturdy solution. If you want a head start on the design side, the decorating studio at maggieroseonline.com shares plenty of ideas for layering useful storage into a restful bedroom scheme.
Sizing and material choices for Australian bedrooms
Before buying a single length of timber, measure the inside of your bed frame carefully. Most Australian couples sleep on a Queen, which measures 153 centimetres by 203 centimetres, while King Single and Double sizes are common in children's rooms and small guest rooms. The platform needs to be slightly smaller than those dimensions so it tucks neatly inside the rails rather than pressing against them. Aim for a gap of around ten millimetres on each side to allow the timber to swell with seasonal humidity, which can be surprisingly high along the coast from Coffs Harbour to Perth.
Material choice matters more here than it does in drier climates. Standard MDF can sag over time and absorbs moisture, so it is better suited to dry, air-conditioned apartments than to a high-set Queenslander in Brisbane's humid summers. For a long-lasting base, choose structural pine — F7 or MGP12 graded pine from a reputable Australian supplier — or a sheet of A-bond plywood rated for furniture use. Kiln-dried pine is widely available, light enough to carry up narrow staircases, and holds screws well without splitting.
Tools, timber and hardware from local suppliers
A clean, accurate build starts with a short list of tools. You will need a tape measure, a pencil, a square, a cordless drill with driver bits, a jigsaw or circular saw, a sander, and a Phillips head or square-drive bit matched to the screws you choose. A long spirit level is helpful for confirming the frame is true, and a pair of clamps will save a lot of fiddling when you are working alone. Most of these tools, along with timber, castors and fixings, can be picked up in a single trip to Bunnings, which has stores in every major metro area and most regional centres across the country.
Castors and threaded legs follow the metric system in Australia, so buy castors rated for at least thirty kilograms each. Four castors will comfortably support a Queen-size platform holding flat-packed boxes and spare linen, while six or eight give an extra margin on King sizes. Stainless or zinc-plated castors resist the rust that develops in spaces open to a humid sea breeze, which is a worthwhile upgrade if you live in Darwin or anywhere near Sydney Harbour. Screws should be ten-gauge timber screws around forty millimetres long, and a small tube of wood glue will stiffen every joint.
Cutting and preparing the frame pieces
Lay out the timber on a flat garage floor or driveway, marking each piece clearly before you cut. For a Queen platform, cut two long rails 203 centimetres long and two short rails 143 centimetres wide, then add a centre spine running down the middle so the surface does not bounce. The depth of the rails — that is, the height your mattress will gain — should match the height of the castors you have chosen, usually between eight and fifteen centimetres. If you are using 19-millimetre plywood for the deck, allow an extra ten millimetres of clearance for it to slide into the frame before you screw it down.
Work slowly with the saw, supporting the timber on offcuts so the offcut end does not splinter, and sand every edge to round it over. A quick pass with 120-grit sandpaper keeps stray slivers out of the way when you are manoeuvring the finished frame into the bedroom. Australian standards recommend that any furniture accessible to children under five has no sharp projections and is stable enough to resist tipping, so rounding the corners is not just cosmetic — it is a sensible precaution for any household with curious toddlers.
Building the outer frame
Lay the two long rails parallel on the floor, with the two short rails fitting between them to form a rectangle. Pre-drill pilot holes at each corner before driving in the screws, otherwise the ends of the pine rails can split and weaken the joint. Apply a thin bead of wood glue to each mating surface first, wipe away the squeeze-out with a damp cloth, and then drive two screws through each long rail into the end of each short rail. A builder's square at every corner keeps the frame perfectly right-angled, which matters when the plywood deck is finally laid on top.
Where the centre spine meets the long rails, use a simple lap joint or, easier still, butt the spine between the rails and screw through the outside of the frame into its end. When the glue has dried, stand the frame on its side and sight along it from one end. A twisted frame is hard to correct later, so spend a few minutes now adjusting the clamps until the rails sit flat and the diagonals measure the same length across both corners. Once the glue cures overnight, the frame will hold its shape and feel reassuringly solid for years of use.
Installing slats or a plywood deck
The platform top can be either a series of slats or a single sheet of plywood. Slats keep the build cheaper and lighter to lift if you ever need to move it, and they let air circulate around anything stored underneath, which is helpful in the muggy Brisbane summer. Cut your slats the same width as the inside of the frame, around seventy millimetres wide, and space them roughly forty millimetres apart. A single screw at each end is enough to fix them in place, and the slight flexibility of pine slats makes the platform feel more like a sprung floor than a rigid board.
A plywood deck looks neater if you want to add a fabric skirt around the base, and it gives a flatter surface for storage tubs with rectangular lids. Cut the sheet five millimetres smaller than the frame on all sides, lay it on top, and fix it down with screws running around the perimeter at fifteen-centimetre intervals. If your mattress sits directly on the deck, a thin layer of foam or an old wool doona folded in two will stop the surface feeling hard against your back on cooler Adelaide or Canberra nights.
Attaching legs, castors and finishing the look
Flip the platform back upright and fix the castors to each corner, with additional castors along the long sides for King-size frames. Threaded stem castors screw directly into a pilot hole and hold surprisingly well, while plate-mounted castors need four small screws each and tend to be sturdier on frames that will be rolled frequently. Spin each caster before you tighten it, confirming the wheel turns freely without wobbling, and lock the swivel ring so the platform does not drift sideways across a polished timber floor.
A coat of clear satin polyurethane or a low-VOC water-based finish seals the timber against scuffs and makes the platform easy to wipe clean. If your bed sits on carpet, fit felt pads to the castors to stop them marking the pile. When you slide the platform into place, lift the mattress on top and let it settle for a day before stacking storage underneath, so the new structure can adjust to the room's humidity. Once it is in position, slide labelled tubs in and out on the smooth plywood, and you have just turned an awkward gap into the most useful corner of the bedroom.
A flat sheet of ply, four castors and a metre of pine really can shift how a small bedroom feels. Lay everything out on the floor before the first cut, take your time with the joins, and the finished platform will quietly outlast its first winter of muddy boots, holiday suitcases, and old photo albums — the kind of practical, almost invisible storage that lets a tidy room stay tidy for years.

Recent Projects