Interior Design
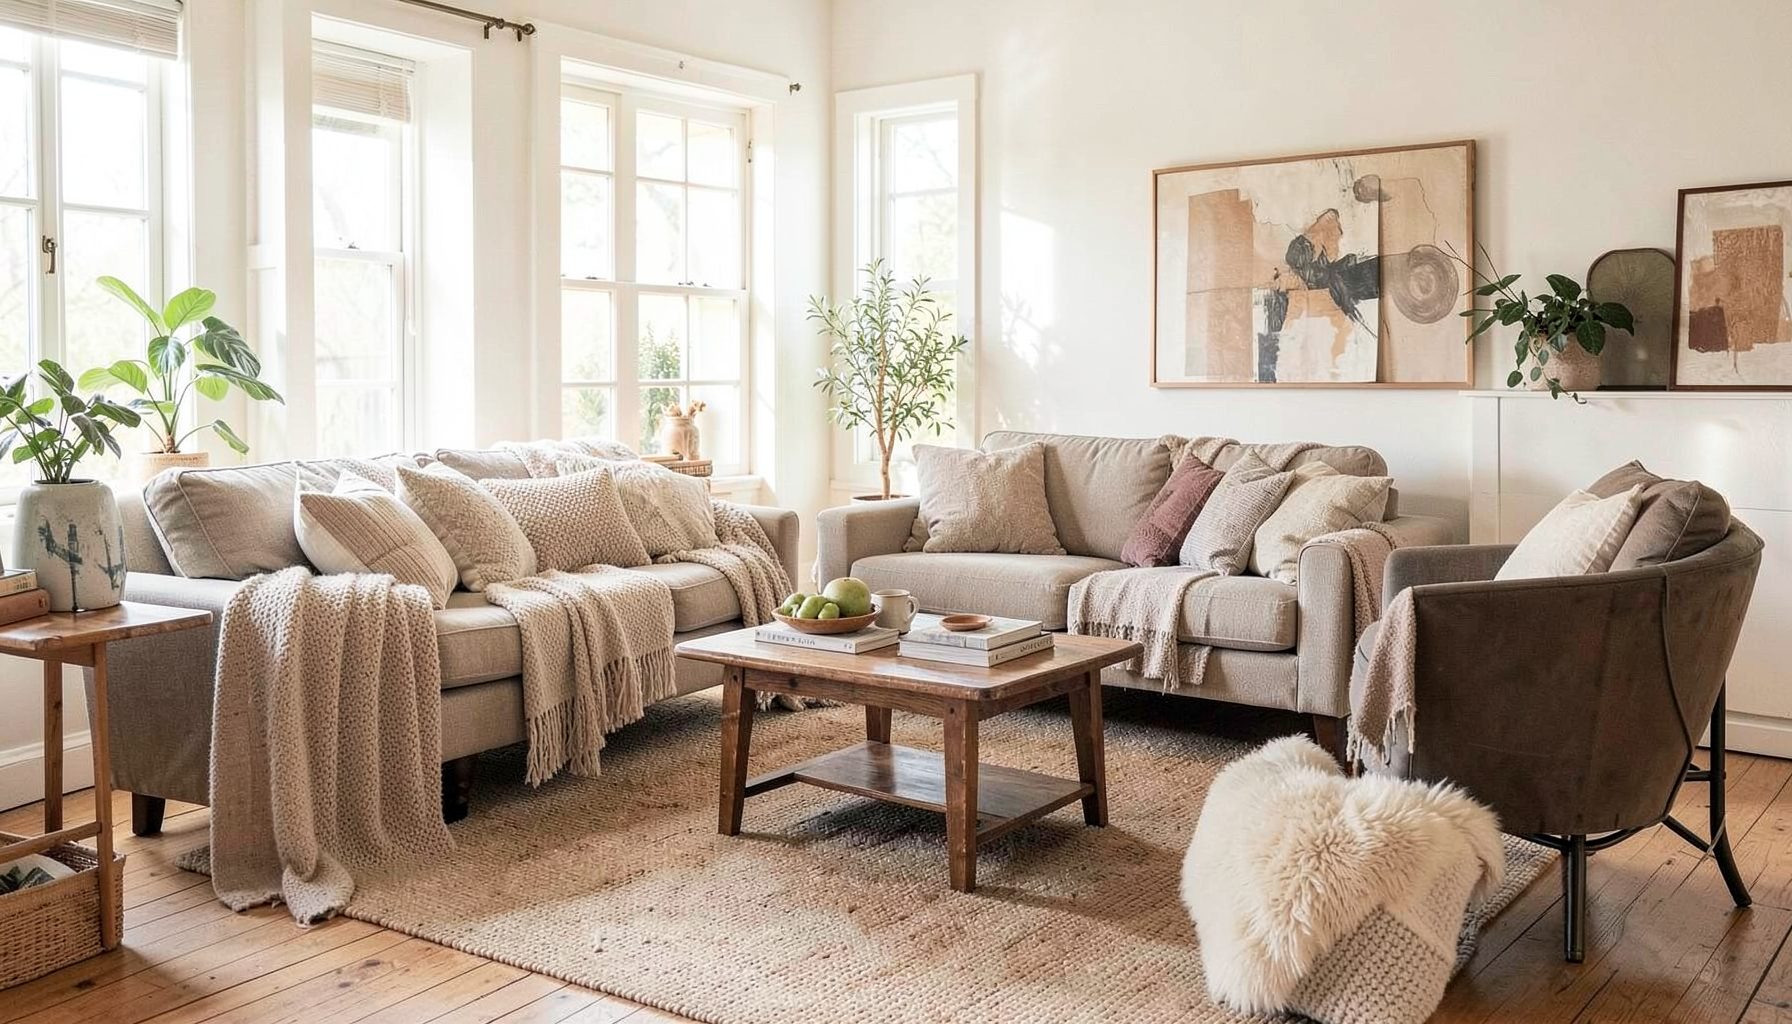
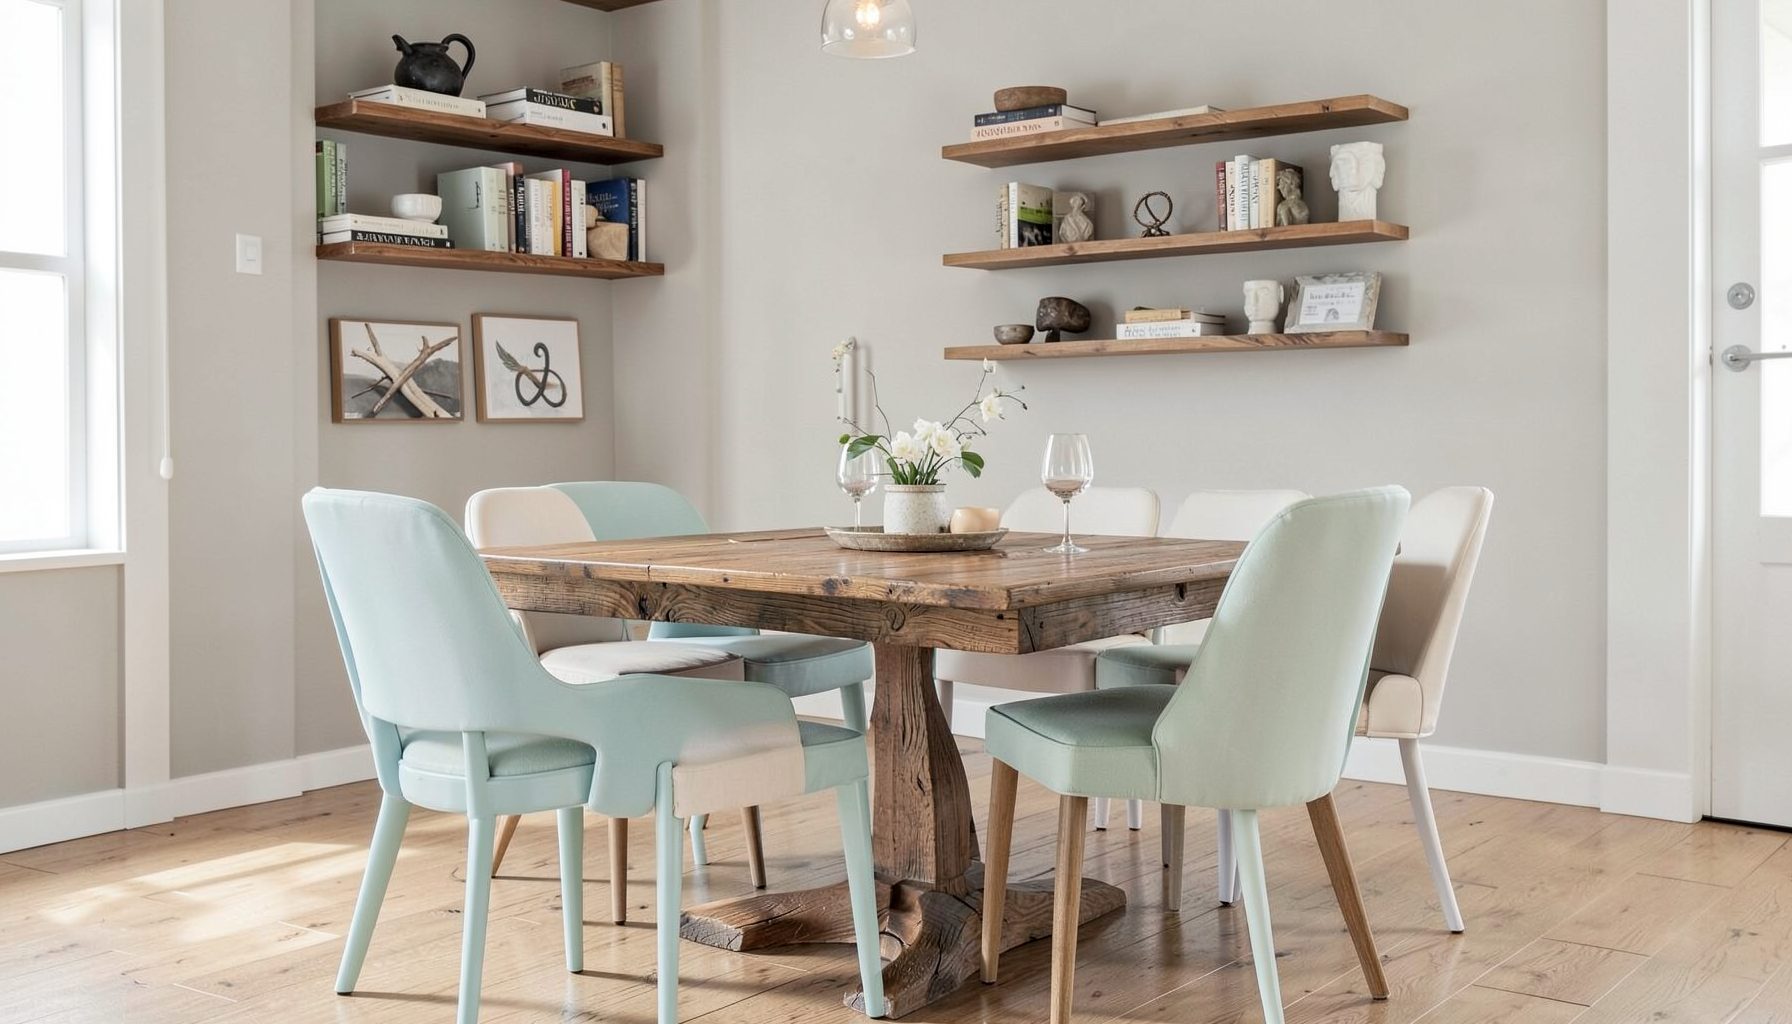
Full-service decorating that blends high and low, vintage finds with modern pieces for spaces that feel personal and collected.
Learn More
DIY Projects
Step-by-step tutorials for refinishing furniture, sewing pillows, styling bookshelves, and transforming rooms on a budget.
Learn More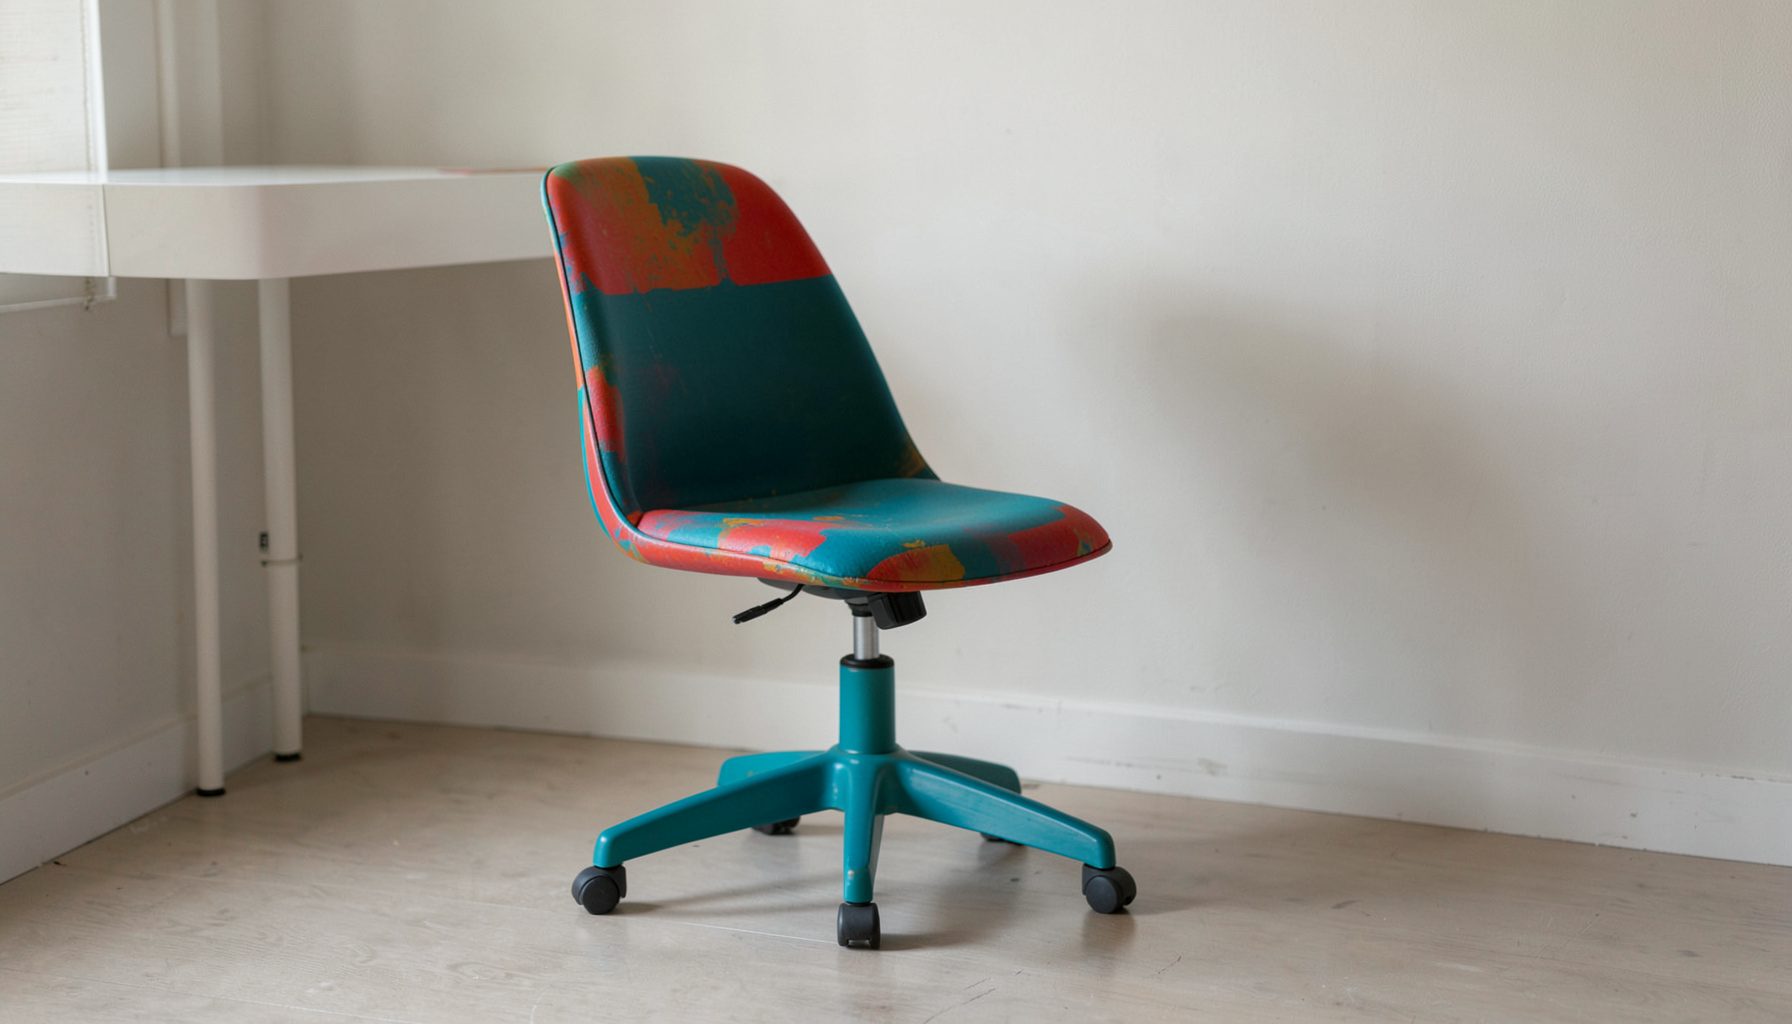
E-Decorating
Personalized design guidance delivered online — perfect for clients anywhere in the world who want a professional eye.
Learn More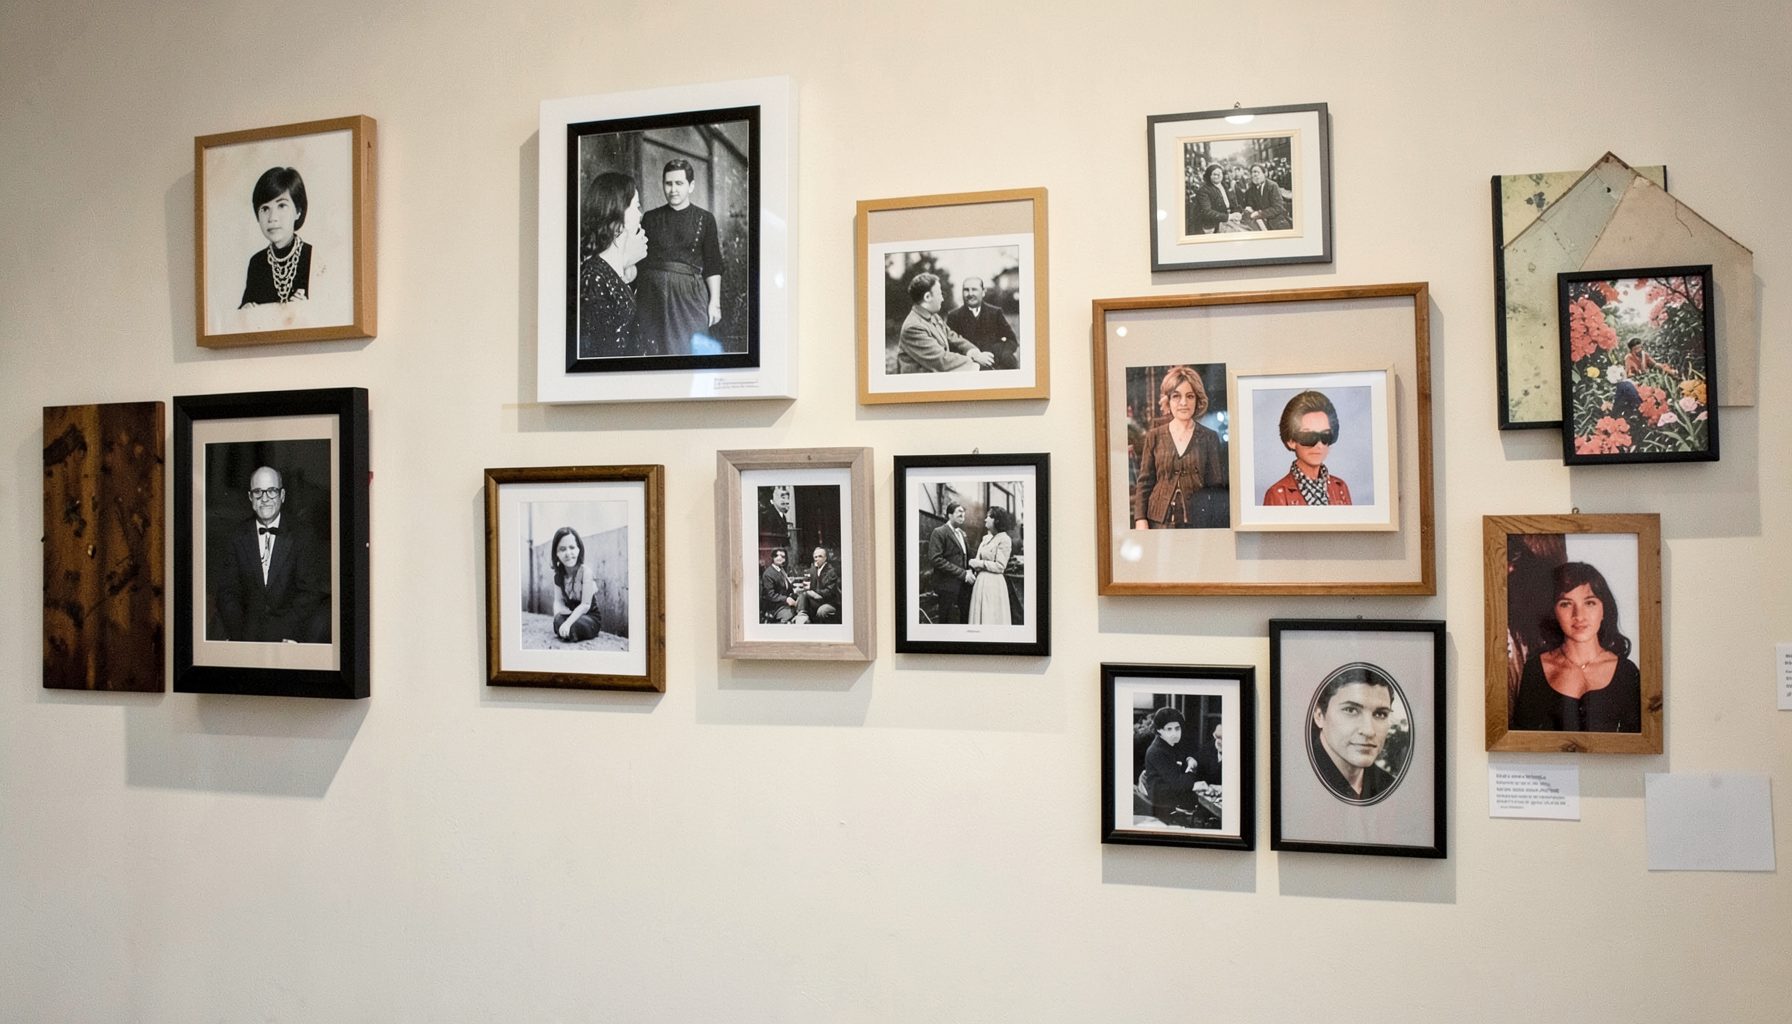
Portfolio
Browse completed room makeovers, before-and-after transformations, and styling projects from Bay Area homes.
Learn More
Blog
Interior design inspiration, fashion finds, entertaining ideas, and peeks into real home renovations and styling projects.
Learn More
Downloads
Free curated resources for home decorating and design — guides, checklists, and inspiration to help you get started.
Learn MoreHow to Add Architectural Interest to a Room with Trim and Molding
A room can feel beautifully furnished yet still seem a little flat. Often, the missing ingredient is architectural definition: the lines around a ceiling, doorway, wall or fireplace that give the eye something to follow. Trim and moulding can supply that structure without requiring a major renovation, making them useful for both period homes and contemporary interiors.
The right profile can make ceilings appear taller, give plain walls a sense of history, or create a considered backdrop for art and furniture. It can also help a room feel more layered, which is central to the collected look associated with Maggie Rose Interiors: vintage pieces, modern forms, tactile finishes and practical furnishings working together rather than appearing matched.
Australian homes offer plenty of opportunities for this approach. A Melbourne Victorian terrace may already have high ceilings and ornate cornices, while a newer Brisbane apartment might need simple wall panelling to establish character. In a Sydney renovation or a compact Adelaide bungalow, carefully proportioned trim can add personality without taking valuable floor space.
Begin With The Room’s Existing Architecture
Before choosing a profile, study the features that are already present. Look at ceiling height, window proportions, door casings, skirting boards, fireplaces, built-in cabinetry and the relationship between adjoining rooms. Architectural trim should feel as though it belongs to the building, even when it is being added during a contemporary update.
A low ceiling usually benefits from restraint. A slim picture rail, narrow architrave or simple square-edged trim can provide detail without making the room feel crowded. In a room with generous ceiling height, deeper skirting, a taller dado rail or layered cornice may be appropriate. The goal is visual balance rather than maximum decoration.
Existing details should also guide the level of formality. If the room has original timber floors, pressed metal features or a Federation-era fireplace, introducing an ultra-minimal shadow gap may create an awkward disconnect. Equally, elaborate heritage profiles can look forced in a streamlined new build. Take cues from the home’s era, then interpret them in a way that suits how the room is used today.
In open-plan homes, trim can define zones without building a wall. A shallow panelled treatment around a dining area, for example, can distinguish it from the kitchen while preserving sightlines. Repeating one profile in a hallway, living room and study can create continuity across spaces that otherwise feel unrelated.
Choose A Profile That Supports The Mood
Skirting boards protect the lower wall, yet they also establish the visual weight of a room. A tall, stepped skirting profile can bring gravitas to a formal living room, while a flat, square-edged board works well with minimalist furniture. In a coastal or relaxed interior, painted timber with a softly rounded edge may feel more natural than a highly carved design.
Architraves frame doors and windows, so their width affects how prominent these openings appear. Wider architraves create a stronger outline and can make a plain doorway feel intentional. If several doors are close together, consistent casings will make the wall read as an organised composition rather than a series of unrelated gaps.
Picture rails and dado rails offer different kinds of structure. A picture rail placed below the cornice can support artwork while protecting the wall from excessive holes. A dado rail divides the wall horizontally and can be paired with a darker lower colour, wallpaper above, or timber panelling below. These elements are especially effective when the change in finish is subtle rather than sharply contrasting.
Wall moulding does not have to mean ornate rectangles covering every surface. A few broad panels behind a bed, sofa or dining table can establish a focal point. For a more contemporary effect, use generous spacing, uncomplicated profiles and paint the trim the same colour as the wall. The resulting shadow lines add depth while keeping the room calm.
Work With Proportion And Repetition
Good moulding design depends on proportion more than decoration. A panel that is too narrow can look fussy, while one that is too wide may overwhelm the wall. As a starting point, consider the size of nearby furniture and openings. A panel behind a console should relate to the console’s width, and a treatment around a window should respect the window’s existing scale.
Repetition creates rhythm. If you install wall panelling in one room, echo its geometry through the shape of a cabinet door, a framed artwork or the lines of a nearby rug. Repetition does not mean copying every detail; it means allowing related shapes to recur so the space feels deliberately composed.
The gaps between panels matter as much as the panels themselves. Equal margins around corners, windows and skirting boards usually create a more polished result than forcing a full rectangle into every available space. Where a wall includes a door or return, it is often better to adjust the panel layout than to maintain a rigid pattern that ends awkwardly.
Scale also needs to reflect Australian construction realities. Many homes use plasterboard walls, and services may run behind them, so avoid assuming that every area can receive deep fixing or heavy timber. Lightweight polyurethane, primed MDF or thin timber strips can deliver a convincing finish when installed carefully. A qualified tradesperson can check for wiring and plumbing before any cutting or nailing begins.
Use Colour And Finish To Add Depth
Painting trim in the same colour as the wall is one of the simplest ways to create architectural interest. Light moving across the raised edges produces gentle shadows, which are often more sophisticated than a high-contrast treatment. This approach suits bedrooms, hallways and modern living rooms where the aim is texture without visual noise.
For a stronger statement, vary the sheen rather than the colour. A low-sheen wall with satin-finish trim can make skirting, rails and panels visible when daylight shifts, while maintaining a unified palette. In a darker room, a slightly reflective finish on the moulding can prevent the architecture from disappearing completely.
Colour blocking can make a room feel taller or more grounded. Painting the lower wall and skirting in a deeper tone visually anchors furniture, while a lighter upper wall draws the eye upward. Extending the ceiling colour a little down the cornice can soften the transition between wall and ceiling. Test sample boards in the actual room, since Australian sunlight can change significantly between a north-facing Brisbane space and a south-facing Melbourne room.
Wallpaper and moulding can also work together. Install slim strips over wallpaper to create framed sections, or use panelling below a picture rail with patterned paper above. The combination adds a collected quality, particularly when the paper introduces a colour found elsewhere in the room. For inspiration beyond predictable matching schemes, explore art that breaks proportion and consider how an intentionally oversized artwork might interact with a formally trimmed wall.
Plan Installation For A Lasting Result
Measure every wall, opening and corner before purchasing materials. Record ceiling height in several places because older homes can settle, leaving floors and ceilings slightly uneven. A laser level is valuable for keeping rails and panel lines consistent, while a mitre saw helps produce clean joins. In a rental, removable picture ledges or lightweight applied strips may provide a lower-commitment alternative, subject to the landlord’s approval.
Preparation determines whether the finished work looks integrated. Fill nail holes, caulk small gaps, sand joins and prime any porous surface before painting. Corners deserve particular attention because even a small discrepancy becomes noticeable when two lines meet. On plasterboard, adhesive may be suitable for lightweight decorative strips, but heavier components need appropriate fixings and professional advice.
Think about maintenance as well as installation. Deep mouldings collect dust more readily, which matters in busy homes or rooms open to the outdoors. Choose durable washable paint in high-traffic hallways and family rooms. In humid coastal areas such as the Gold Coast or parts of Sydney, allow timber to acclimatise indoors and use suitable primers to reduce movement and moisture-related problems.
A small project can be an ideal way to test the effect before committing to an entire home. A framed section behind a desk, a panelled entry wall or a refreshed doorway can reveal whether the chosen profile suits the furniture and light. Maggie Rose Interiors’ DIY decorating projects can provide practical inspiration for manageable updates that build confidence before a larger renovation.
Architectural trim should support the room rather than compete with it. Combine a strong profile with quieter furnishings, or balance detailed panelling with contemporary lighting and relaxed textiles. A vintage Australian timber chair can sit comfortably beside a newly moulded wall when both are connected by colour, scale or material warmth.
The most successful result usually comes from one clear idea repeated thoughtfully: a taller skirting line, a framed fireplace wall, a restrained dado, or a series of panels that gives a dining nook its own identity. Begin with the room’s existing proportions, test one small section in daylight, and mark the first panel layout on the wall before ordering materials.

Recent Projects