Interior Design
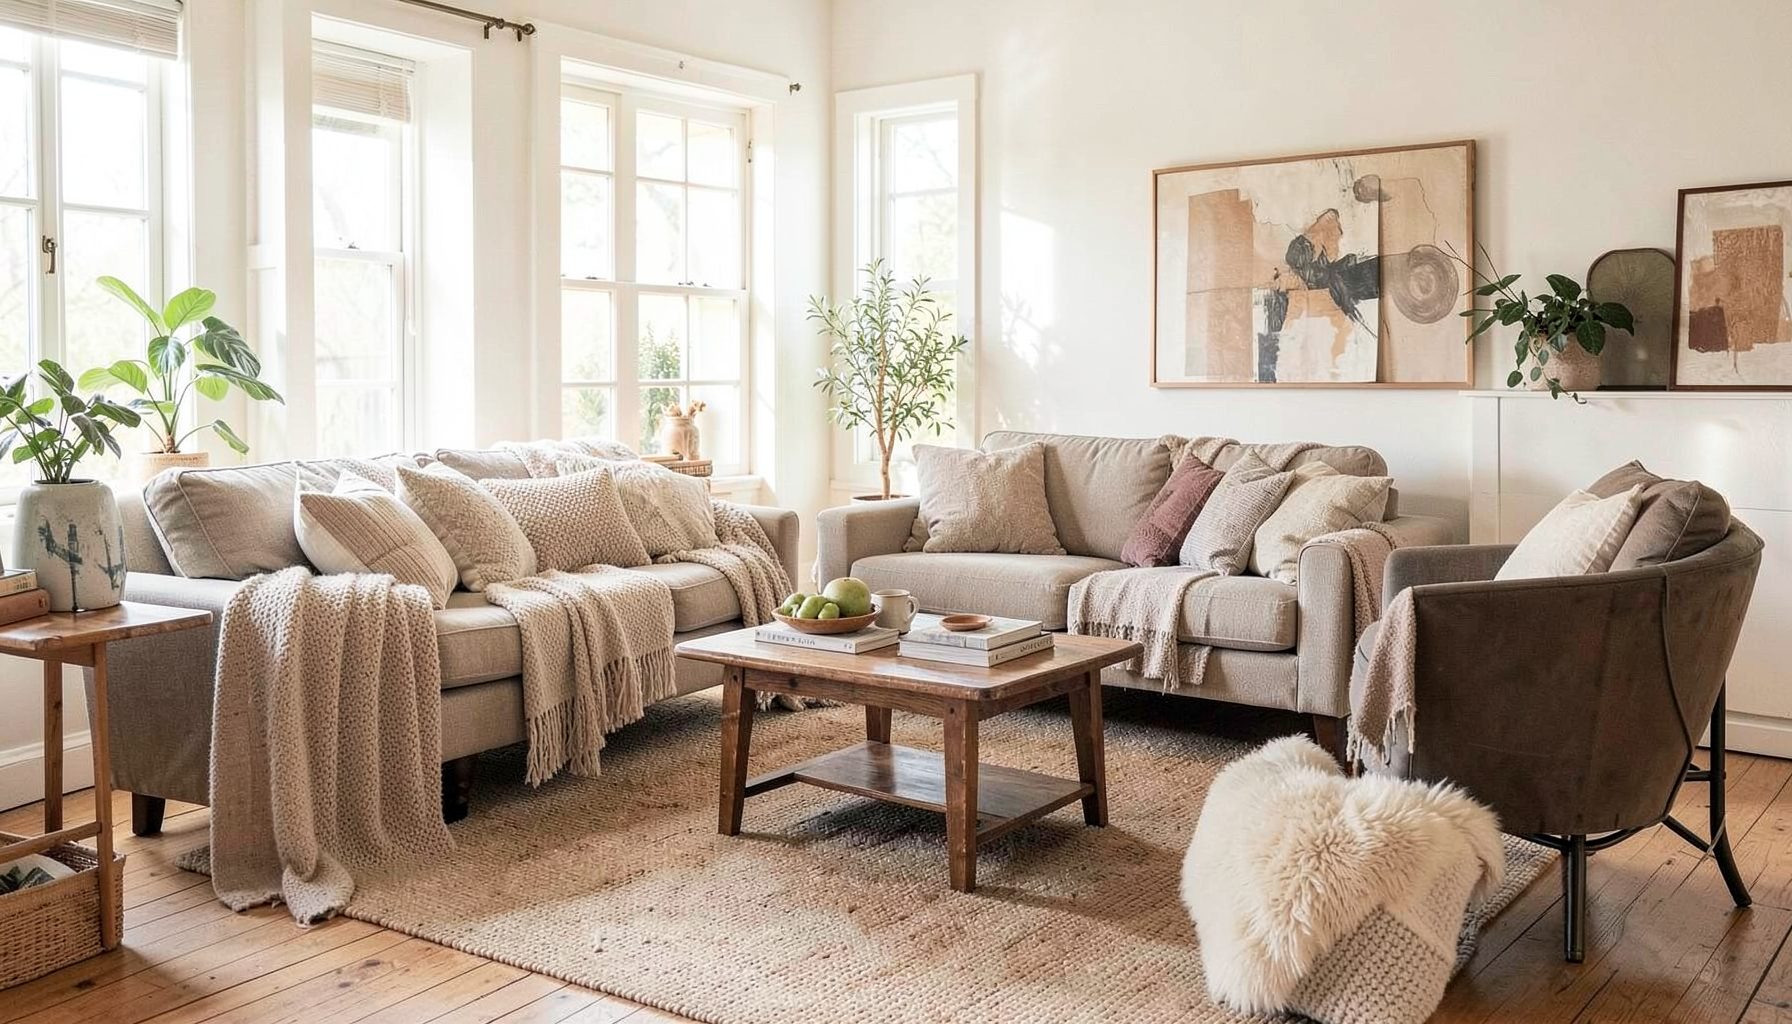
Full-service decorating that blends high and low, vintage finds with modern pieces for spaces that feel personal and collected.
Learn More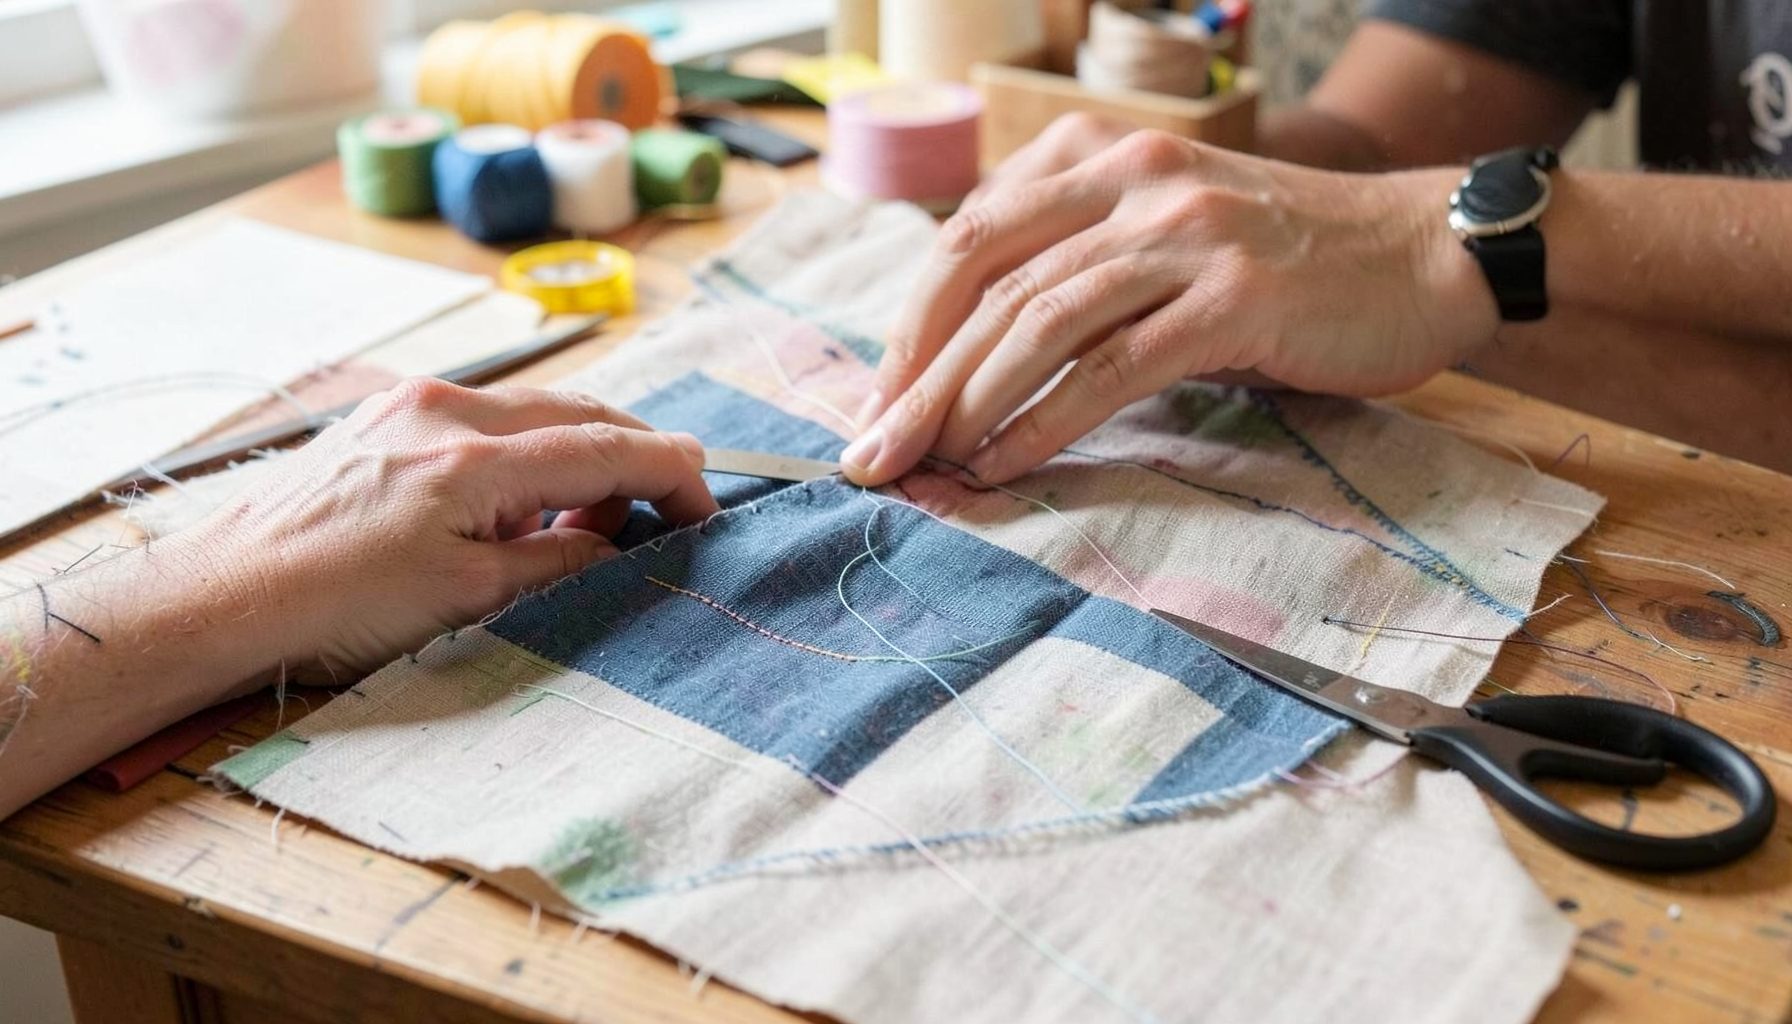
DIY Projects
Step-by-step tutorials for refinishing furniture, sewing pillows, styling bookshelves, and transforming rooms on a budget.
Learn More
E-Decorating
Personalized design guidance delivered online — perfect for clients anywhere in the world who want a professional eye.
Learn More
Portfolio
Browse completed room makeovers, before-and-after transformations, and styling projects from Bay Area homes.
Learn More
Blog
Interior design inspiration, fashion finds, entertaining ideas, and peeks into real home renovations and styling projects.
Learn More
Downloads
Free curated resources for home decorating and design — guides, checklists, and inspiration to help you get started.
Learn MoreDressing up plain curtain panels with decorative trim
Plain curtain panels often arrive looking a little flat, especially the readymade options that Australian households pick up from chains like Spotlight, Adairs, or the soft-goods aisle at Bunnings. They hang beautifully and the blockout lining does its job during those bright blistering afternoons that sweep across Sydney Harbour or the long golden evenings in Perth, but they rarely have the layered collected feel that makes a window feel finished. A strip of trim along the leading edge, the hem, or the entire perimeter changes all of that, and the upgrade takes less than a weekend.
The appeal of adding trim yourself is partly about the budget. A metre or two of bobble fringe, grosgrain, tape, or pom-pom ribbon costs very little and instantly reads custom. It is also about control. Off-the-rack panels come in standard drops of 137 cm, 183 cm, and 224 cm, which works for many Australian windows but rarely fits a federation-style bay in Adelaide or the tall cedar windows of a Queenslander without a trip to the tailor. By trimming the panels yourself, you decide where the visual weight sits, which side the pattern faces, and whether the contrast reads subtle or bold.
Sewing is not strictly required. Hot glue, fabric glue, iron-on stitching tape, and a good double-sided craft tape all work, depending on the trim weight and the look you want. This makes the project accessible to renters, who can attach trim in a way that peels off at the end of the lease, although if you own your place, a quick pass through a Bernina or an Elna will outlast any glue bond. Either way, the result is the same: panels that look like they belong in a curated interior rather than the back corner of a warehouse.
This guide walks through choosing the right trim, working out quantities, and attaching it cleanly, so the finished curtains feel like they were always part of the room. Whether you live in a sandstone apartment in inner Melbourne or a coastal build down the Margaret River, the same principles apply, and most of the materials are easy to find locally.
Choosing a trim that suits the room
The first decision is the type of trim, and Australian textile shops tend to stock a generous range that suits both heritage and contemporary homes. Cotton tape, jute banding, linen bobble fringe, velvet ribbon, and beaded tassel trim are common finds at Spotlight, the fabric counters inside Lincraft, or the haberdashery wall at a Spotlight superstore. Think about the room before falling for the prettiest option. A high-traffic family area near the back deck needs a trim that can handle a curious toddler or an enthusiastic kelpie, which rules out anything beaded, dangling, or loosely braided. Pom-pom trim and woven tape are far more forgiving.
Pattern matters more than people expect. If the curtains are a neutral, the trim can carry the colour story of the room — a soft terracotta ribbon over oatmeal linen in a federation semi in Hawthorn, for example, or a soft blue grosgrain against flax panels in a beach house in Torquay on the Victorian surf coast. If the panels are patterned or already have a strong colour, match the trim to a quiet secondary shade pulled from the fabric rather than introducing a third hue. This is the same layered approach covered more broadly in how-to-choose-and-style, which walks through styling a window from rod to floor.
Another factor is the feel of the trims edge. Some bobble fringes and tassel trims shed fibre for the first few weeks, which can be a problem in a home with ceiling fans or ducted air-conditioning pulling air straight through the curtain. Velvet ribbon and woven tape are tidier in this respect. Before committing, run your hand along a metre of trim at the shop counter. If it feels rough, loose, or synthetically shiny, it will probably look that way from across the room as well.
Working out quantities and prepping the panels
Before cutting anything, hang the panels on the rod and let them settle for a day. Most Australian readymade curtains need a few days of gravity before they hang the way they will long-term, especially the heavier blockout options sold through Adairs or H&M Home. Once settled, decide where the trim will sit. A border around all four edges makes a strong statement and suits solid panels, while a single strip along the leading edge or along the hem keeps things understated.
Measure the edges you plan to trim and add a small allowance for turning under the ends — about 1.5 cm on each side is plenty. If you are running trim around the entire perimeter, add the two drops plus twice the panel width, then multiply by the number of panels. Buy a little extra. The rule most decorators lean on is 10 to 15 percent over the measured length, which covers miscalculations and lets you square off both ends cleanly. Australian retailers generally cut fabric to the tenth of a metre, so rounding up to the nearest 0.1 m keeps the maths simple.
Lay the panels face-down on a clean surface. The trim around a kitchen table usually works, or a tiled floor wiped down first. Use a measuring tape, a long ruler, and tailor's chalk or a washable fabric marker in a contrasting colour. If you are running trim around the entire panel, mark 1.5 cm in from each edge all the way around, which becomes your stitching or gluing line. Press the panels with a steam iron first to remove any creases from the packaging, since a pressed flat surface makes it easier to keep the trim level.
Sewing the trim in place
For those who sew, a simple straight stitch along the trim line is the most durable option, and an edgestitch foot or a quarter-inch foot keeps the line tidy and consistent. Thread the bobbin with a shade that matches the trim rather than the panel, so any minor wobbles disappear into the trim itself. When sewing trim with a woven edge, the needle runs just inside the selvedge of the ribbon, which is usually marked by a faint woven ridge. For fringed, tasselled, or pom-pom trim, position the stitching line about 5 mm above the trim itself so the swings hang below the stitch.
Pin generously before you approach the machine, since trim tends to shift under the presser foot. Insert pins at right angles to the trim, which lets you pull them out without snagging the fringe as it passes over. When stitching corners, stop with the needle down, pivot the work, and continue. A small square of interfacing pressed into each corner first gives the seam something firm to bite into, especially with older panels that have softened with washing.
For a fully invisible finish on ribbon and flat banding, slip stitch the trim to the panel by hand. The thread matches the panel, the needle passes behind the ribbon edge, and the stitches vanish into the fold. It is slow, but it is the technique most decorators reach for when working on a heritage window where the curtains will hang for decades.
Gluing, ironing, or taping the trim
If you do not own a machine, fabric glue is the next most reliable option, particularly for woven cotton tape and grosgrain ribbon. Apply a thin line along the back of the trim, press firmly onto the panel along the marked line, and pin every 15 to 20 cm to hold it in place while the glue sets. Lift the curtains gently after several hours rather than straight away, and avoid hanging them for at least 24 hours so the bond cures properly. A small tube of glue usually covers about 4 to 5 metres of trim, which is enough for two standard panels.
Iron-on hemming tape is the friendliest method for renters. It works best with flat trims such as ribbon or banding, where the adhesive has solid contact with the panel. Simply press the trim onto the marked line, cover with a pressing cloth, and hold a hot iron along it for the time specified on the packaging, usually about 10 seconds per section. Keep the iron still rather than gliding it, so the adhesive melts evenly. Should the trim ever need to come off, a little solvent on a cotton bud releases most iron-on products without leaving a mark on the panel.
Hot glue deserves a small word of caution. It is fast and tempting, but it can bleed through linen and leave a telltale shine on velvet. It also softens in the Australian summer when a closed-up room climbs towards forty degrees, which has been known to undo a beautiful strip of pom-pom trim on a western-facing window. Reserve hot glue for trims you intend to replace soon, or for projects where the curtains hang inside an air-conditioned space.
Finishing touches and styling the panels
Once the trim is attached, give the panels one final press along the trim line with a pressing cloth between the iron and the trim, especially with delicate materials like velvet or silk-blend ribbon. Trim the loose threads at each corner with sharp fabric scissors, and if you have stitched, finish the raw ends of the trim with a dab of clear fabric glue to stop them fraying. Rehang the panels, adjust the gathers, and step back from across the room. The eye will tell you quickly if the lines of trim are running parallel to the floor or if they have drifted.
Layering matters as well. A trimmed panel looks richer when paired with a quiet sheer behind it, hung on the same rod with double brackets. Australian homes often suit sheers more than heavy drapes because of the bright afternoons and large windows common in suburbs from Fremantle to Newtown. A sheer keeps the privacy after dark without blocking the sea breeze, and lets the trim sit forward as the focal point.
If the room features other patterned elements — a rug, an upholstered headboard, a series of framed botanicals — echo the trim colour in at least one of those pieces to tie the window into the broader scheme. Velvet tape on cream linen panels in a Coal Point living room might mirror a sage-green velvet cushion, while a saffron cotton braid could pick up the mustard tones in a vintage oil painting hung nearby.
The trim is the last detail a room remembers. Long after the paint colour has faded from memory and the sofa has been reupholstered twice, the line of braid along the edge of the curtains stays. Choose carefully, measure twice, attach it once, and the panels will quietly do their job for years. Patience over speed is what gives the finished window that considered, layered look a room really needs to feel finished.

Recent Projects