Interior Design
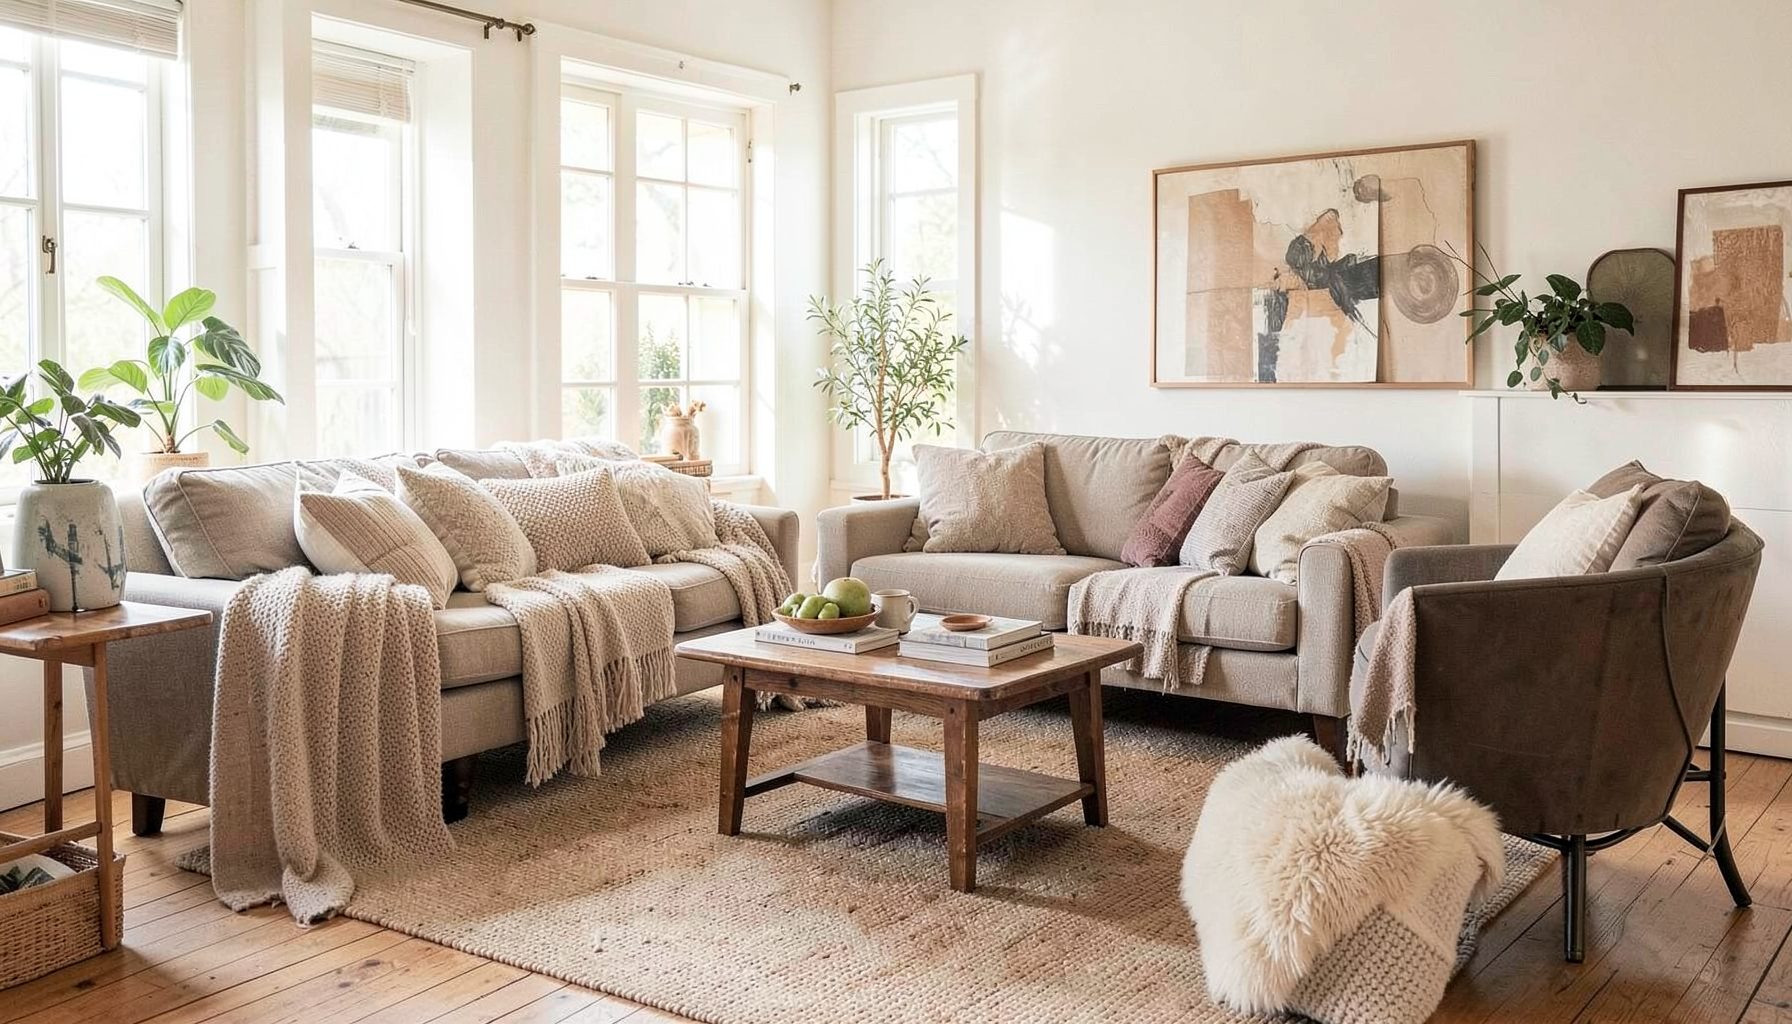
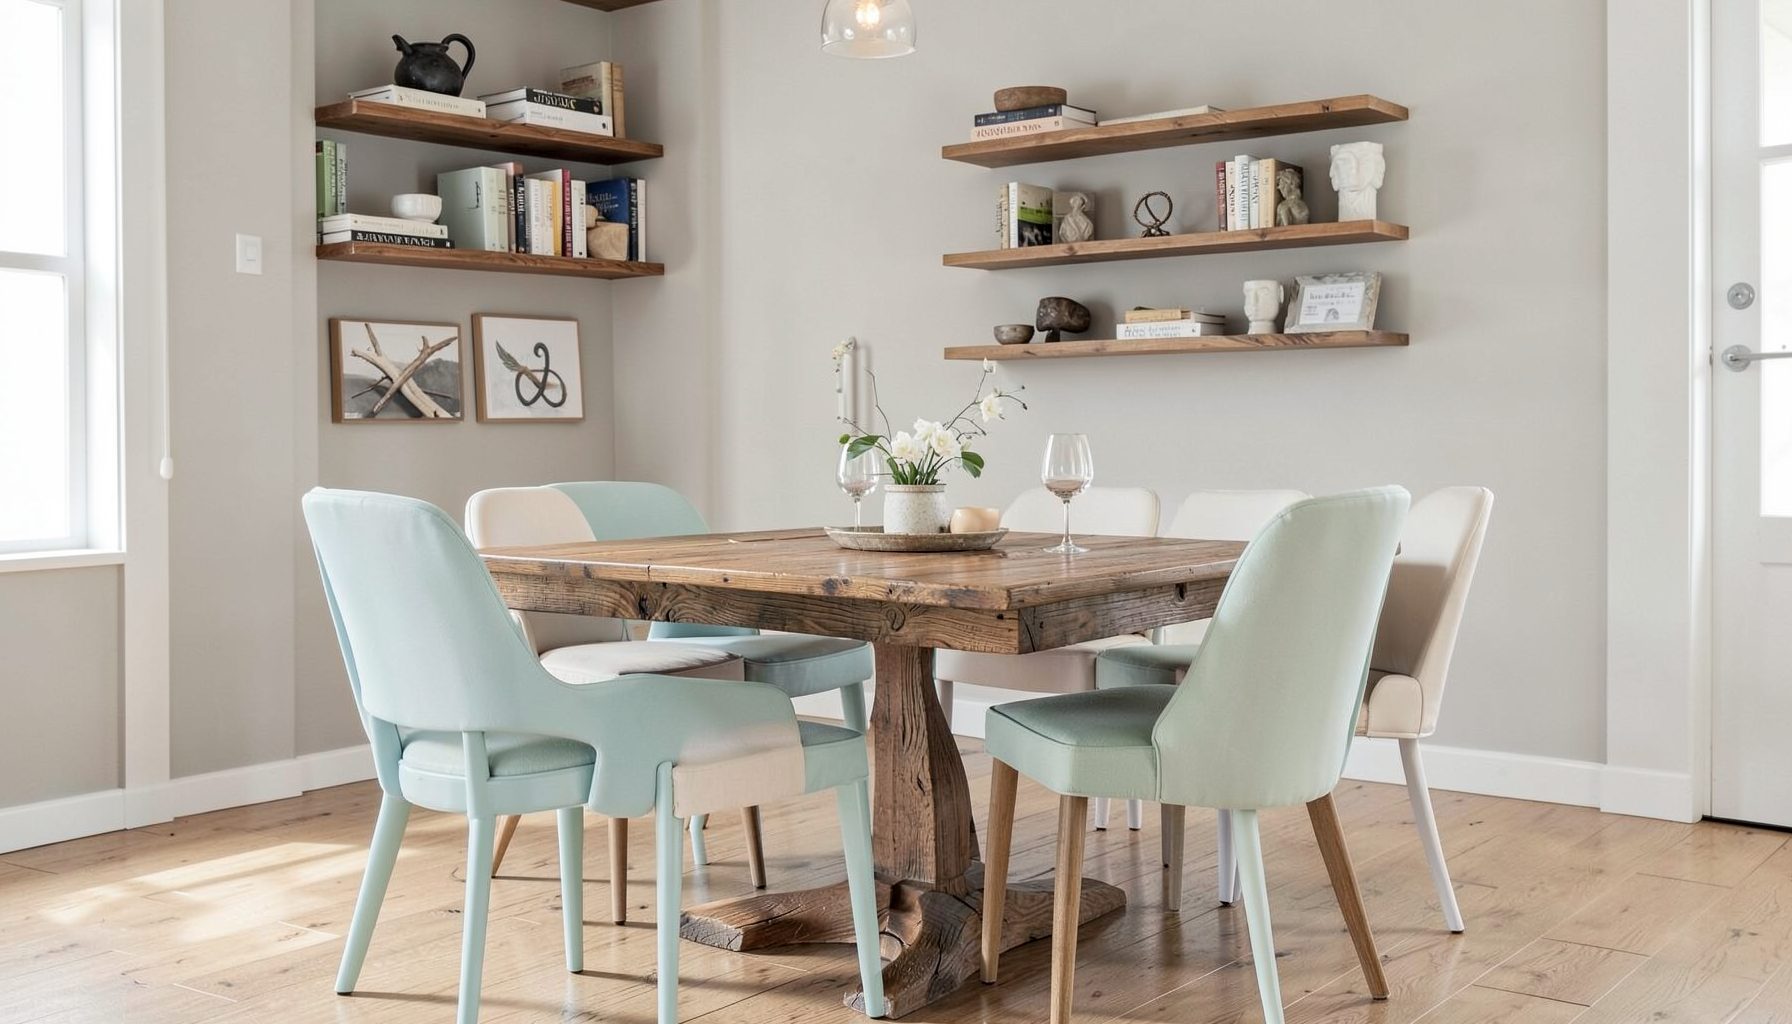
Full-service decorating that blends high and low, vintage finds with modern pieces for spaces that feel personal and collected.
Learn More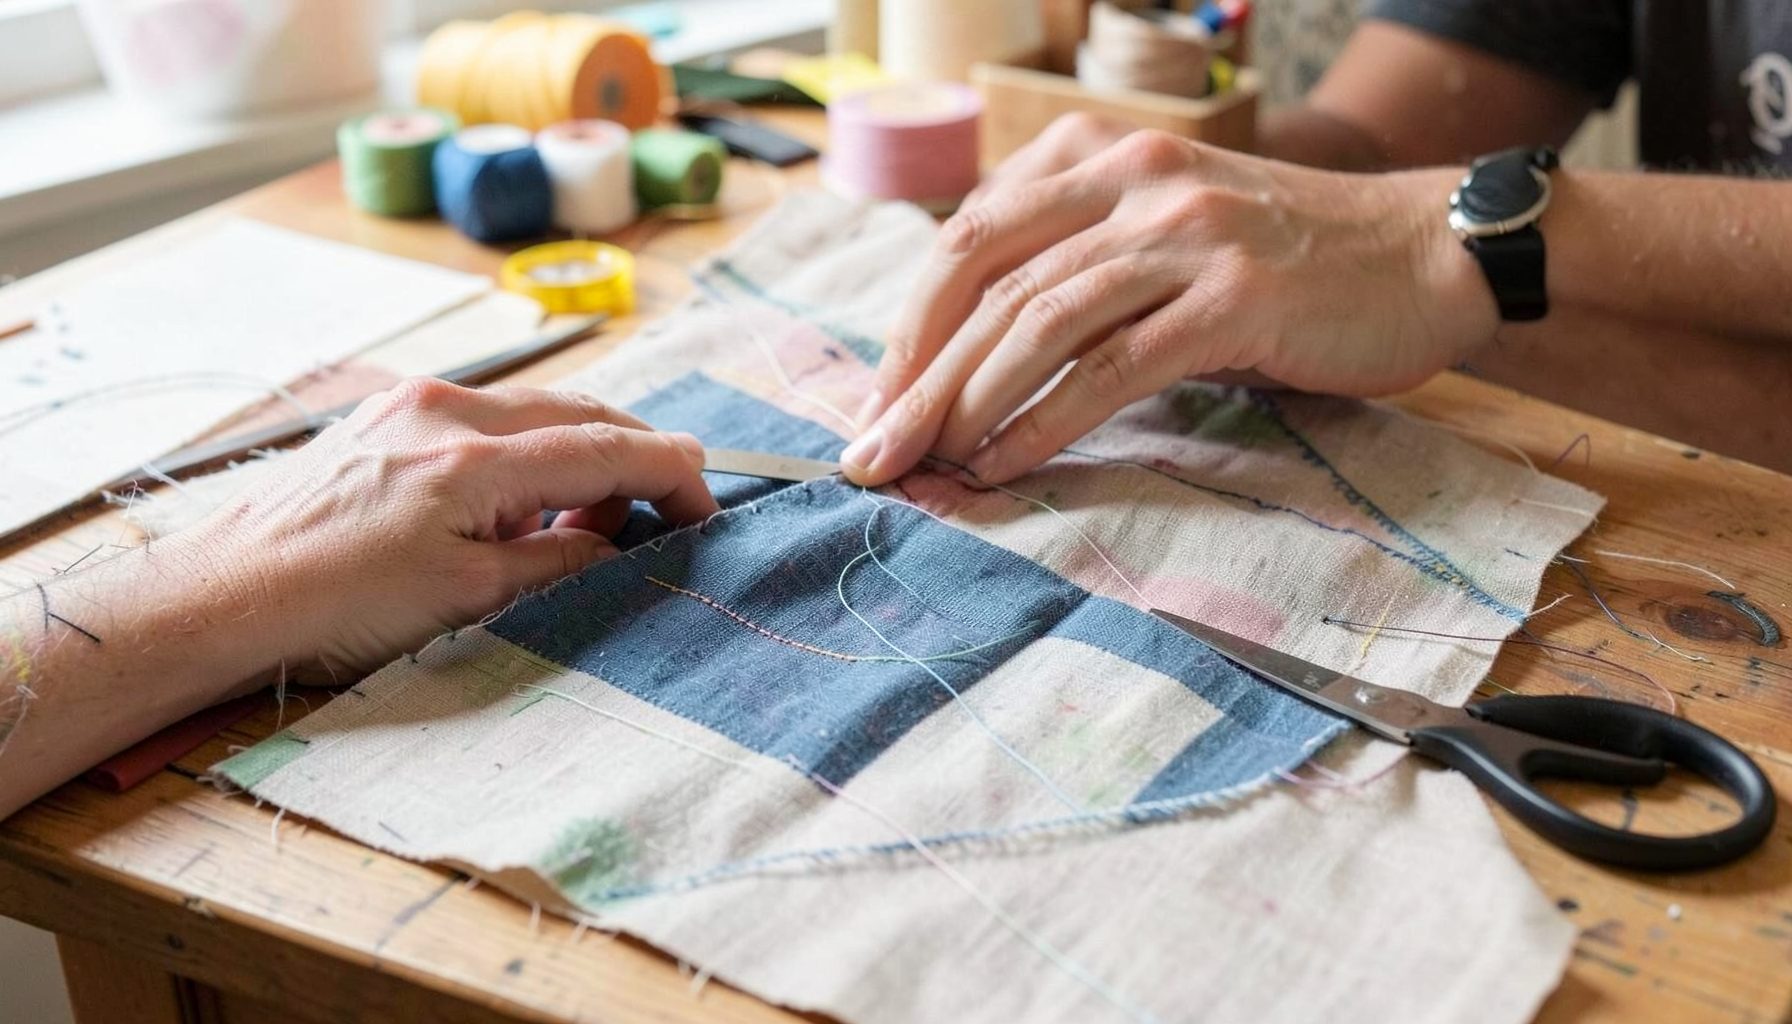
DIY Projects
Step-by-step tutorials for refinishing furniture, sewing pillows, styling bookshelves, and transforming rooms on a budget.
Learn More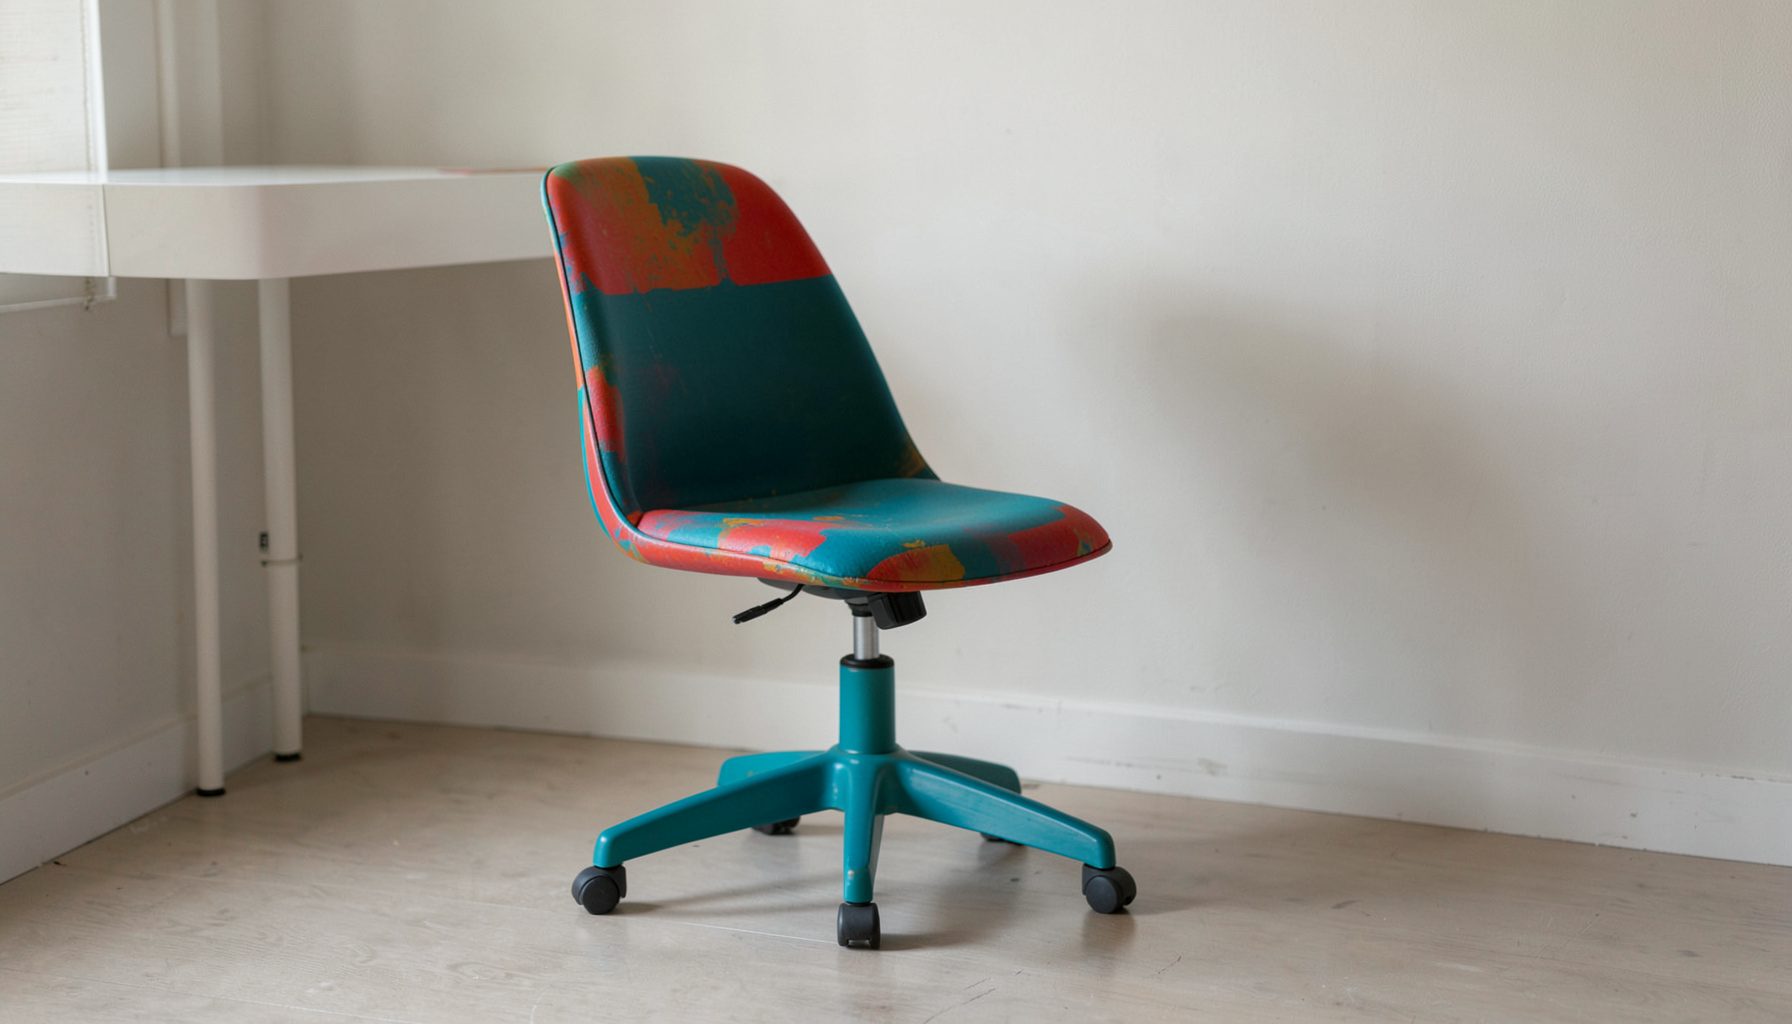
E-Decorating
Personalized design guidance delivered online — perfect for clients anywhere in the world who want a professional eye.
Learn More
Portfolio
Browse completed room makeovers, before-and-after transformations, and styling projects from Bay Area homes.
Learn More
Blog
Interior design inspiration, fashion finds, entertaining ideas, and peeks into real home renovations and styling projects.
Learn More
Downloads
Free curated resources for home decorating and design — guides, checklists, and inspiration to help you get started.
Learn MoreDIY Painted Furniture: From Dresser to Side Table
A tired dresser can become a useful, character-filled side table with a little imagination and a weekend of careful work. Painted furniture offers an affordable way to refresh a room while preserving the shape, details, and history of a piece you already own. The transformation can be as subtle as a soft neutral finish or as expressive as a saturated jewel tone.
Turning a dresser into a side table involves more than applying a new color. You may need to remove drawers, adjust proportions, reinforce the frame, and decide how the finished piece will function. The goal is to create furniture that looks intentional rather than repurposed as an afterthought.
A layered approach works especially well in collected interiors. A vintage dresser can sit comfortably beside modern lighting, woven textures, and streamlined upholstery when the paint finish, hardware, and styling are thoughtfully chosen. For additional collected design inspiration, look for rooms that balance old and new pieces instead of matching every element.
Choose The Right Dresser
Begin with the structure. A solid wood dresser is usually the best candidate because it can withstand sanding, drilling, and hardware changes. Veneer can also work if it is firmly attached, while swollen particleboard or severely water-damaged furniture may require more repair than the project is worth. Open every drawer, inspect the back, and check whether the piece rocks on a flat surface.
The dresser’s proportions matter just as much as its condition. A low, wide piece can become a substantial end table behind a sofa or a media console, while a narrow chest may work beside an armchair or bed. Measure the available space before you shop for furniture, paying attention to the height of nearby seating and the clearance needed for drawers or doors.
Consider how you will use the finished side table. If it will hold a lamp, books, and a drink, a stable top and smooth drawer operation are essential. If it will serve as an entryway accent, storage may matter more than access from a seated position. Defining the purpose early will guide every later decision.
Plan The Conversion
Many dresser transformations begin by removing one or more drawers. Taking out the bottom drawers can create an open shelf for baskets, folded throws, or decorative objects. Removing all drawers may turn the piece into a console-style table, but the exposed interior should be finished so it looks deliberate. Sand the drawer supports, fill unnecessary holes, and paint the inside in a coordinating shade.
A dresser may need new legs to achieve the right height. Tapered wood legs create a mid-century feel, turned feet add traditional character, and simple metal legs bring a more industrial edge. Before attaching anything, place the dresser on temporary blocks and evaluate the scale in the room. This makes it easier to test height without committing to hardware.
If the piece is already close to the desired dimensions, you may only need to update the top and front. A thick wood slab, stone remnant, or durable laminate surface can give the furniture a completely different presence. Secure any new top from the underside whenever possible so the exterior remains clean and the material can expand naturally.
Prepare The Surface Properly
Good preparation is the difference between a professional-looking furniture makeover and a finish that chips after a few weeks. Remove the hardware, empty the drawers, and clean every surface with a degreasing cleaner. Old furniture often carries polish, wax, cooking residue, or hand oils that can prevent primer and paint from adhering.
Repair dents, loose joints, and deep scratches with suitable wood filler. Once dry, sand the repairs smooth. You do not need to strip every layer of existing finish, especially when using a quality bonding primer, but glossy areas should be dulled with medium-grit sandpaper. Finish with a finer grit to soften rough edges and remove visible sanding marks.
Pay special attention to corners, drawer fronts, and the area around knobs. These spots receive repeated contact and will reveal poor preparation quickly. Vacuum the furniture and wipe it with a clean, slightly damp cloth before priming. Work in a ventilated space and allow the surface to dry fully between products.
Compare Paint And Finish Options
The best paint depends on the furniture’s material, the amount of use it will receive, and the look you want to create. Mineral and chalk-style paints are popular for vintage furniture because they can produce a soft, matte finish with limited preparation. Water-based cabinet and furniture paints generally offer greater durability and a smoother, more contemporary appearance.
A primer is especially useful when the dresser has a glossy coating, dark stained wood, or potential tannin bleed. Without a stain-blocking primer, reddish or yellow-brown discoloration may appear through pale paint. Test your products on an inconspicuous area first, particularly if you are working with an older piece whose finish or wood species is unknown.
| Finish approach | Appearance | Preparation | Durability | Best suited to |
|---|---|---|---|---|
| Chalk-style paint | Soft, matte, slightly aged | Light sanding plus cleaning | Moderate with protective coat | Traditional and cottage-inspired pieces |
| Mineral paint | Velvety, low-sheen color | Cleaning and targeted sanding | Moderate to high | Layered, relaxed interiors |
| Water-based furniture paint | Smooth satin or semi-gloss | Thorough sanding and primer | High | Frequently used side tables |
| Milk paint | Thin, timeworn, authentic texture | More variable and involved | Moderate with sealer | Rustic or historic furniture |
| Paint with a clear coat | Custom sheen and added protection | Depends on base paint | High when applied correctly | Tabletops and high-contact surfaces |
For a side table, satin or low-sheen finishes are often practical because they can be wiped clean without looking overly glossy. Flat paint can be beautiful on the body, while a slightly more durable topcoat protects the surface from rings, spills, and scratches. Always follow the manufacturer’s instructions for cure time; furniture can feel dry while remaining vulnerable underneath.
Apply Color With Intention
Color can make a repurposed dresser feel integrated with the rest of the room. Pull a shade from an existing rug, artwork, or upholstered chair for a coordinated effect. A warm white can soften a traditional piece, olive green brings an earthy quality, and deep blue can make a small table feel architectural. If the room already contains strong patterns, a muted neutral may provide better balance.
Use a high-quality angled brush for detailed edges and a small microfiber roller for broad, flat surfaces. Apply thin, even coats instead of trying to cover everything in one pass. Lightly sand between coats if the paint manufacturer recommends it, then remove dust before applying the next layer. Two or three coats are often better than one heavy coat that obscures carved details.
You can add visual depth without making the piece look artificially distressed. Brush a slightly darker color into grooves, sand only the edges that would naturally receive wear, or paint the drawer interiors in a quiet contrasting shade. Another option is a two-tone treatment: one color for the frame and another for the drawers or new top.
Protect the finished paint with the appropriate sealer. A water-based clear coat usually preserves light colors without adding much yellow, while furniture wax can create a soft tactile finish. Wax may require more maintenance and is less suitable for a tabletop exposed to frequent moisture. Apply protection in light layers and allow the full curing period before styling the piece.
Refine The Details
Hardware can change the character of a painted furniture project immediately. Original pulls may be worth cleaning and reusing if they suit the new color. Brass knobs can add warmth to charcoal or navy, aged bronze complements earthy greens, and simple black pulls provide definition against pale paint. If the existing holes do not match your preferred hardware, fill them carefully before painting or choose replacements with compatible spacing.
Do not overlook the legs and base. Painting them in the body color creates a unified, substantial look, while leaving natural wood exposed introduces contrast. For a more collected appearance, combine a painted frame with a stained or sealed wood top. The transition should look intentional, so soften the edge between materials and use a finish that gives both surfaces a similar level of refinement.
Small construction details also affect longevity. Tighten loose screws, add felt pads beneath the legs, and install drawer stops if removed drawers could slide too far. If the side table will stand beside a sofa or bed, check that its corners are smooth and that the drawers open without catching on nearby furniture.
Style The Finished Side Table
Once the paint has cured, style the piece with restraint. A table lamp, a small stack of books, and one organic element such as a ceramic vessel or branch can be enough. Leave some surface visible so the color and craftsmanship remain part of the composition. Overfilling the top can make a carefully restored piece look cluttered.
Use the drawers to add practical storage rather than visual noise. Keep chargers, stationery, reading glasses, or remote controls out of sight. If you removed a drawer to create a shelf, add a woven basket or a few neatly arranged books. The interior should support the room’s function while the exterior contributes personality.
Think about contrast when placing the table. A painted piece with ornate details can bring softness to a room filled with clean-lined furniture. A simple dresser with a bold finish can energize a neutral space. Vintage furniture does not need to be surrounded by antiques; pairing it with contemporary art, modern textiles, or sculptural lighting helps the room feel collected over time.
Make The Project Feel Personal
The most successful DIY furniture projects preserve something meaningful about the original piece. Maybe the dresser belonged to a family member, came from a favorite thrift shop, or has proportions that are difficult to find in new furniture. Keeping a distinctive drawer pull, visible wood grain, or a small imperfection can give the finished side table a sense of history.
At the same time, personalization should support the way you live now. Choose a finish that works with your maintenance habits and a height that suits the room rather than following a trend exactly. A beautiful piece that is awkward to use will not remain a favorite for long.
Before bringing the table into place, inspect it in daylight and evening light. Check for missed areas, uneven sheen, or hardware that needs another adjustment. Then give the paint and protective finish enough time to cure before placing heavy objects on top.
Smart Choices For A Smoother Makeover
- Measure the room, seating, and dresser before purchasing materials or new legs.
- Clean and lightly sand every surface, even when the paint claims to require minimal preparation.
- Test the paint color and protective finish on a hidden section before coating the entire piece.
- Use durable hardware and a protective topcoat on surfaces that will receive daily contact.
- Keep the styling simple so the transformed furniture remains useful and visually distinctive.
A dresser-to-side-table project can be modest in cost while delivering the visual impact of a fully custom piece. With careful preparation, a considered color palette, and a few structural adjustments, old furniture gains a new purpose without losing its character. Gather your tools, select a piece with good bones, and create a painted accent that makes your room feel more layered, personal, and complete.

Recent Projects