

Interior Design
Full-service decorating that blends high and low, vintage finds with modern pieces for spaces that feel personal and collected.
Learn More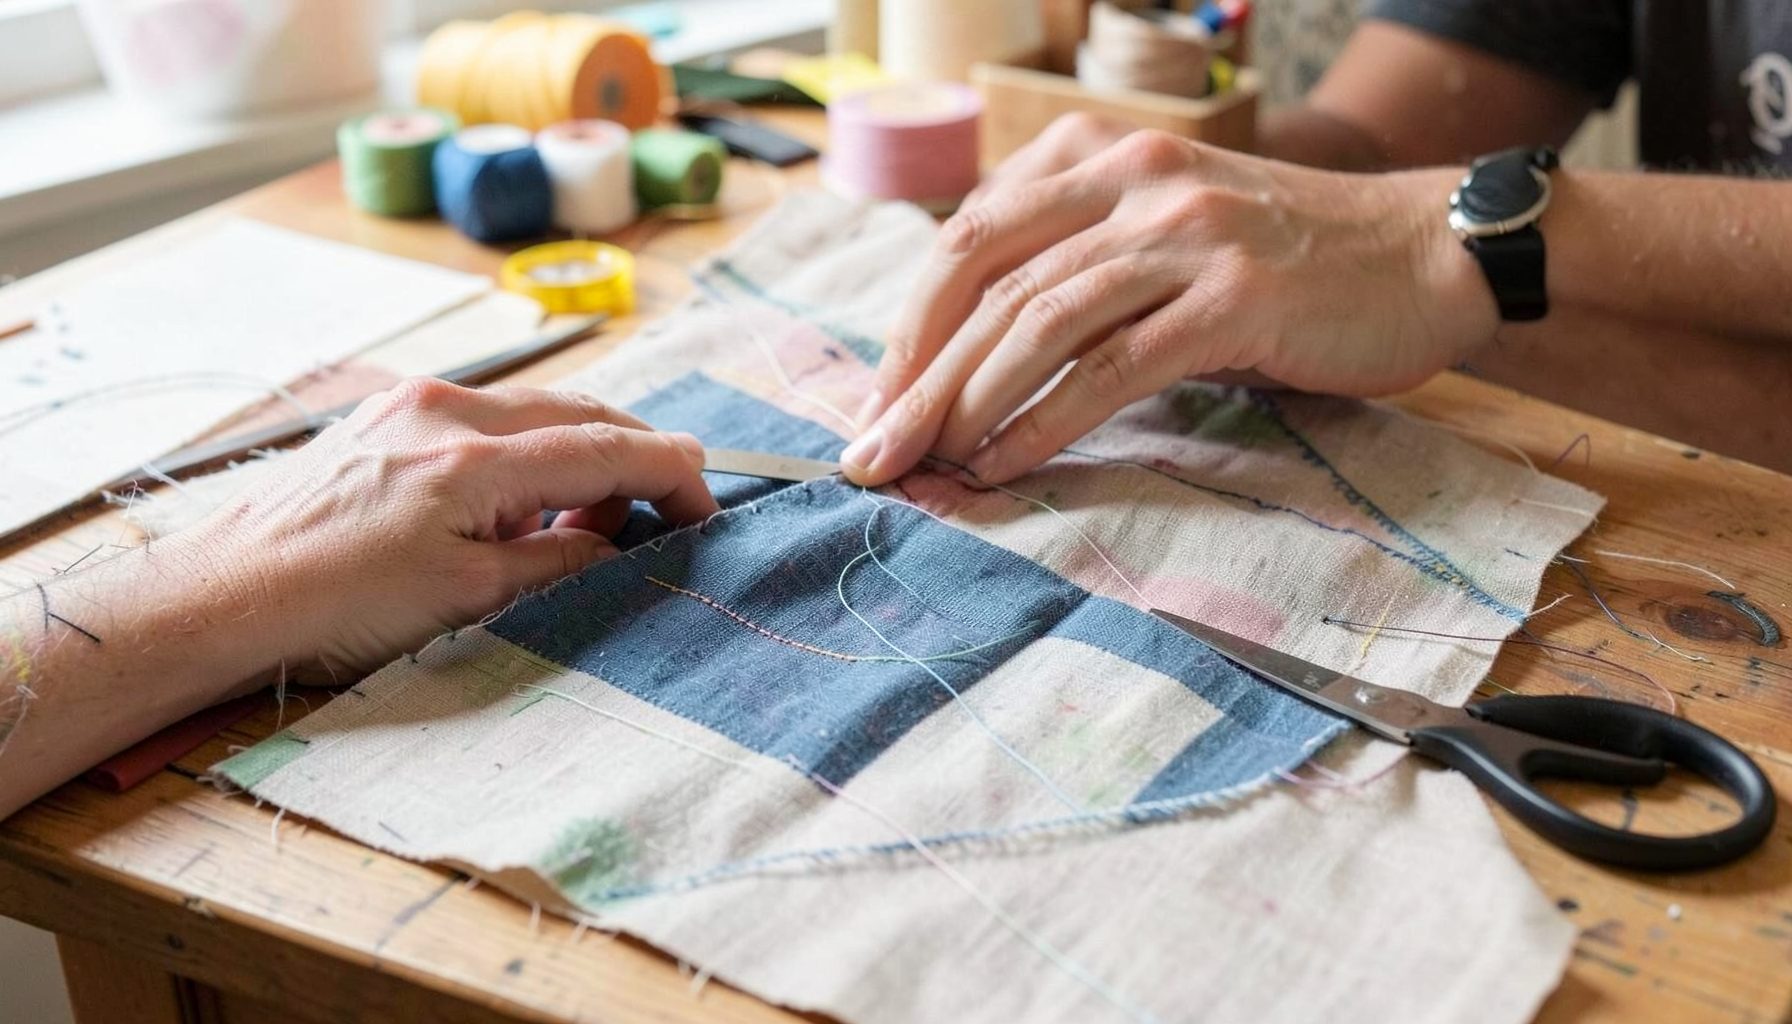
DIY Projects
Step-by-step tutorials for refinishing furniture, sewing pillows, styling bookshelves, and transforming rooms on a budget.
Learn More
E-Decorating
Personalized design guidance delivered online — perfect for clients anywhere in the world who want a professional eye.
Learn More
Portfolio
Browse completed room makeovers, before-and-after transformations, and styling projects from Bay Area homes.
Learn More
Blog
Interior design inspiration, fashion finds, entertaining ideas, and peeks into real home renovations and styling projects.
Learn More
Downloads
Free curated resources for home decorating and design — guides, checklists, and inspiration to help you get started.
Learn MoreDIY No-Sew Curtains for a Fresh Window Treatment
A window treatment can change the mood of a room faster than almost any other decorating update. Curtains soften hard architectural lines, filter sunlight, add color and pattern, and make furniture feel more connected to the surrounding space. The best part is that you do not need a sewing machine or advanced craft skills to create a polished result.
No-sew curtains are especially useful when you want a quick room makeover, a budget-friendly refresh, or a temporary solution for a rental. With fabric, iron-on hem tape, curtain rings, and a properly placed rod, you can create custom-looking panels in an afternoon.
The goal is to make the project feel intentional rather than improvised. Thoughtful measurements, generous fabric, and a few styling decisions will help your finished window treatment look at home in a layered space filled with both vintage and modern pieces.
Why This Update Works
Bare windows can make a room feel unfinished, even when the furniture and accessories are carefully chosen. Fabric panels add softness and visual height, helping a room feel warmer and more balanced. They can also make a narrow window appear wider when the rod extends several inches beyond the frame.
Curtains offer practical benefits, too. A lightweight linen or cotton panel can diffuse harsh afternoon light, while a heavier fabric provides privacy and a little insulation. If you choose a washable material, the treatment can be refreshed easily as seasons or household needs change.
A no-sew approach keeps the project accessible. Fusible web tape creates a clean hem with heat rather than stitching, and clip-on curtain rings eliminate the need for sewn pockets or grommets. These shortcuts are simple, reliable, and easy to reverse if you later want to change the fabric.
Choose Fabric and Take Accurate Measurements
Begin by deciding what you want the curtains to do. For filtered light and an airy look, consider cotton voile, gauze, washed linen, or lightweight canvas. For greater privacy, use a tightly woven cotton, velvet, twill, or a lined drapery fabric. A fabric store’s decorator-weight section is often a useful place to browse because these materials hang more gracefully than very thin craft fabric.
Measure the window, trim, and wall area around it before purchasing anything. Mounting the rod above the window casing and extending it beyond both sides usually creates a more substantial appearance. Measure from the planned rod position to the desired finished length, then add extra fabric for the top attachment and bottom hem.
Curtains generally look fuller when the combined panel width is about one-and-a-half to two times the width of the window. If the fabric is narrow, plan on multiple panels. For a relaxed, gathered effect, use more yardage; for a clean, tailored look, use slightly less fullness and choose a fabric with a strong drape.
The pattern scale deserves attention as well. Large motifs can become distracting on small windows, while a subtle stripe, check, or botanical print can add interest without overwhelming the room. If using two different fabrics, repeat at least one color elsewhere in the space so the window treatment feels connected to the overall palette.
Gather Materials Before You Start
The project requires only a few basic tools, but having everything ready makes the process faster and more precise. An iron and ironing board are essential because the adhesive tape needs even heat to bond properly. A measuring tape, fabric scissors, straight pins or clips, a pencil, and a clean work surface will help you keep the edges straight.
Choose a high-quality fusible hem tape intended for the weight of your fabric. Some tapes work best with lightweight cotton, while others are designed for heavier materials. Read the package directions carefully and test a small scrap before applying the tape to the finished panels.
Clip-on curtain rings are a particularly flexible choice. They attach directly to the top edge of the fabric and allow you to adjust the panel height without making permanent changes. Curtain hooks, adhesive-backed tabs, or a tension rod may also work, depending on the fabric and window.
Before beginning, wash and dry the fabric if the care instructions allow it. Natural fibers may shrink, and prewashing prevents a finished panel from becoming too short after its first cleaning. Press the fabric afterward so the measuring and folding stages are easier.
Create the Panels Without a Sewing Machine
Lay the fabric flat with the wrong side facing up. Trim away uneven edges, then mark the finished width and length with a pencil or removable fabric marker. If the fabric has a repeating pattern, line up the design before cutting so the panels will look consistent when hung side by side.
For the side hems, fold the raw edge inward by the width recommended on the hem tape package, usually around one inch. Press the fold to create a crease, place the tape inside the fold, and iron slowly according to the manufacturer’s instructions. Allow the adhesive to cool fully before moving the panel.
Finish the bottom edge last. A deeper hem, often two to four inches, gives the curtain more weight and helps it hang straight. For a crisp modern panel, make the bottom hem precise and even. For a relaxed linen treatment, a slightly softer finish can suit the material, though the fold should still be secure and tidy.
Attach clip rings evenly across the top edge, spacing them approximately six to eight inches apart. Use enough rings to support the fabric without creating deep, awkward dips. Hang the panel, step back, and adjust the ring placement if the folds look uneven.
The right method depends on the window, fabric, and desired finish. This quick comparison can help you select an approach before cutting:
| No-Sew Method | Best For | Finished Look | Main Consideration |
|---|---|---|---|
| Fusible Hem Tape | Clean side and bottom hems | Tailored and polished | Requires careful ironing |
| Clip-On Curtain Rings | Renters or adjustable panels | Casual to refined | Clips may be visible |
| Adhesive Curtain Tabs | Lightweight fabric | Simple and streamlined | Less reliable for heavy material |
| Tension Rod | Small windows and rentals | Minimal and relaxed | Limited weight capacity |
| Fabric Glue | Small repairs or accents | Flexible and informal | May stiffen delicate fabric |
If you want a more traditional appearance, use clip rings with small curtain hooks. The hooks can be attached along a folded top edge, creating a softer line while keeping the process stitch-free. For very heavy panels, use a strong rod and hardware rated for the total weight.
Style the Curtains Into the Room
Hang the rod high enough to draw the eye upward, but keep its position proportional to the ceiling and trim. In many rooms, placing it several inches above the window casing works well. Extend the rod beyond the frame so the curtains can sit beside the glass when open rather than blocking valuable daylight.
Decide whether the panels should skim the floor, hover just above it, or puddle slightly. A floor-skimming hem tends to look crisp and contemporary. A tiny break at the floor feels softer and more relaxed, while generous puddling is best reserved for fabrics that drape beautifully and rooms where the extra maintenance is practical.
Consider the relationship between the curtains and the rest of the room. A patterned panel can echo a pillow, rug, or piece of art. A solid fabric may be the better choice when the room already has several prints. Mixing a vintage textile with a simple modern rod is one way to create a collected appearance without making the window feel overly decorated.
A thoughtful, layered room has room for contrast. The curtains might bring in an old-world stripe, a natural fiber, or a color found in an antique accessory while the hardware stays clean and contemporary. For more ideas on balancing distinctive pieces, explore this guide to a collected look without allowing the room to become visually crowded.
If the window is in a bedroom or media room, consider adding a simple roller shade behind the decorative panels. The shade can handle privacy and light control while the curtains provide softness and personality. In a living room, sheer panels layered under heavier side curtains can create a flexible treatment that changes throughout the day.
Avoid Common No-Sew Curtain Problems
The most frequent mistake is cutting fabric before confirming the rod height and finished length. Mark the exact hanging point first, then measure down to the place where you want the curtain to end. Remember that clip rings, hooks, and tabs each add a different amount of length.
Another common issue is insufficient width. A single flat panel may cover the window, but it can look skimpy when closed and fail to create attractive folds. When in doubt, purchase extra fabric and use fuller panels. You can always leave them more open, but you cannot add width easily after cutting.
Heat-sensitive or delicate fabrics require extra care. Always test the iron and adhesive on a scrap, using a pressing cloth when recommended. Avoid holding the iron in one place too long, and allow the bond to cool before pulling at the hem.
Hardware should be selected with the finished weight in mind. A narrow tension rod may bend under lined drapery, while lightweight plastic rings may not glide smoothly with heavy canvas. Strong brackets, a sturdy rod, and properly placed wall anchors will make the treatment safer and easier to operate.
Add Finishing Details That Feel Custom
Small adjustments can make a quick window project appear professionally considered. Press the panels before hanging them, keep the folds facing the same direction, and check that both sides reach the same height. If the fabric is especially soft, a light steam can help release wrinkles without flattening its texture.
Use tiebacks when you want to frame the window during the day. Leather straps, vintage brass hooks, cotton rope, or a simple strip of coordinating fabric can all work. Keep the tieback height consistent on both sides, and avoid pulling the panels so tightly that they lose their natural drape.
For a polished result, prioritize these details:
- Extend the curtain rod beyond the window so open panels do not cover the glass.
- Use enough fabric fullness to create relaxed, even folds.
- Make the bottom hem deeper than the side hems for added weight.
- Repeat a curtain color or texture in at least one nearby accessory.
- Test all adhesive products on a fabric scrap before finishing the panels.
You can also customize the treatment over time. Add a second layer for privacy, replace plain rings with decorative hardware, or move the panels to another room when your design needs change. This flexibility makes no-sew curtains a practical starting point for a broader decorating project rather than a one-time craft.
A simple window update can bring together the elements that make a room feel personal: useful materials, collected objects, comfortable textures, and a balance between old and new. Start with one window, work carefully, and let the fabric guide the atmosphere of the space. When the panels are finished, take the same relaxed, layered approach to the surrounding room through Maggie Rose Interiors’ design services, styling guidance, and decorating resources.

Recent Projects