Interior Design
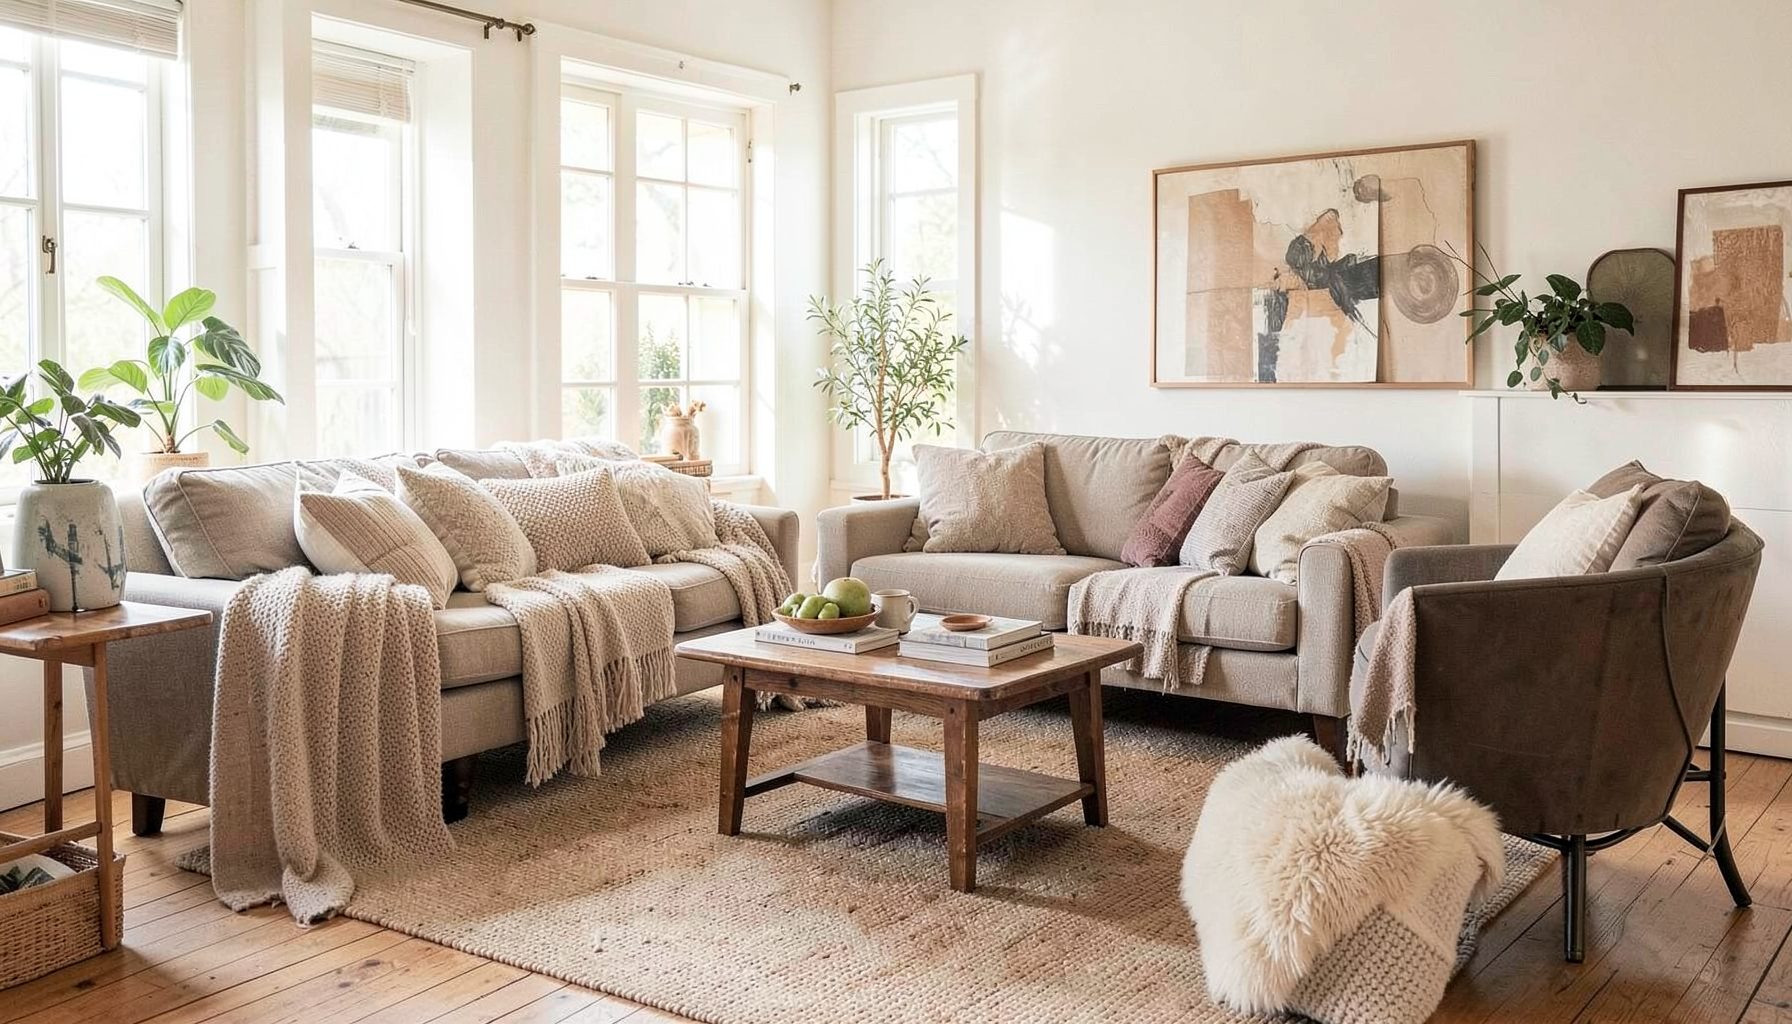
Full-service decorating that blends high and low, vintage finds with modern pieces for spaces that feel personal and collected.
Learn More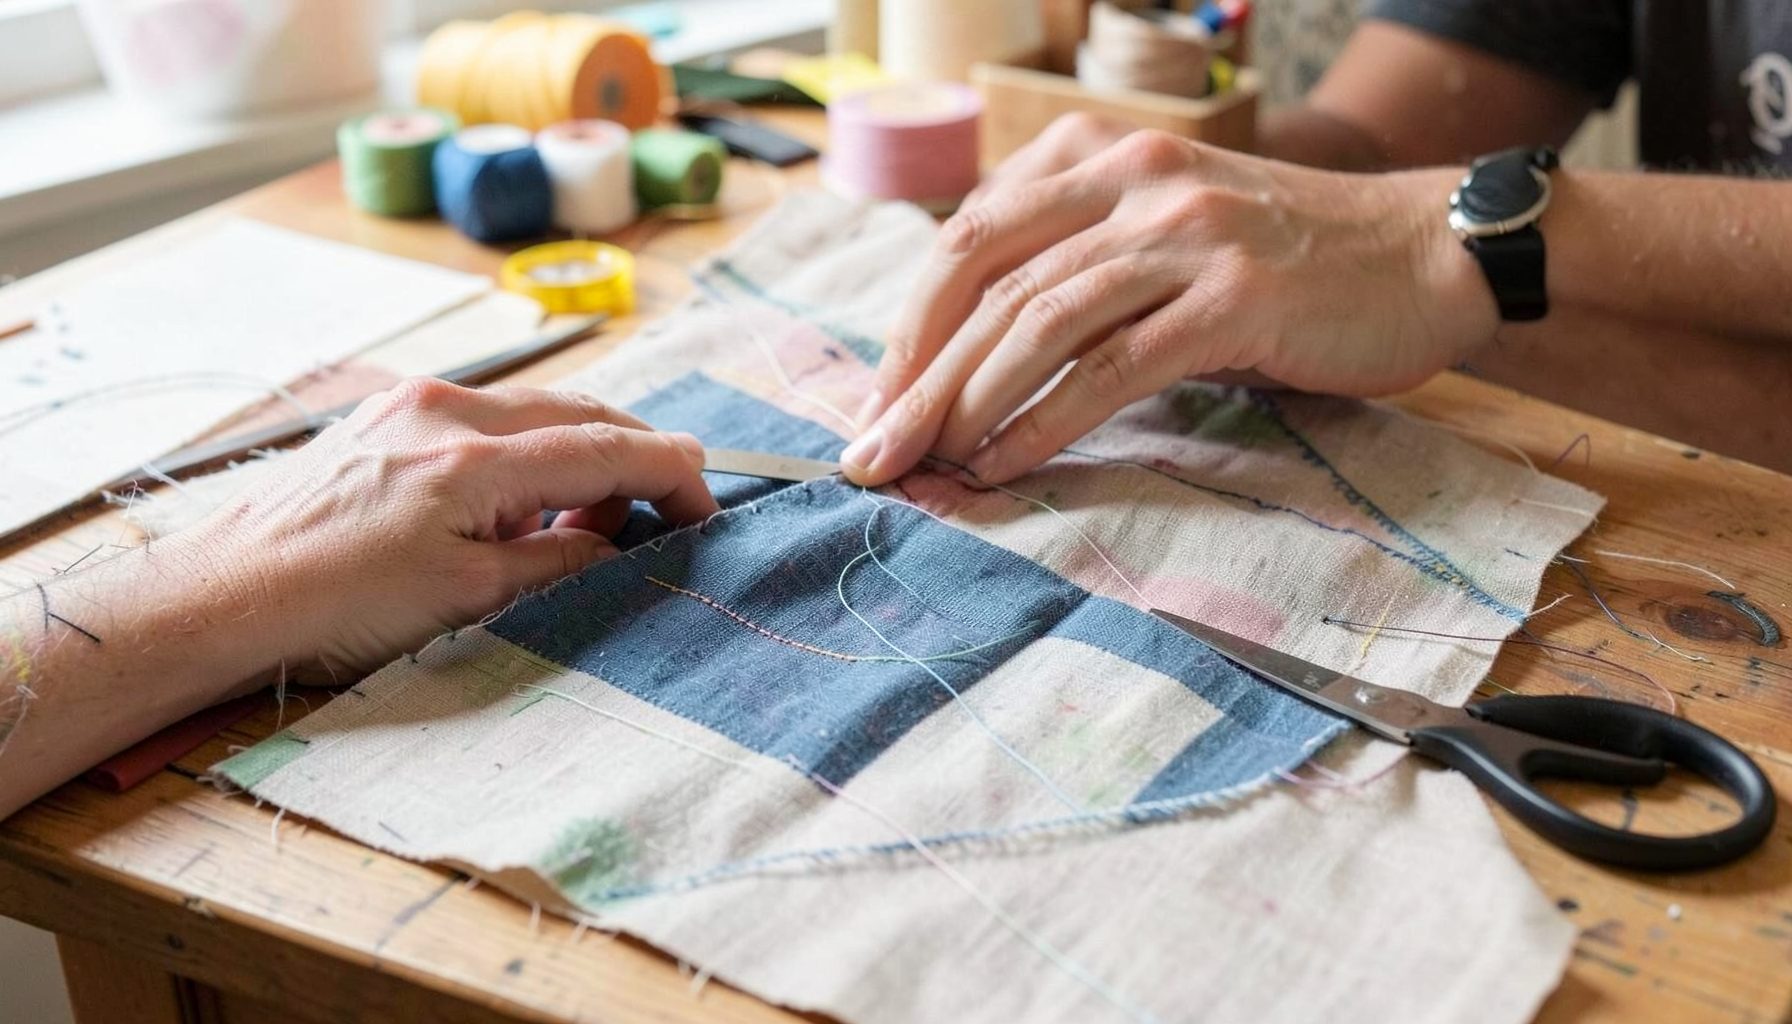
DIY Projects
Step-by-step tutorials for refinishing furniture, sewing pillows, styling bookshelves, and transforming rooms on a budget.
Learn More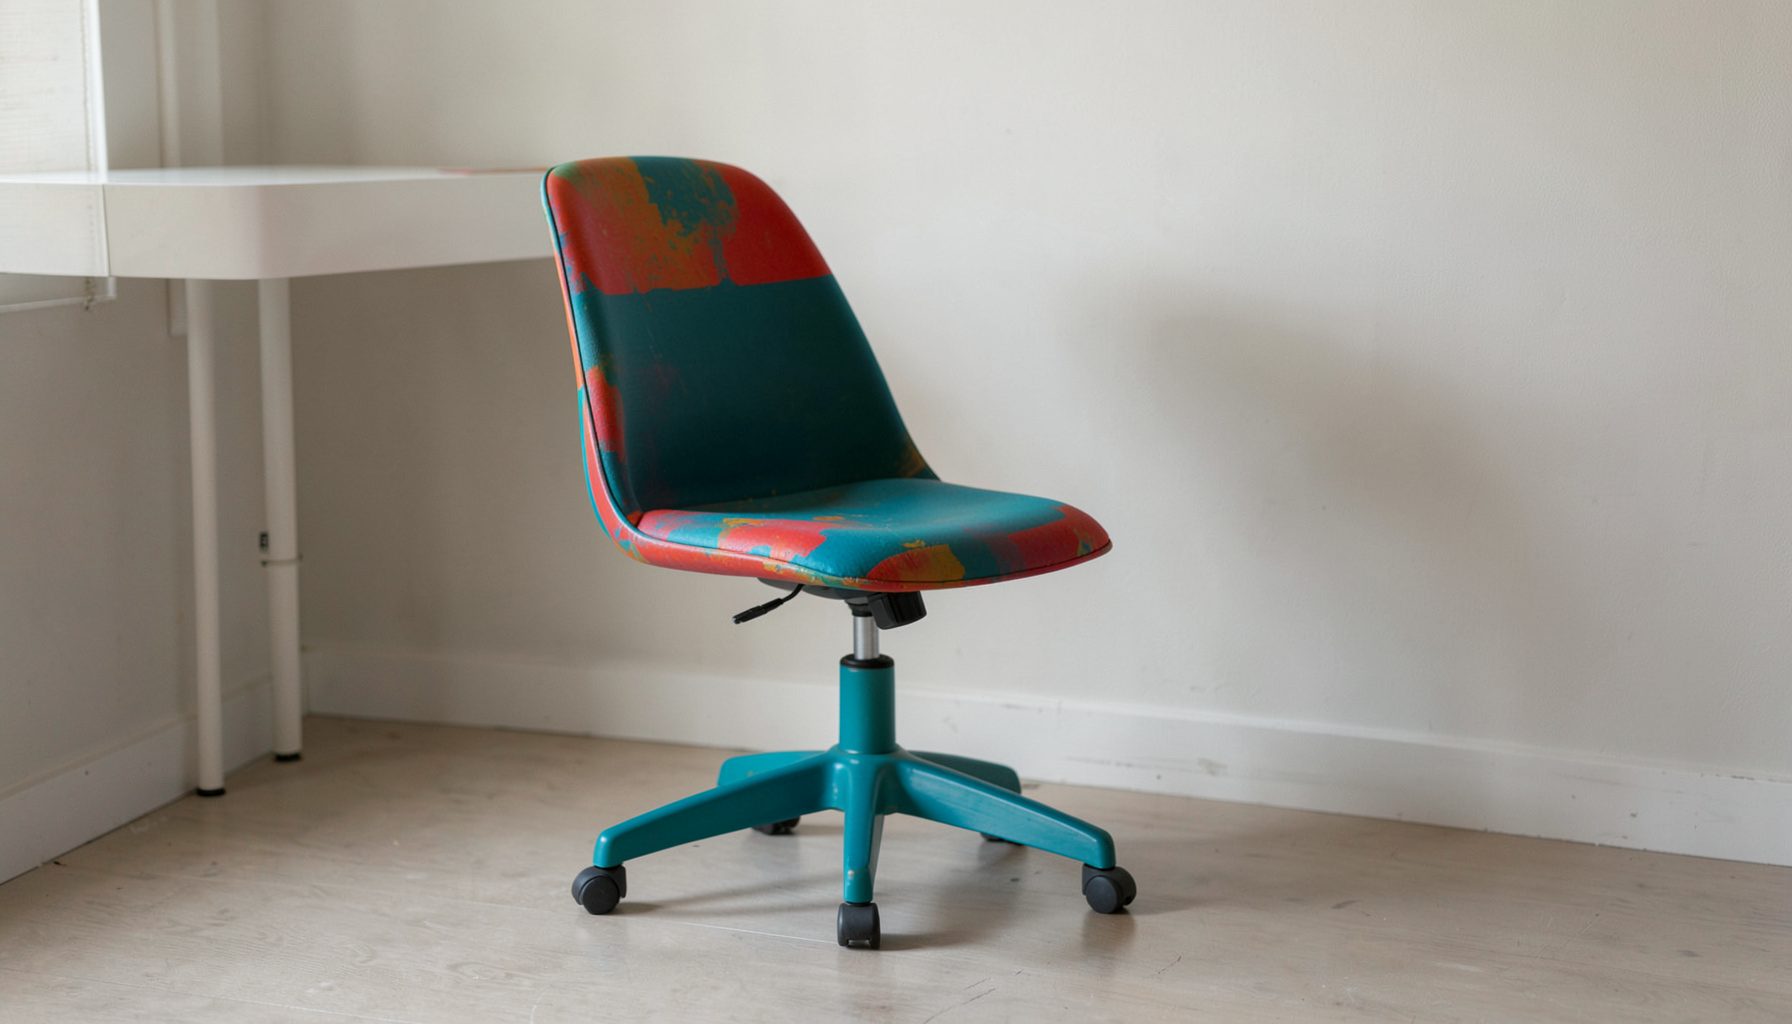
E-Decorating
Personalized design guidance delivered online — perfect for clients anywhere in the world who want a professional eye.
Learn More
Portfolio
Browse completed room makeovers, before-and-after transformations, and styling projects from Bay Area homes.
Learn More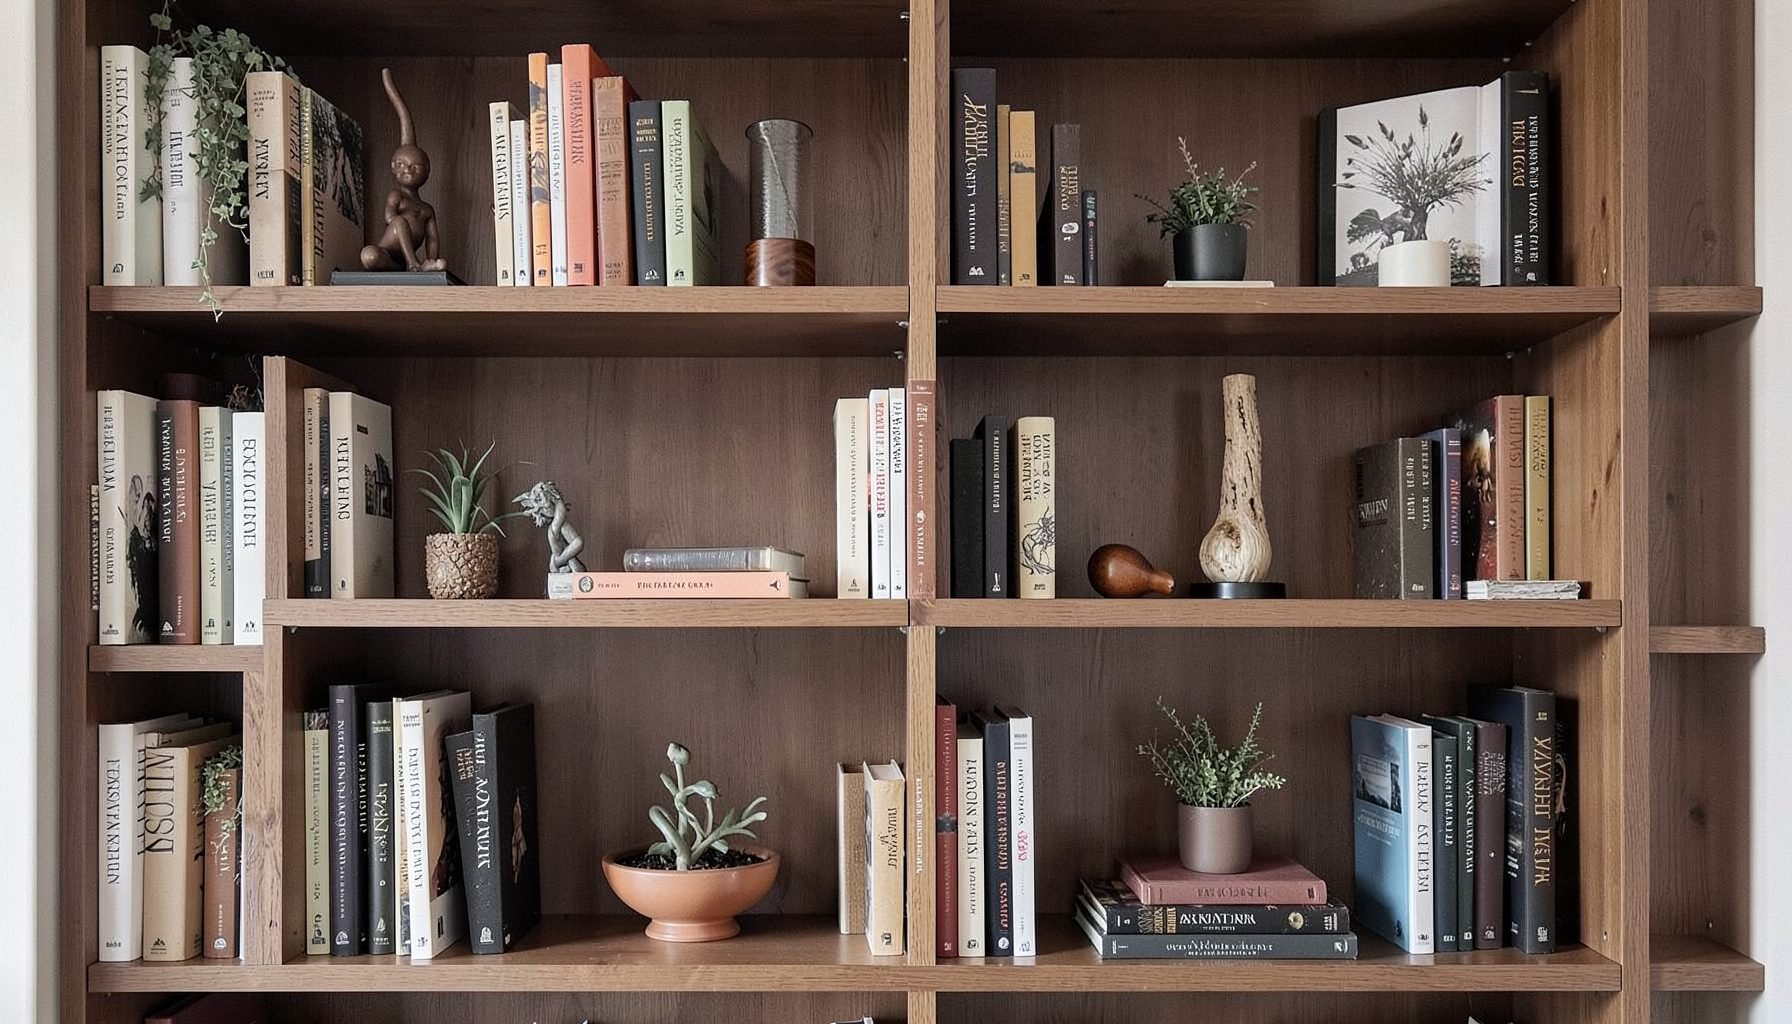
Blog
Interior design inspiration, fashion finds, entertaining ideas, and peeks into real home renovations and styling projects.
Learn More
Downloads
Free curated resources for home decorating and design — guides, checklists, and inspiration to help you get started.
Learn MoreBuild Beautiful DIY Floating Shelves With Confidence
DIY floating shelves are an approachable way to add storage, display space, and architectural interest to a room without committing to a major renovation. With a few boards, basic tools, and careful measurements, a beginner can create shelves that look tailored rather than temporary.
The appeal goes beyond practicality. A simple wood shelf can warm up a blank wall, frame artwork, highlight collected objects, or bring order to a small kitchen or home office. The best designs feel connected to the room, using finishes, proportions, and styling that reflect the people who live there.
This beginner carpentry project also offers plenty of room for creativity. You can work with affordable pine, choose a richer hardwood, paint the shelves to blend with the wall, or stain them to emphasize the natural grain. The goal is a sturdy, polished result that feels like part of a layered interior.
Choose A Shelf Style That Fits The Room
Before buying lumber, decide what the shelves need to accomplish. A narrow ledge may be enough for framed art and small ceramics, while a deeper shelf can hold books, baskets, or serving pieces. Measure the wall and note nearby doors, windows, switches, and furniture so the finished installation does not feel crowded.
A floating shelf typically consists of a hollow wooden box attached to a wall-mounted cleat. The cleat carries the weight, while the box slides over it to hide the hardware. This construction creates the clean, suspended appearance associated with contemporary shelving.
For a first project, keep the design straightforward. A shelf between 24 and 36 inches wide is manageable, and a depth of 8 to 10 inches works well for most decorative displays. If you want several shelves, leave enough vertical space for the objects you plan to arrange. Around 12 to 16 inches between shelves is a useful starting point, though books and larger pottery may require more clearance.
Material choice affects both appearance and difficulty. Pine is inexpensive and easy to cut, but it may have knots and a softer surface. Poplar takes paint beautifully, while oak, maple, and walnut offer a more substantial look when stained or finished naturally. Select straight boards with minimal warping, cracks, or damaged edges.
Gather Tools And Take Precise Measurements
You do not need a professional workshop to build floating wall shelves. A tape measure, pencil, drill, stud finder, level, clamps, and circular saw can handle most of the work. A miter saw makes crosscuts faster, but a hardware store may also cut boards to size if you provide accurate measurements.
Sandpaper in several grits will help smooth cut edges and prepare the surface for paint or stain. Wood glue, screws, brad nails, and a countersink bit are useful for assembling the shelf box. For mounting, choose screws and wall anchors suited to the wall type and the expected load.
Measure twice before making any cut. For a shelf box with a top, bottom, and two side pieces, the exact dimensions depend on the thickness of your boards and the desired finished size. If the shelf should be 30 inches wide and the sides are 8 inches deep, sketch the construction first and label every piece.
A simple cut list prevents confusion:
- One top board and one bottom board at the finished shelf length
- Two side boards cut to the desired shelf depth
- A rear cleat sized to fit securely inside the box
- A front trim piece if you want to hide seams or create a thicker profile
Write the measurements directly on painter’s tape placed on each board. This small habit reduces mistakes when several similarly sized pieces are on the workbench.
Assemble The Wooden Shelf Box
Begin by sanding the boards lightly, concentrating on rough cut edges and corners. Do not round the edges too aggressively, since crisp lines help the finished shelf look built-in. Test-fit the pieces on a flat surface before applying glue.
Apply a thin, even line of wood glue to the meeting edges, then clamp the pieces together. Pre-drill before driving screws or brad nails to reduce the risk of splitting, especially when working with pine or narrow side pieces. Wipe away excess glue immediately with a damp cloth.
Once the outer box is assembled, add the internal cleat. The cleat should run along the back inside edge and sit firmly between the top and bottom boards. This piece gives the shelf something solid to attach to and prevents the box from flexing when it carries weight.
If you want a thicker-looking shelf, attach a front fascia board across the front edge. A simple strip of matching wood can conceal the hollow construction and make the shelf appear more substantial. Check that the trim is flush at both ends before securing it.
Let the glue cure according to the manufacturer’s instructions before sanding again. Start with medium-grit paper and finish with a finer grit for a smooth surface. Remove all dust with a vacuum or tack cloth before applying primer, stain, or clear finish.
| Finish choice | Visual effect | Best for | Beginner note |
|---|---|---|---|
| Clear polyurethane | Shows natural grain and adds protection | Oak, maple, walnut, and quality pine | Test on scrap wood first |
| Paint | Creates a tailored, colorful, or seamless look | Poplar, MDF components, and patched wood | Prime knots and filled holes |
| Gel stain | Gives more even color on soft woods | Pine and mixed-grain boards | Apply thin coats and wipe carefully |
| Whitewash | Adds a light, relaxed, weathered effect | Rustic or coastal interiors | Keep the wood grain visible |
| Matte furniture wax | Softens the appearance of painted wood | Low-wear decorative shelves | Avoid for heavy or damp locations |
Mount The Shelves Safely
The mounting stage determines whether your project is merely attractive or genuinely dependable. Use a stud finder to locate framing behind the drywall, then mark the stud positions lightly with pencil. Whenever possible, attach the cleat to at least two studs.
Hold the cleat against the wall at the desired height and place a level on top. Ask someone to steady it while you mark the screw locations. If the shelf cannot align with enough studs, use heavy-duty hollow-wall anchors rated for the load. Standard plastic anchors are rarely sufficient for books, dishes, or large planters.
Drill pilot holes through the cleat and into the studs. Drive the screws until the cleat is firmly secured, checking the level again before tightening completely. Avoid overdriving the screws, which can damage the wood or pull the cleat out of alignment.
Slide the shelf box over the cleat. Depending on the construction, you may secure it from underneath with short screws or fasten it through the top near the back edge. Use screws long enough to hold the box firmly but short enough that they do not break through the visible surface.
Test the shelf with light objects first. Add weight gradually and watch for movement, sagging, or separation from the wall. A shelf that feels slightly loose should be removed and corrected before it holds anything valuable.
For inspiration on combining practical projects with a collected interior, browse the studio’s decorating resources, where room styling and approachable design ideas come together.
Finish The Surface With Care
Paint and stain can change the character of the shelf as much as its shape. A deep green or warm clay color can turn a functional ledge into a focal point, while a wall-matched finish creates a quieter built-in effect. Natural wood works especially well when a room already includes woven materials, aged metals, or vintage furniture.
Fill visible nail holes with stainable wood filler or paintable filler, depending on the finish. Allow it to dry fully, then sand the area level. If you are painting, apply primer before the color coats, particularly over knots or resinous areas that may bleed through.
Stain should be tested on an offcut from the same board. Different parts of a single piece of lumber can absorb color unevenly, and pine often becomes darker or more orange than expected. Apply thin coats, wipe away excess, and allow the surface to dry between applications.
Protect the completed shelf with a finish suited to its location. A water-based polyurethane dries relatively quickly and keeps light woods from becoming heavily ambered. Oil-based products create a richer tone but require more ventilation and drying time. In a bathroom or kitchen, choose a finish that can tolerate humidity and occasional cleaning.
Do not rush the final cure. Paint may feel dry while remaining soft beneath the surface, and freshly stained wood can mark easily. Wait the recommended time before placing objects on the shelf, especially books, ceramics, or anything with a rough base.
Style The Shelves With Intention
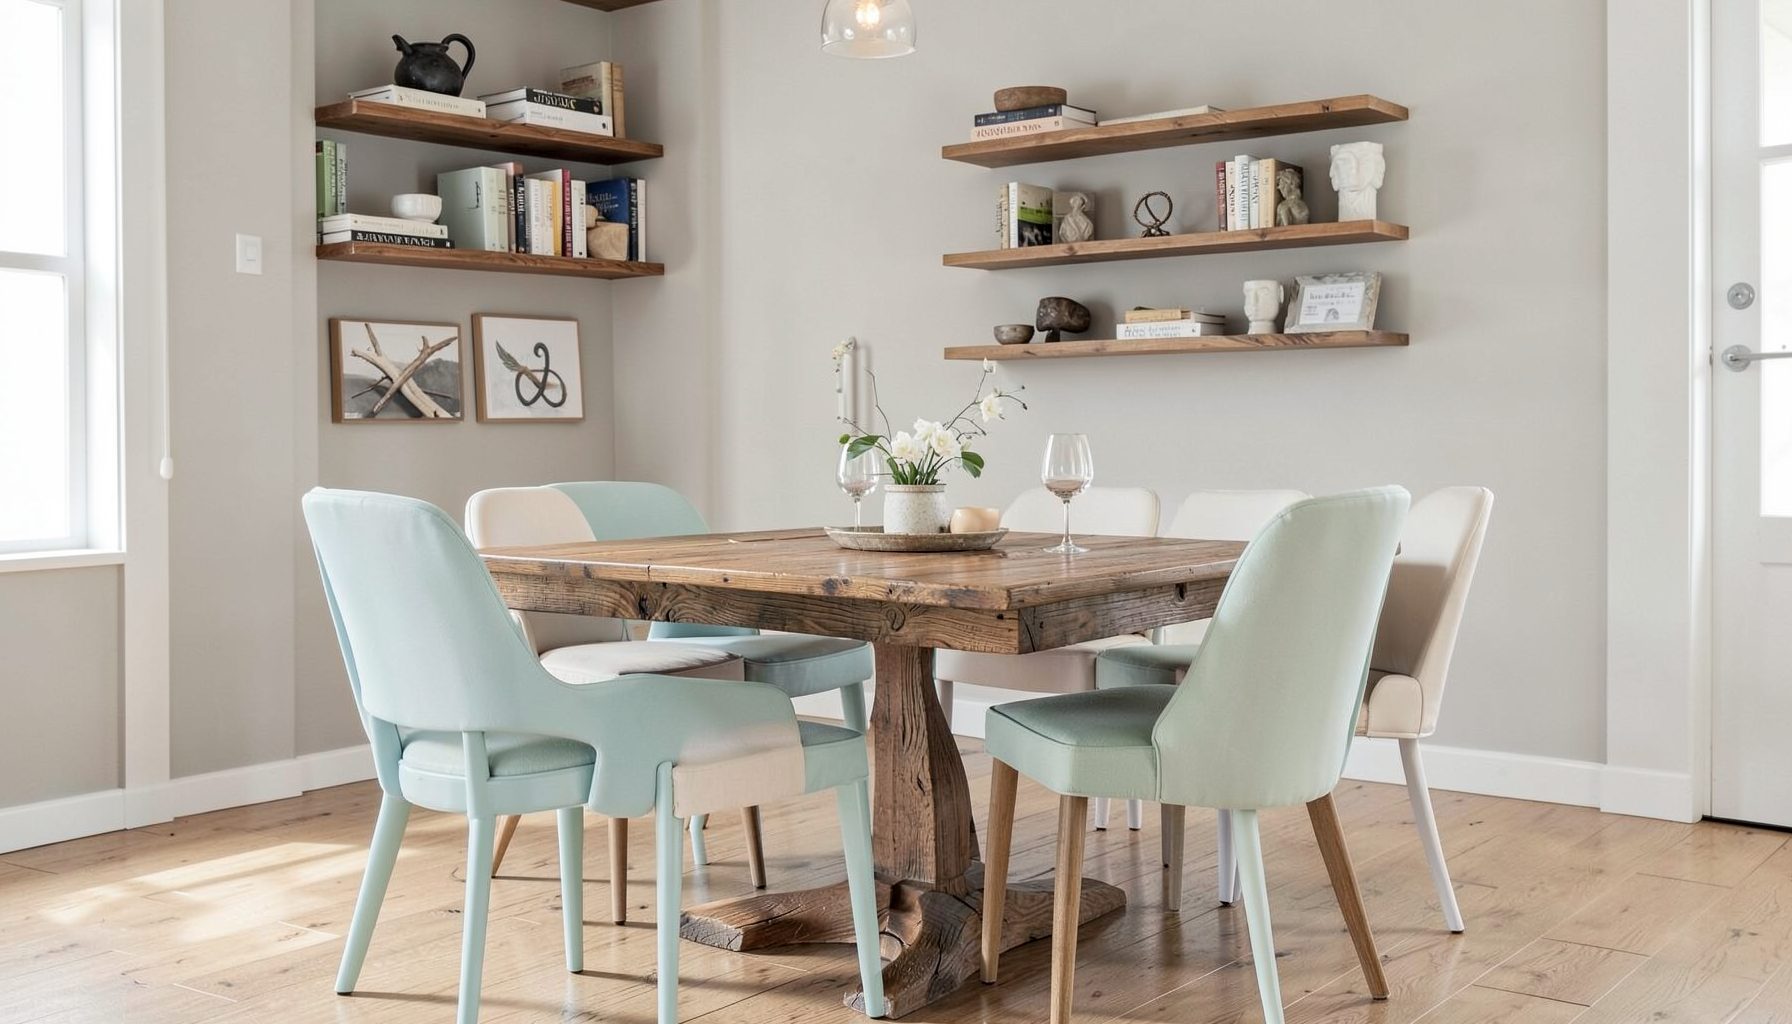
A well-built shelf can still look cluttered if every object has the same height, shape, or visual weight. Begin with one or two larger anchors, such as a framed print, a sculptural vase, or a stack of books. Then add smaller pieces around them, leaving some open space so the arrangement can breathe.
Layer objects from front to back rather than lining everything along the edge. Lean artwork against the wall, place a small bowl in front of a taller object, or overlap two books beneath a ceramic piece. This creates depth and makes the display feel collected over time.
Mix textures to keep the composition engaging. Smooth pottery, woven baskets, aged wood, glass, brass, and linen each catch light differently. A few natural elements, such as branches or a small plant, can soften a group of hard-edged objects.
Color repetition helps separate pieces into a cohesive arrangement. Echo one tone from the room in a book cover, vase, textile, or frame. You do not need every item to match; repeating two or three related colors is enough to connect the shelf with the larger space.
Leave practical room for change. Floating shelves are useful because displays can evolve with the seasons, travel finds, family photographs, or new artwork. A little negative space makes those future additions possible without forcing the entire arrangement into a crowded reset.
Avoid Common Beginner Mistakes
The most frequent error is skipping a full wall assessment. A shelf may look balanced on paper but interfere with cabinet doors, artwork, lighting, or circulation once installed. Use painter’s tape to outline the proposed dimensions on the wall for a day before cutting wood.
Another problem is underestimating weight. Decorative shelves often become book shelves, plant stands, or storage for heavy kitchenware. Design for the heaviest realistic use rather than the lightest intended display. Strong cleat attachment and suitable anchors matter more than decorative hardware.
Uneven cuts and visible gaps can also make a simple project look unfinished. Use a sharp blade, support the board properly, and check your saw’s cutting angle. Small gaps can sometimes be filled, but careful measuring and a clean cut produce a more professional result.
Keep these recommendations nearby while planning:
- Use a level during both cleat installation and final shelf placement.
- Locate wall studs before deciding the exact shelf width and position.
- Practice your stain or paint color on a scrap piece of the same wood.
- Secure tall or breakable objects away from the front edge.
- Let glue, paint, and protective finishes cure fully before loading the shelf.
If a shelf begins to sag, remove the objects immediately and inspect the construction. A long span may need a thicker board, a center support, or a stronger internal frame. If the shelf pulls away from the wall, the cleat or anchors need attention before the installation is used again.
The finished piece should support the room rather than compete with it. Whether you choose one narrow ledge above a desk or a full arrangement across a dining wall, thoughtful proportions and restrained styling will make the carpentry feel intentional.
Choose one wall, make a measured sketch, and begin with a manageable shelf size. With careful construction and a finish that suits your home, this small project can add useful storage and the personal character of a thoughtfully layered space.

Recent Projects