Interior Design
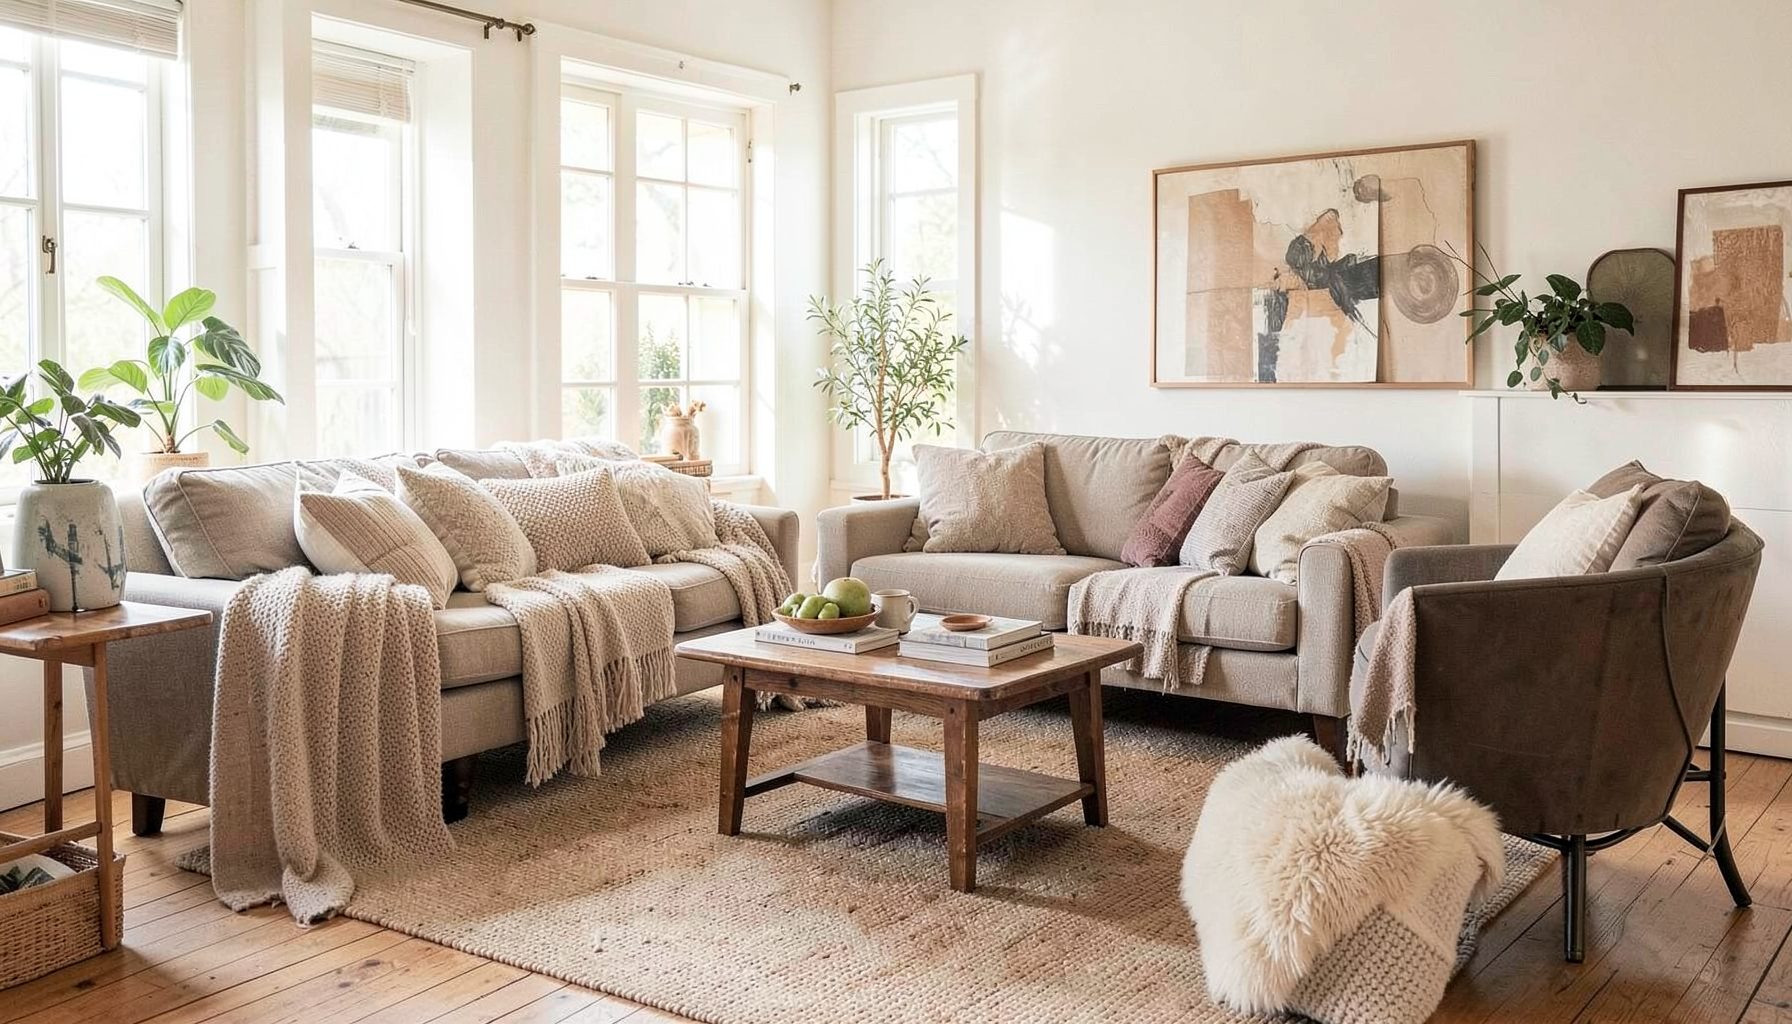
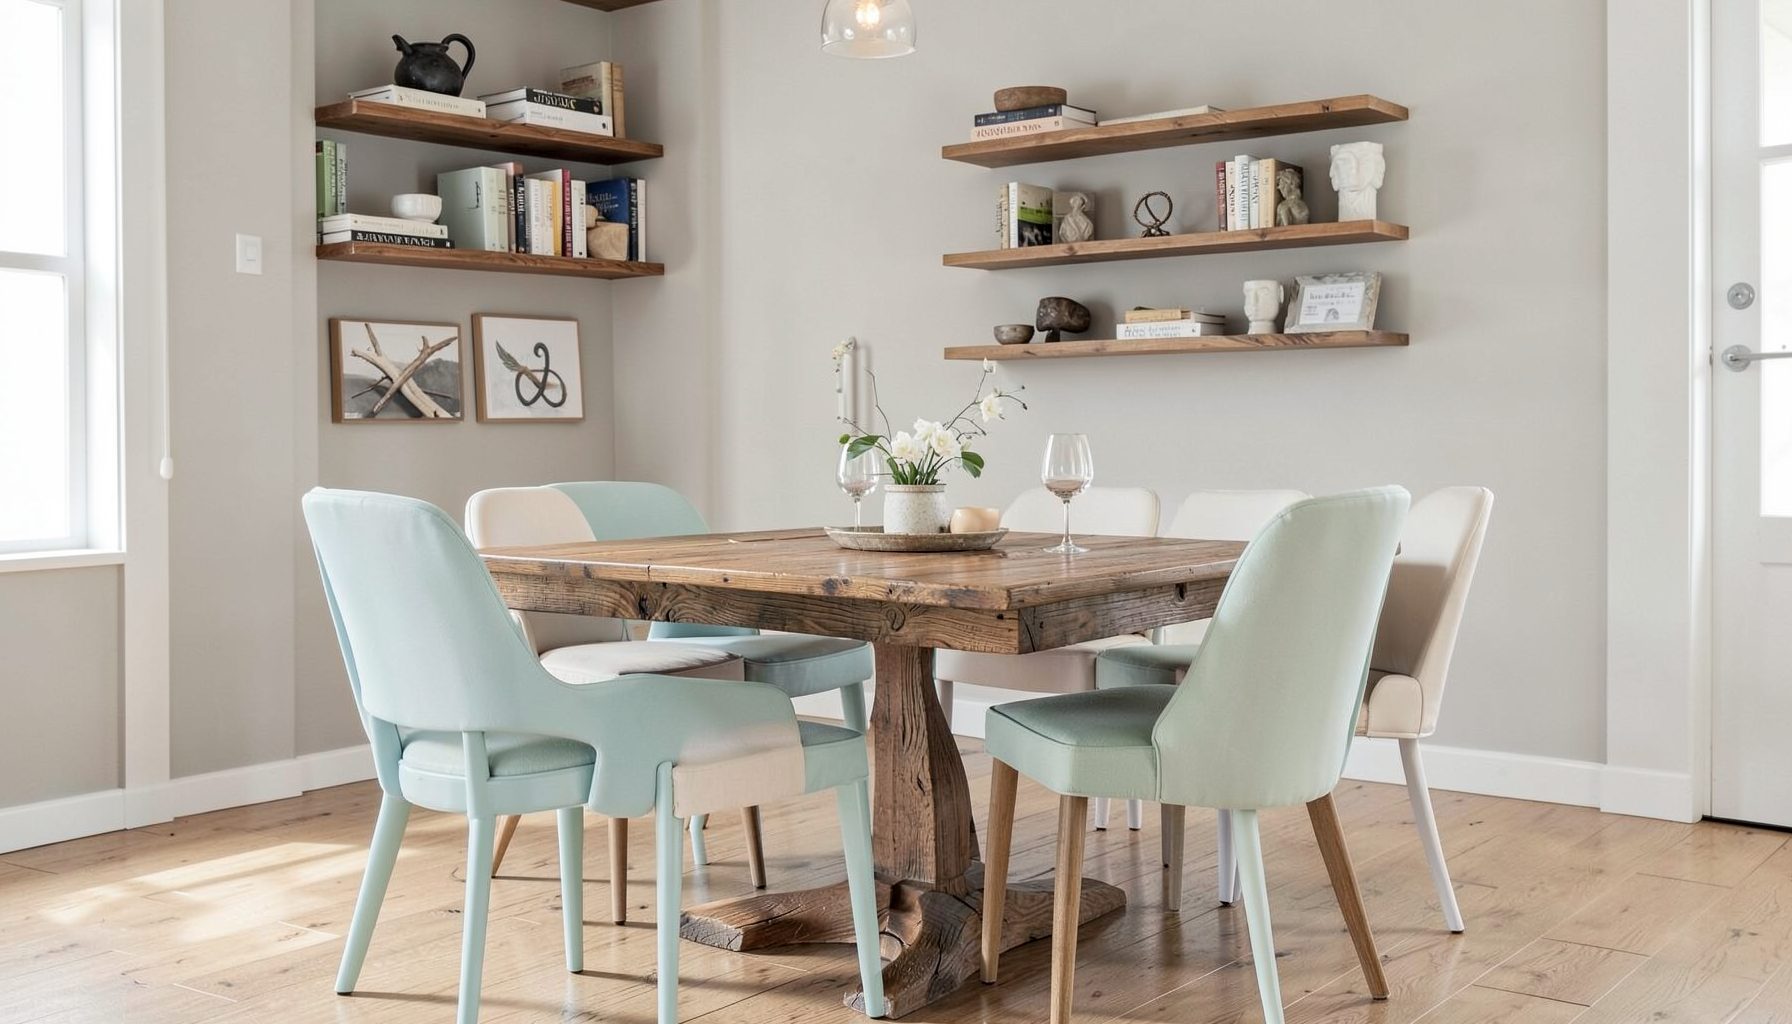
Full-service decorating that blends high and low, vintage finds with modern pieces for spaces that feel personal and collected.
Learn More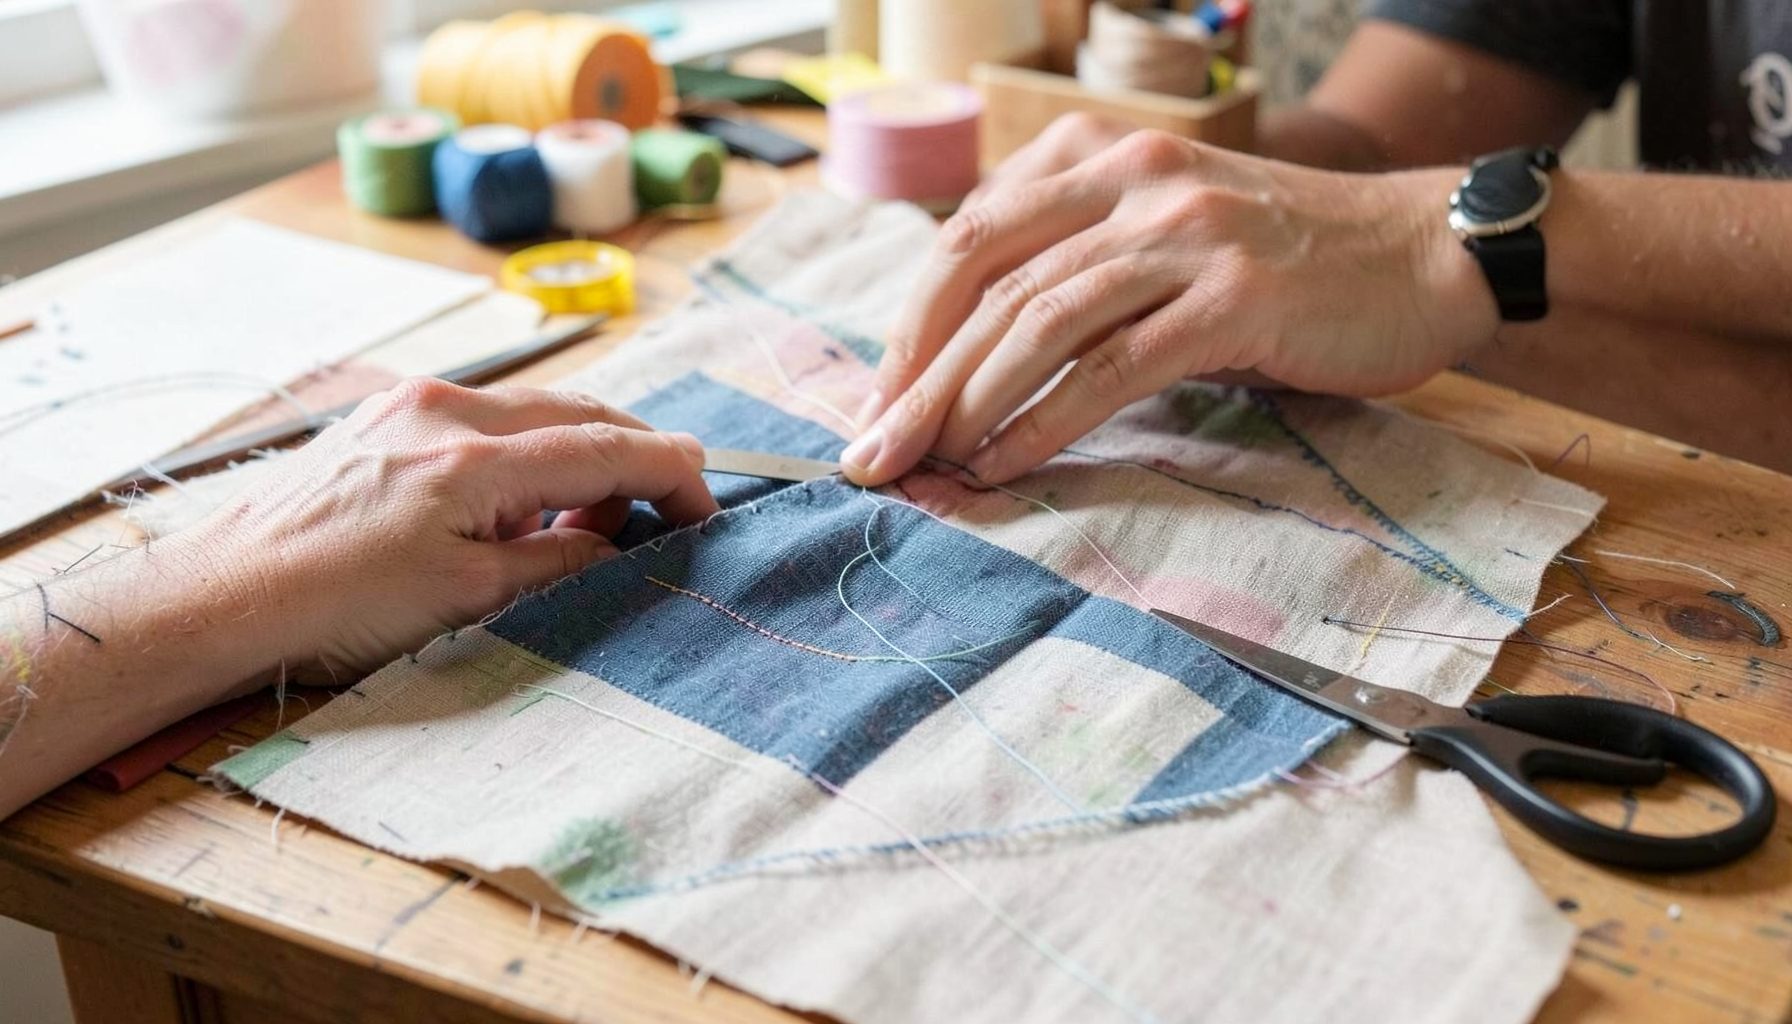
DIY Projects
Step-by-step tutorials for refinishing furniture, sewing pillows, styling bookshelves, and transforming rooms on a budget.
Learn More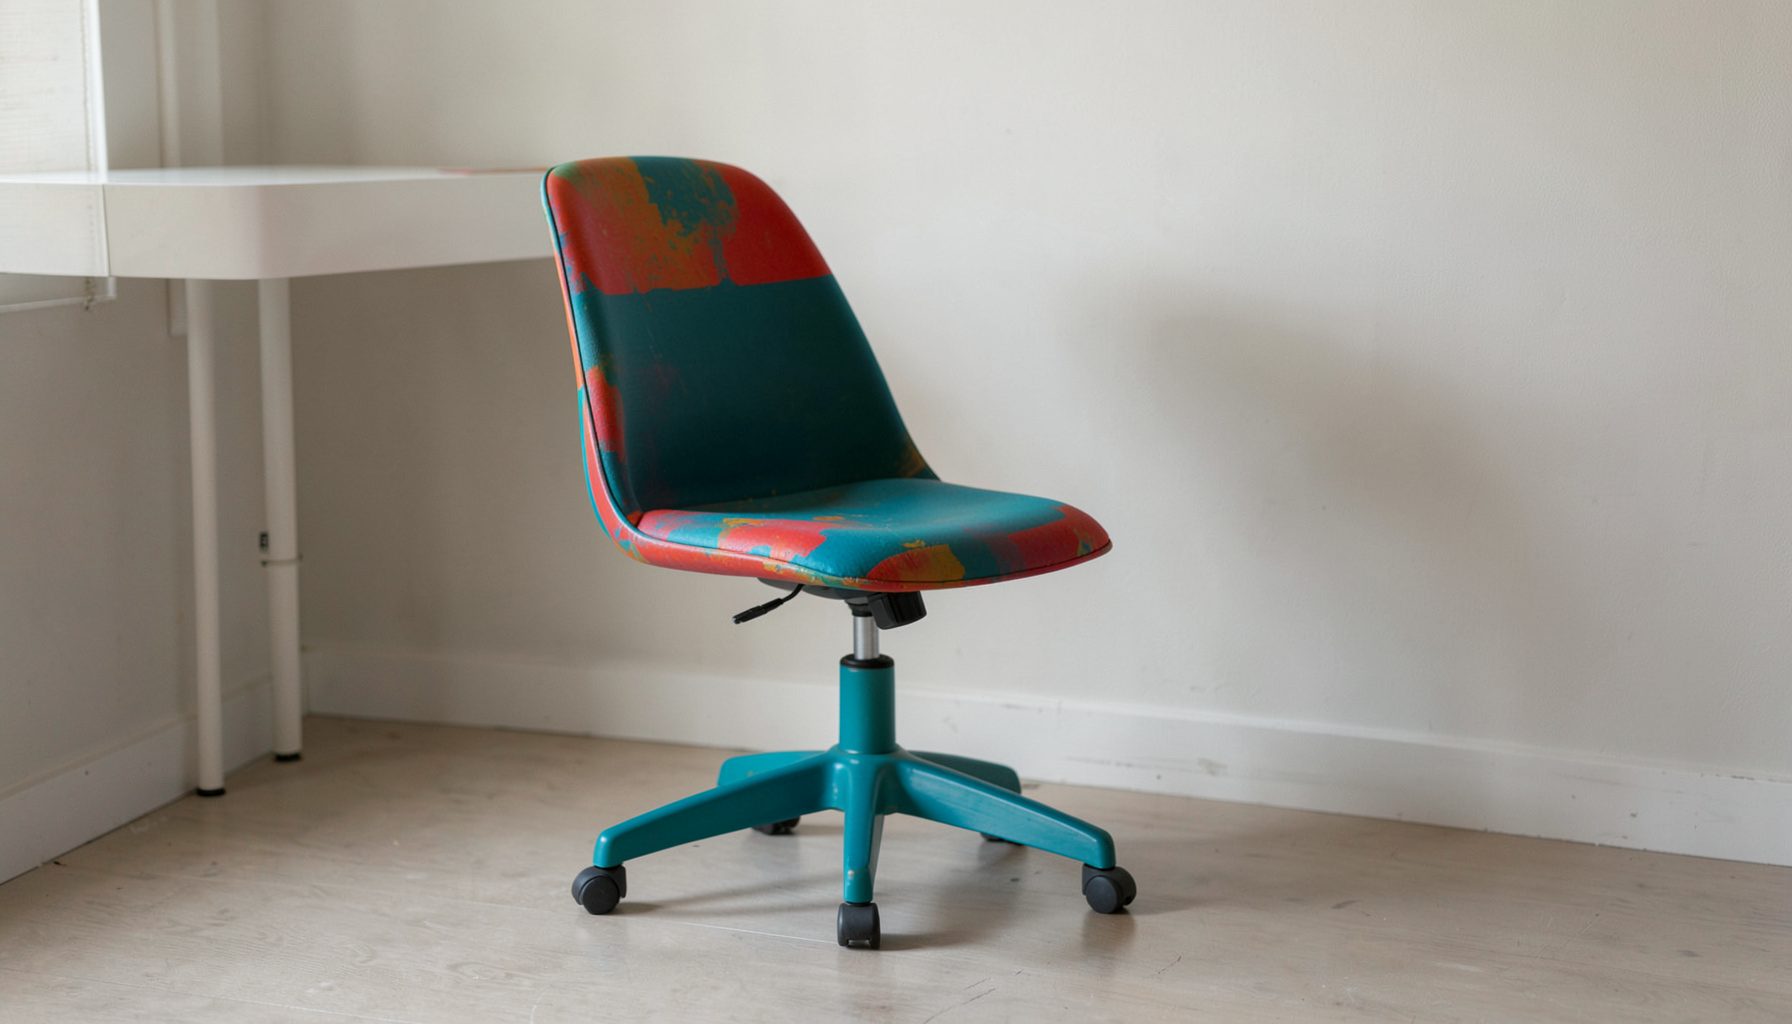
E-Decorating
Personalized design guidance delivered online — perfect for clients anywhere in the world who want a professional eye.
Learn More
Portfolio
Browse completed room makeovers, before-and-after transformations, and styling projects from Bay Area homes.
Learn More
Blog
Interior design inspiration, fashion finds, entertaining ideas, and peeks into real home renovations and styling projects.
Learn More
Downloads
Free curated resources for home decorating and design — guides, checklists, and inspiration to help you get started.
Learn MoreDIY custom headboard for under $100
A headboard can change the proportions, comfort, and personality of a bedroom without requiring a full remodel. A simple upholstered panel adds softness behind the bed, frames the wall, and creates a finished focal point where a bare mattress and pillows might otherwise feel unfinished.
This DIY custom headboard for under $100 uses accessible materials, basic tools, and a forgiving construction method. You can adjust the height, width, fabric, and shape to suit a queen, king, full, or twin bed. The finished piece can look tailored and collected while still leaving room in the budget for vintage nightstands, layered bedding, or a distinctive lamp.
The project also reflects a relaxed design approach: combine practical materials with a fabric that feels personal. A linen remnant, striped cotton, vintage-inspired velvet, or durable performance textile can give the headboard an entirely different character without changing the basic process.
Choose a style and size
Begin by deciding how much visual presence you want. A headboard that reaches 48 to 60 inches above the floor creates a strong architectural statement, while a lower panel feels quieter and works well beneath artwork, a picture light, or a decorative wall treatment. For a more traditional bedroom, consider a softly rounded top. For a modern or transitional room, a clean rectangular silhouette is easy to build and style.
The headboard should generally be wider than the mattress but narrower than the nightstands. A queen mattress is approximately 60 inches wide, so a 64- to 68-inch-wide headboard usually provides a balanced edge on either side. A king mattress is about 76 inches wide and often suits a 80- to 84-inch panel. Measure your actual bed frame before cutting, since mattress and frame dimensions can vary.
Think about how the headboard will be used. If you read or watch television in bed, use thicker foam for comfortable support. If the headboard is primarily decorative, a thinner layer may be enough. A wall-mounted panel offers a streamlined appearance, while a floor-standing version is easier to reposition and can conceal uneven walls.
Gather materials without overspending
The basic construction requires a rigid backing, foam, batting, fabric, and a way to attach everything securely. A ½-inch sheet of plywood or a sturdy project panel works well. Many home improvement stores will make a few straight cuts for a small fee or sometimes as part of the purchase, which can eliminate the need for a circular saw.
Foam is often the largest expense, so look for upholstery foam remnants, mattress topper material, or a high-density foam pad sold by the yard. One- to two-inch foam creates a polished profile without making the headboard excessively bulky. Avoid very soft craft foam, which can compress unevenly and make the finished surface look lumpy.
The budget below assumes that you already have basic tools such as scissors, a measuring tape, a staple gun, and a drill. It also leaves a small allowance for hardware or a neutral fabric upgrade.
| Material | Approximate cost | Budget notes |
|---|---|---|
| ½-inch plywood or project panel | $25–$35 | Ask for store cuts or use a salvaged panel |
| One- to two-inch upholstery foam | $20–$30 | Buy a remnant or use a firm mattress topper |
| Quilt batting | $8–$12 | Choose a piece large enough to wrap the edges |
| Fabric, 3–4 yards | $15–$30 | Look for clearance yardage, curtains, or a durable remnant |
| Staples and mounting hardware | $5–$10 | Use heavy-duty staples and a French cleat or brackets |
| Wood glue or spray adhesive | $4–$7 | Helpful for keeping foam aligned during assembly |
| Estimated total | $77–$124 | Stay under $100 with remnant materials or existing hardware |
To keep the project within budget, prioritize the visible textile and the foam’s quality. A simple plywood shape can look intentional when covered in beautiful fabric, while expensive fabric will not compensate for foam that collapses or a backing that bows. Check upholstery outlets, fabric clearance sections, curtain panels, drop cloths, and online resale listings for useful yardage.
Prepare the panel and fabric
Measure the desired width and height twice before cutting the backing. Mark the dimensions with a pencil and use a straightedge to create clean lines. If you want rounded upper corners, trace a plate or bowl at each corner and cut slowly. Sand the edges and corners so they do not snag the fabric or batting.
Place the plywood on the foam with the front side facing upward. Trace around it, then cut the foam with an electric carving knife or a sharp serrated kitchen knife. Keep the blade perpendicular to the foam to avoid angled edges. If you are working with a particularly thick piece, make several shallow passes rather than forcing the blade through all at once.
Cut the batting and upholstery fabric so each extends at least four to six inches beyond the plywood on every side. For a thick headboard, add more allowance. The extra material must wrap around the backing and remain secure without pulling the front surface out of shape.
Before stapling, press or steam the fabric according to its care instructions. If the textile has a stripe, plaid, or prominent repeat, center the pattern on the panel. Lay the fabric face down on a clean floor, place the batting over it, add the foam, and finish with the plywood positioned on top. This order makes it easier to keep the finished face smooth.
Build the upholstered headboard
Start by pulling the fabric at the center of the top edge toward the back of the plywood. Add one staple, then move to the center of the bottom edge and repeat. Do the same at the center of each side. These four anchor points hold the materials in place while you work outward.
Continue stapling from the center toward each corner, alternating between opposite sides. Pull the fabric firmly enough to remove wrinkles, but do not stretch it aggressively. Excessive tension can distort woven patterns and cause the fabric to relax later. Keep checking the front as you go, especially when using linen, velvet, or a large-scale print.
At the corners, fold the fabric as if wrapping a present. Create one neat fold, trim away excess bulk, and staple the remaining flap securely to the back. If the headboard has curved corners, make small relief cuts in the fabric and batting so the materials can follow the shape without puckering.
Trim loose threads and inspect the front from several angles. Small irregularities may disappear once pillows and bedding are in place, but visible creases or crooked pattern alignment are easier to fix before installation. Remove staples with a flat screwdriver and restaple the area rather than trying to conceal a major problem.
For an extra tailored detail, add a narrow strip of contrast fabric along the edge or use decorative nailheads after the main upholstery is complete. Keep embellishments restrained if your textile already has a strong pattern. The most successful layered bedrooms usually balance one or two noticeable details with quieter supporting pieces.
Install it securely and finish the bed
A French cleat is a dependable option for a wall-mounted headboard. One piece attaches to the wall and the matching piece attaches to the back of the panel, allowing the headboard to lock into place while distributing its weight across a wider area. Locate wall studs whenever possible and use anchors rated for the wall type.
For a floor-standing headboard, attach narrow legs made from scrap lumber to the back of the plywood. Position the legs so they align with the bed frame or can be secured directly to the wall. A floor-standing panel should never be left leaning loosely behind a bed, especially in a household with children or pets.
Set the bed in front of the installed headboard and check that the mattress is centered. The top of the mattress should overlap the lower portion of the panel slightly, creating a connected composition rather than a gap. Layer two or three sleeping pillows in front, then add a lumbar pillow or folded throw for texture.
The area around the headboard deserves attention too. Plug-in sconces, picture lights, small artwork, or woven pendants can make the wall feel considered. In a Bay Area home, where bedrooms often benefit from a mix of casual materials and refined details, a handmade upholstered panel pairs naturally with oak, rattan, aged brass, painted furniture, and vintage accessories.
Make the design feel personal
Fabric determines the mood more than any other decision. A warm ivory bouclé creates a soft contemporary look, while olive linen, faded blue ticking, or a small-scale floral introduces a collected, traditional feeling. For a rental or temporary room, choose a reversible or removable cover by attaching the textile with a separate backing or using a simple slipcover approach.
You can also customize the silhouette without complicating the build. A gently arched top adds a graceful focal point, a wide rectangular panel feels architectural, and two narrow panels placed side by side can create the look of a larger custom installation. If your room is small, a vertically oriented headboard can draw the eye upward and make the ceiling feel taller.
Consider reusing materials that already have character. A vintage quilt, block-printed curtain, kantha textile, or substantial tablecloth may provide enough yardage for a twin or full-size panel. Inspect secondhand textiles for stains, weak seams, and colorfastness before committing. Wash or dry-clean them according to their fiber content, then test a hidden section before stretching the fabric.
Design choices worth prioritizing
- Select a fabric that connects at least two existing colors in the room, such as the rug and curtains.
- Use a taller headboard when the bedroom needs stronger vertical emphasis or a more dramatic focal point.
- Choose firm foam and smooth batting before spending extra on decorative trim.
- Center stripes, checks, and large motifs before stapling the first edge.
- Add lighting or artwork only after the headboard is installed and the bed is properly positioned.
A custom headboard does not need to look perfectly manufactured to feel intentional. Consistent proportions, clean upholstery, and a thoughtful fabric choice matter more than elaborate joinery. Small variations can even support the relaxed, layered quality of a room that mixes new, vintage, and handmade pieces.
With careful measuring and a disciplined material list, the finished project can stay close to the $100 mark. The result gives the bedroom a tailored anchor while leaving flexibility for the details that make the space feel lived in: a well-loved bedside table, a textural throw, collected art, and lighting that creates a welcoming evening glow.
For a more personalized bedroom transformation, explore the design inspiration and room styling resources from Maggie Rose Interiors, or bring your measurements, fabric ideas, and wish list to a tailored decorating consultation. A simple DIY headboard can be the first layer in a bedroom designed around your style, your home, and the way you use the space every day.

Recent Projects