Interior Design
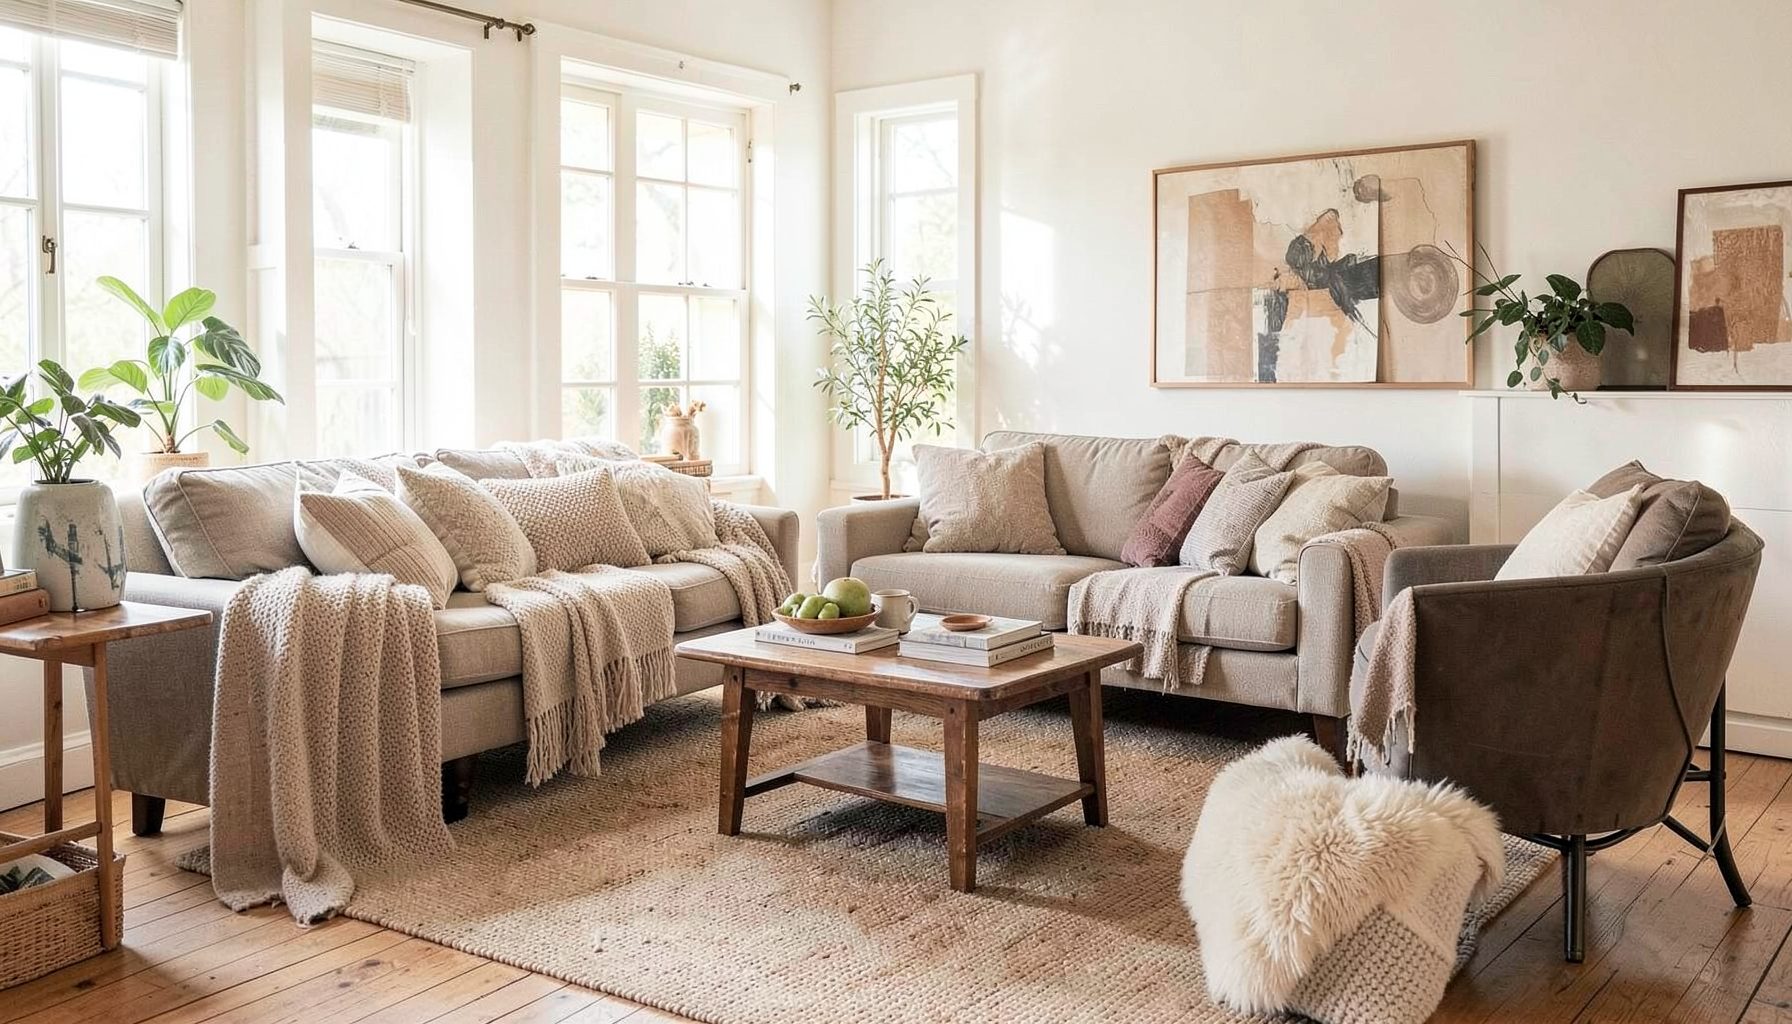
Full-service decorating that blends high and low, vintage finds with modern pieces for spaces that feel personal and collected.
Learn More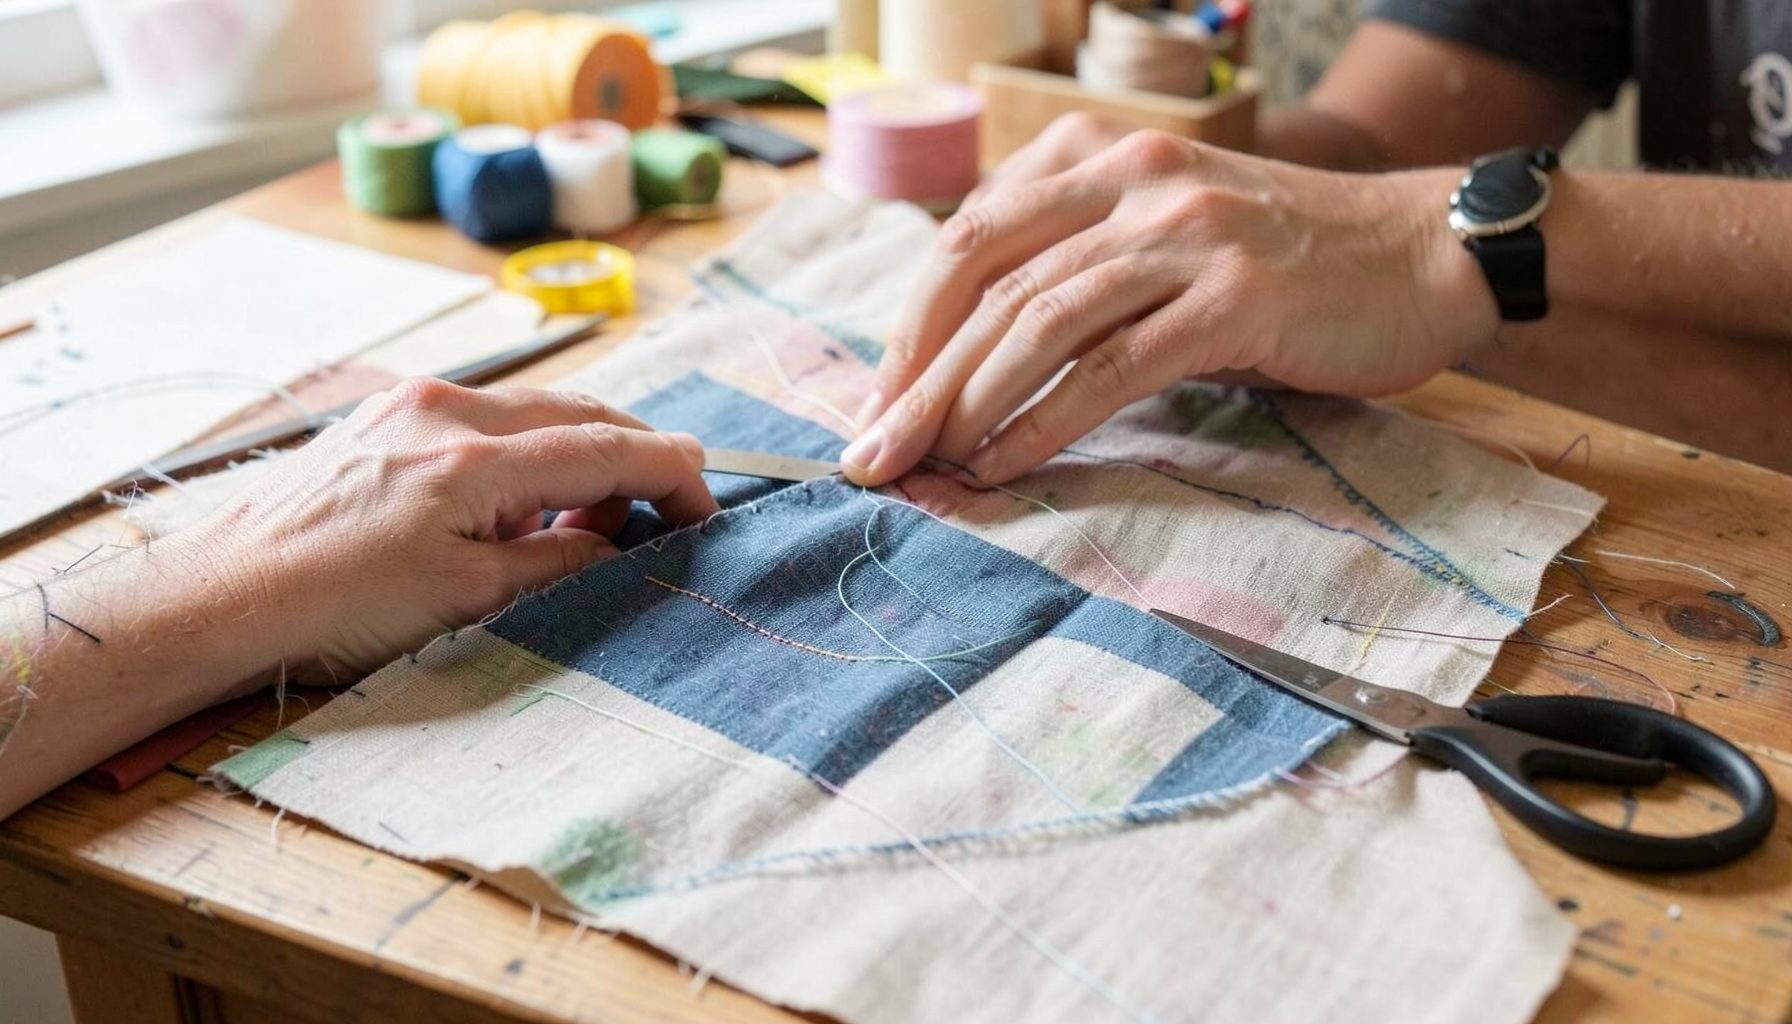
DIY Projects
Step-by-step tutorials for refinishing furniture, sewing pillows, styling bookshelves, and transforming rooms on a budget.
Learn More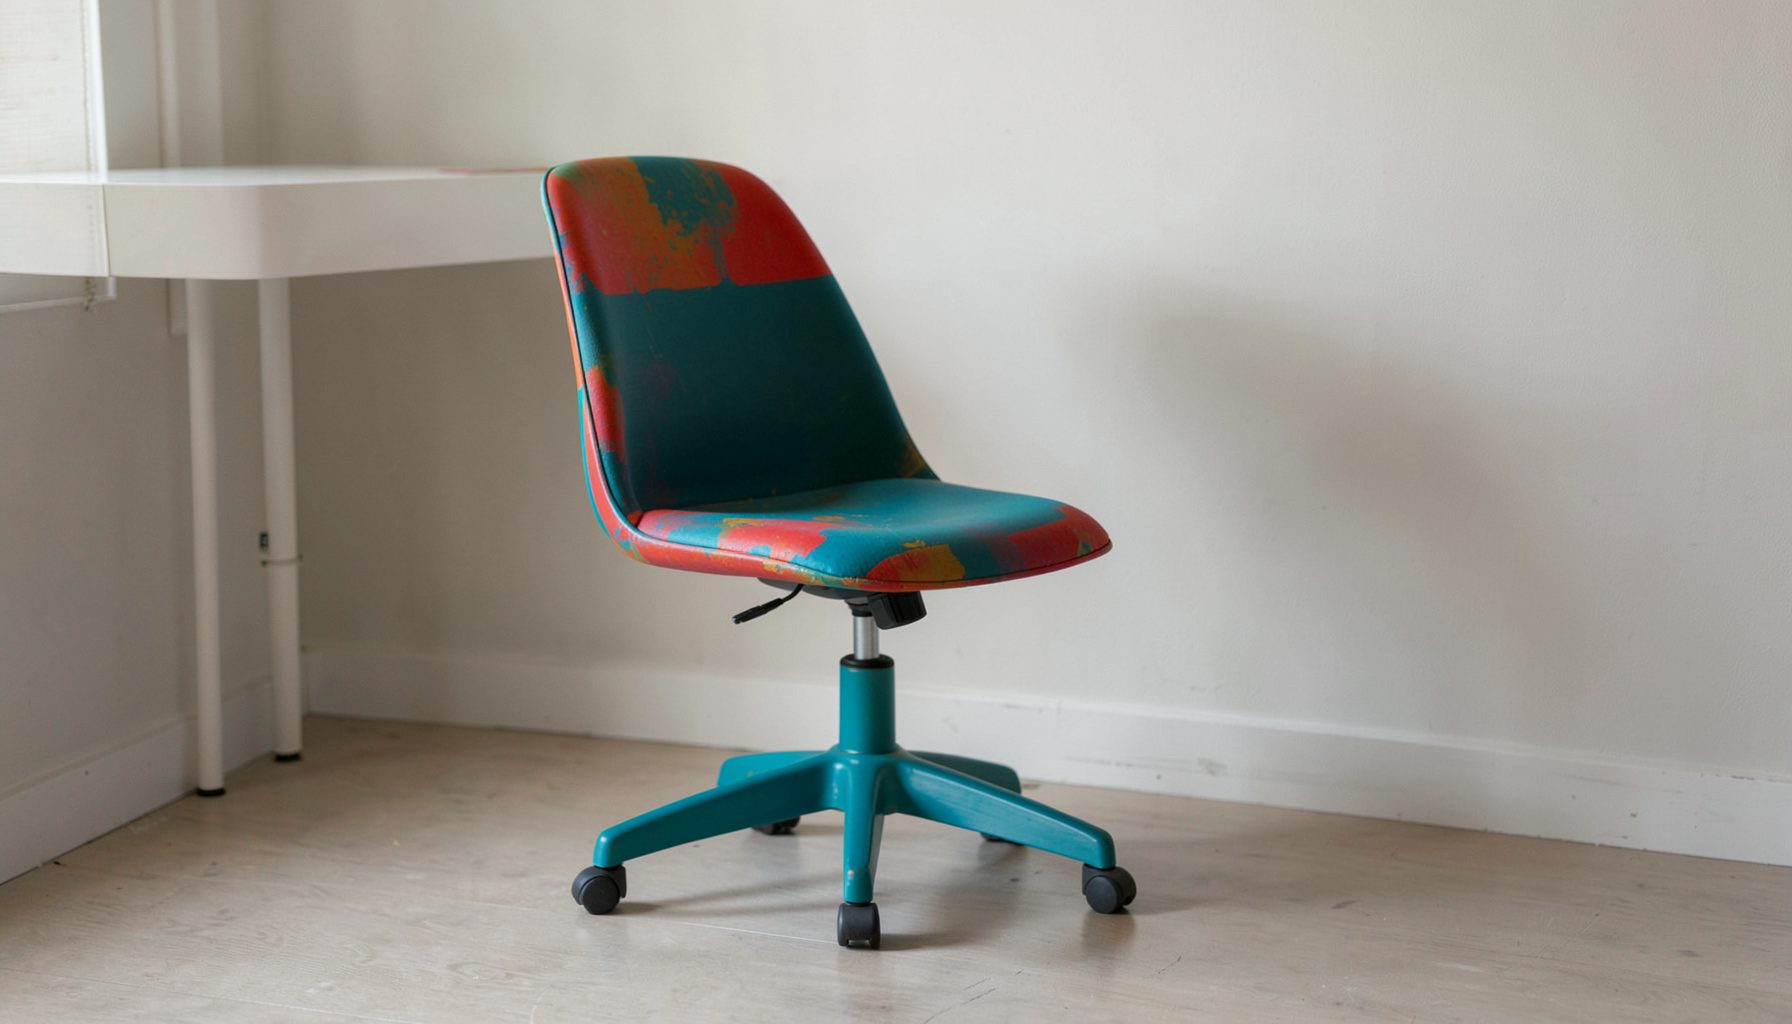
E-Decorating
Personalized design guidance delivered online — perfect for clients anywhere in the world who want a professional eye.
Learn More
Portfolio
Browse completed room makeovers, before-and-after transformations, and styling projects from Bay Area homes.
Learn More
Blog
Interior design inspiration, fashion finds, entertaining ideas, and peeks into real home renovations and styling projects.
Learn More
Downloads
Free curated resources for home decorating and design — guides, checklists, and inspiration to help you get started.
Learn MoreDIY Custom Cushion Covers For A More Personal Home
Custom cushion covers are one of the easiest ways to refresh a room without replacing every piece of furniture. A simple envelope cover can update a tired sofa, add color to a reading chair, or turn a plain bench into a more finished part of the room. With a few basic sewing skills, you can create covers that fit your cushions and reflect your decorating style.
This beginner-friendly project is also a useful way to experiment with fabric, pattern, and proportion. You can choose a vintage textile, a durable performance fabric, or an affordable remnant from a local shop. The finished result feels intentional because it was made for your space rather than selected from a limited range of ready-made options.
The most successful interiors often combine collected details with practical choices. A handmade pillow cover can sit comfortably beside modern furniture, antique accessories, and budget-friendly accents, giving the room the layered character associated with Maggie Rose Interiors.
Choose The Right Fabric And Cushion
Start by identifying the cushion you want to cover. Measure its width, depth, and thickness while it is lying flat. If the cushion has rounded corners, piping, or an unusually full shape, make a note of those details before purchasing fabric. A cover that is slightly generous will usually be easier to sew and remove for washing than one cut too tightly.
For a first project, medium-weight cotton, linen-cotton blends, canvas, and durable upholstery remnants are reliable choices. Lightweight quilting cotton is easy to handle, though it may look less tailored on a large seat cushion. Velvet can create a rich, inviting finish, but its pile requires careful cutting and pressing. Slippery satin and very stretchy fabrics are best saved until you have more sewing experience.
Think about how the cushion will be used. A decorative pillow in a guest room can handle a more delicate textile, while a family-room bench needs fabric that resists abrasion and can be cleaned. If you are working with a bold print, purchase enough yardage to match the design across the front panel.
Gather Supplies And Take Accurate Measurements
You will need fabric, a flexible tape measure, fabric scissors, pins or clips, a ruler, an iron, matching thread, and a sewing machine. A fabric marker or tailor’s chalk will help you draw cutting lines. Keep a seam ripper nearby; correcting a small mistake is part of learning and is usually much easier than trying to sew around it.
For an envelope-style cushion cover, cut one front panel the same size as the cushion insert or finished cushion face. Cut two back panels with the same width as the front, allowing their lengths to overlap. Each back panel should be approximately two-thirds of the cushion’s depth, plus seam allowance. This creates a central opening that holds the insert securely without requiring a zipper.
Add a seam allowance of ½ inch to every raw edge. If the cushion is very full or the fabric is thick, you may prefer a slightly larger allowance and a test fitting before finishing the seams. Write your measurements down rather than relying on memory, especially if you are making several covers for a sofa or sectional.
Plan The Cut And Prepare The Edges
Before cutting, wash and dry the fabric according to its care instructions. Pre-shrinking prevents the finished cover from becoming too small after its first wash. Iron the fabric so the grain is straight and the cutting lines are clear. A crooked cut can cause a patterned cover to twist or sit unevenly.
Lay the fabric on a flat surface with the right side facing down. Mark the front panel first, then position the back pieces beside it. If the fabric has stripes, checks, or a large motif, consider where the design will land on the cushion. Centering a floral medallion or aligning horizontal stripes can make a basic cover look much more polished.
Finish the short edges of the two back panels before assembling the cover. Fold each raw edge over ½ inch, press it, fold it over once more, and stitch close to the inner folded edge. This creates clean hems around the envelope opening. For fabric that frays heavily, use a zigzag stitch or serger along the remaining raw edges after assembly.
| Closure Style | Skill Level | Best For | Main Benefit | Consideration |
|---|---|---|---|---|
| Envelope back | Beginner | Pillow and bench cushions | No zipper required | Back panels may shift slightly |
| Zipper closure | Intermediate | Neat, tailored cushions | Fully removable and secure | Requires careful zipper installation |
| Button or tie closure | Beginner to intermediate | Casual, decorative pillows | Adds visible detail | Fastenings need reinforcement |
| Overlap flap | Beginner | Outdoor or utility cushions | Simple construction | Works best with firm fabric |
| Velcro closure | Beginner | Seat pads and frequent washing | Easy to open and close | Can feel less refined if exposed |
Sew A Simple Envelope Cover
Place the front panel right side up. Position one back panel on top with the right side facing the front, lining up the outer edges. Add the second back panel in the same way, allowing the hemmed edges to overlap in the center. Pin or clip around all four sides, checking that the layers remain flat.
Sew around the perimeter with a straight stitch and a consistent seam allowance. Backstitch at the beginning and end of the seam so the corners remain secure. If the cushion will receive heavy use, sew a second line just inside the first or reinforce the corners with a few extra stitches.
Trim the corners diagonally without cutting through the stitching. This reduces bulk and helps the corners turn neatly. For a softer finish, you can also grade the seam allowances by trimming one layer slightly narrower than the other. Turn the cover right side out, push the corners gently with a blunt turning tool, and press the seams from the inside.
Insert the cushion through the envelope opening. Work the corners into place before smoothing the center. If the cover looks loose, check whether the insert is underfilled or whether the seam allowance was too generous. A small amount of ease is helpful, but excessive looseness can make a cushion look unfinished.
Add Detail With Piping, Borders, And Pattern
Once you are comfortable with the basic construction, small details can give a handmade cushion a more tailored appearance. Piping, also called welting, creates a defined edge around a cushion and works especially well on benches, dining seats, and lumbar pillows. You can buy premade cord or cover cotton cord with a narrow strip of fabric.
A contrasting border is another approachable option. Sew a narrow strip around the edge of the front panel before assembling the envelope back. Choose a solid color that appears elsewhere in the room, such as the shade of a rug, lamp base, artwork, or painted cabinet. Repeating a color in several small ways helps the cushion feel connected to the larger scheme.
Pattern mixing is most successful when the prints share at least one color or differ in scale. Pair a small geometric with a larger botanical, or combine a quiet stripe with a textured solid. If your room already contains several patterns, a nubby linen or brushed cotton may provide the visual rest needed to keep the arrangement balanced.
Handmade soft furnishings can also support a room’s architectural character. For example, a simple cushion in ticking stripe or natural linen would complement the warm, practical mood created by a budget barn door, while a jewel-toned velvet could make the same rustic feature feel more collected and sophisticated.
Make The Cover Last Longer
Strong construction begins with the right needle and thread. Use a universal needle for medium-weight cotton and a heavier needle for canvas or upholstery fabric. Polyester thread is a dependable everyday choice because it has some flexibility and holds up well to repeated use. Replace a dull or bent needle before starting a new project.
Pressing is just as important as stitching. Press each hem after folding it, flatten the seams after sewing, and avoid dragging the iron across the fabric. A pressing cloth protects delicate textiles and prevents shine on dark or synthetic materials. Small, precise pressing steps make the final cover look far more professional.
Check the care label on the fabric and cushion insert. Some covers can be machine washed on a gentle cycle, while others should be spot cleaned or dry cleaned. If regular washing is important, use a washable insert and avoid decorative trims that could catch in the machine. Keep a small fabric scrap for testing stain removers or checking colorfastness.
For outdoor seating, select fabric designed for exterior use and use mildew-resistant inserts. Indoor fabric can fade, absorb moisture, or deteriorate quickly in direct sunlight. Even when a cushion is under cover, humidity and temperature changes can affect the fibers.
Style Your New Cushions With Intention
A new cover should relate to the room without matching everything exactly. Begin with the largest visual elements, such as the sofa, rug, curtains, and wall color. Then use the cushion to repeat one existing tone or introduce a small accent. This approach makes the update feel integrated rather than disconnected.
Vary the arrangement by size and shape. A large square cushion can anchor the back of a sofa, while a smaller lumbar pillow adds support in front. Mix firm inserts with softer ones so the grouping looks relaxed but remains comfortable. For a bench, two or three cushions may look more inviting than a single oversized piece, depending on the length of the seat.
Consider texture as carefully as color. Linen, boucle, woven cotton, velvet, leather, and wool each reflect light differently and contribute a distinct tactile quality. A neutral cushion becomes more interesting when it has visible slub, embroidery, fringe, or a subtle check. Layering textures is especially useful in rooms with a restrained color palette.
- Select a fabric that suits the cushion’s daily use and cleaning needs.
- Measure twice, then add a consistent seam allowance to every panel.
- Press hems and seams throughout the project for sharper results.
- Test the cover with the insert before trimming or altering the final seams.
- Repeat one color, texture, or pattern from the room to create visual continuity.
Turn A Small Project Into A Room Refresh
One custom cover can become the starting point for a larger decorating update. Use the fabric as a color reference for artwork, a throw, or a small accessory. If the project uses a vintage textile, repeat its aged tones with wood, brass, ceramic, or woven materials rather than adding too many new colors.
For a coordinated seating area, make covers in different but related fabrics. A solid lumbar pillow, a patterned square, and a textured bolster can feel collected when they share a warm neutral or accent shade. This method is more flexible than buying a complete matching set and allows the room to evolve over time.
The same measurements and techniques can be adapted for dining chair pads, window seats, outdoor cushions, and pet beds. Once the envelope construction feels familiar, you can experiment with zippers, ties, boxed corners, and removable slipcovers. Each project builds confidence while giving your home a detail that feels personal.
Gather your fabric, measure a favorite cushion, and set aside an afternoon for sewing. A thoughtfully chosen textile and a straightforward envelope closure are enough to create a useful, attractive update—one that brings comfort, character, and a little of your own style into the room.

Recent Projects