Interior Design
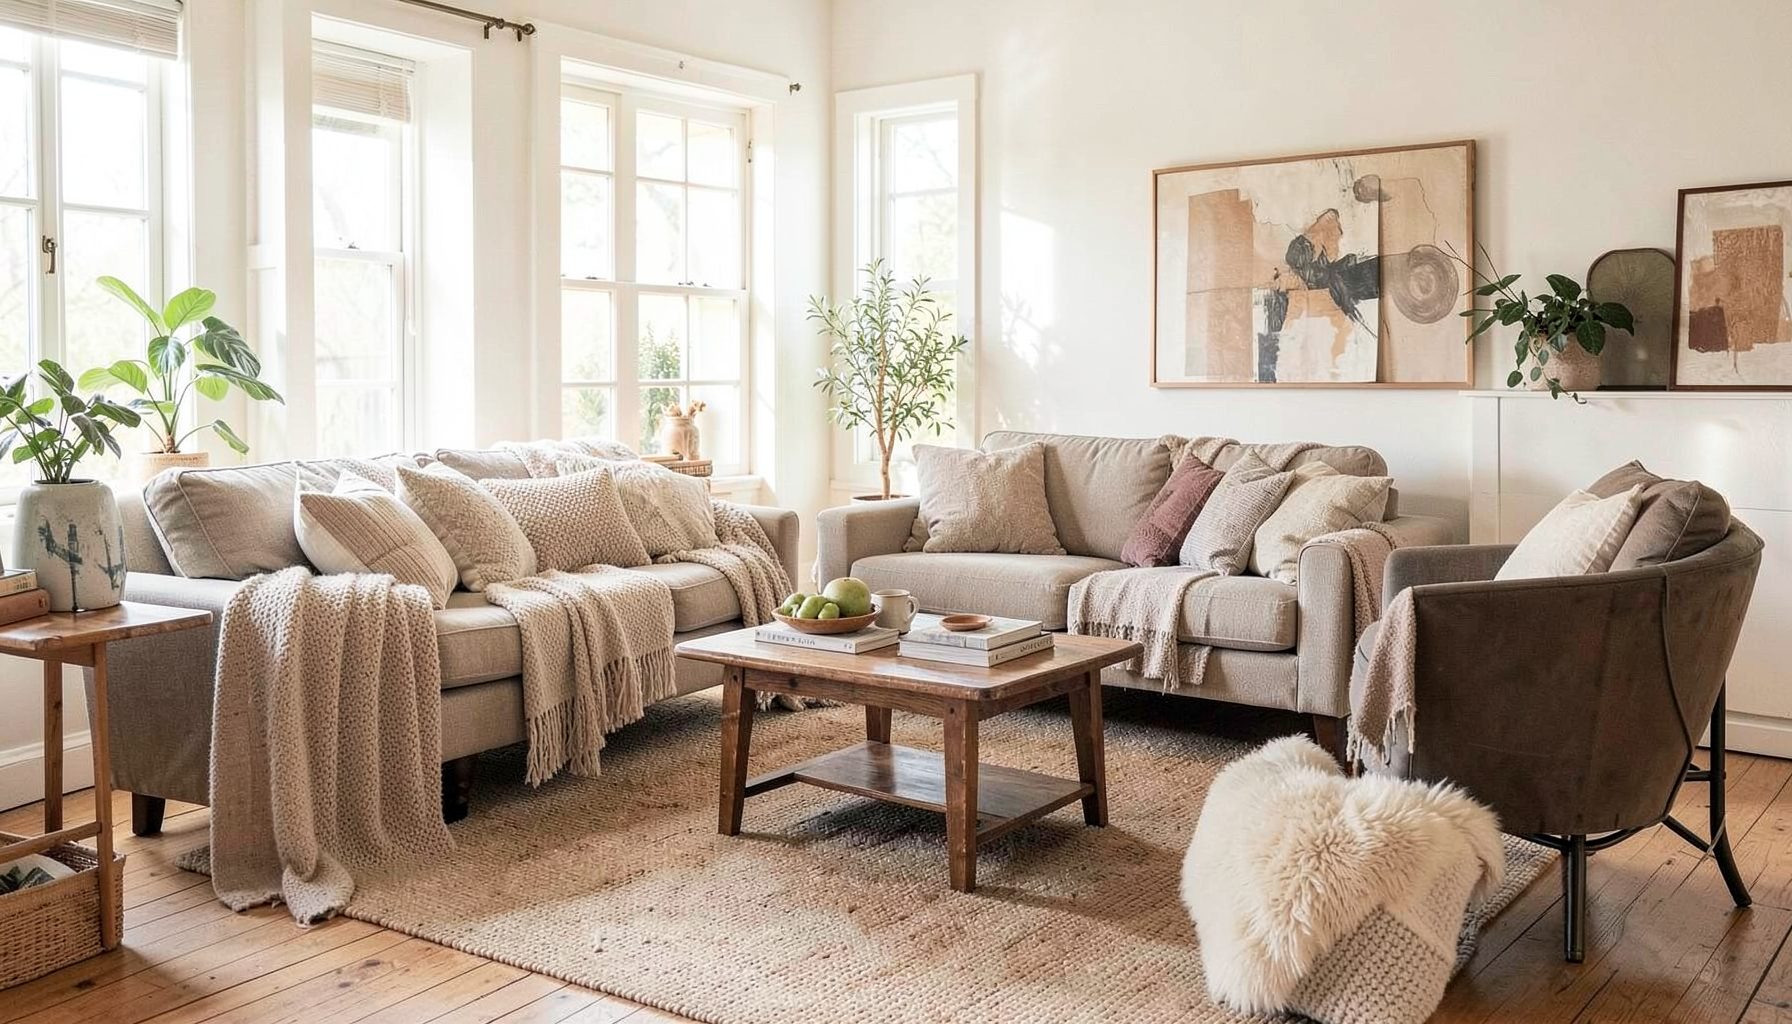
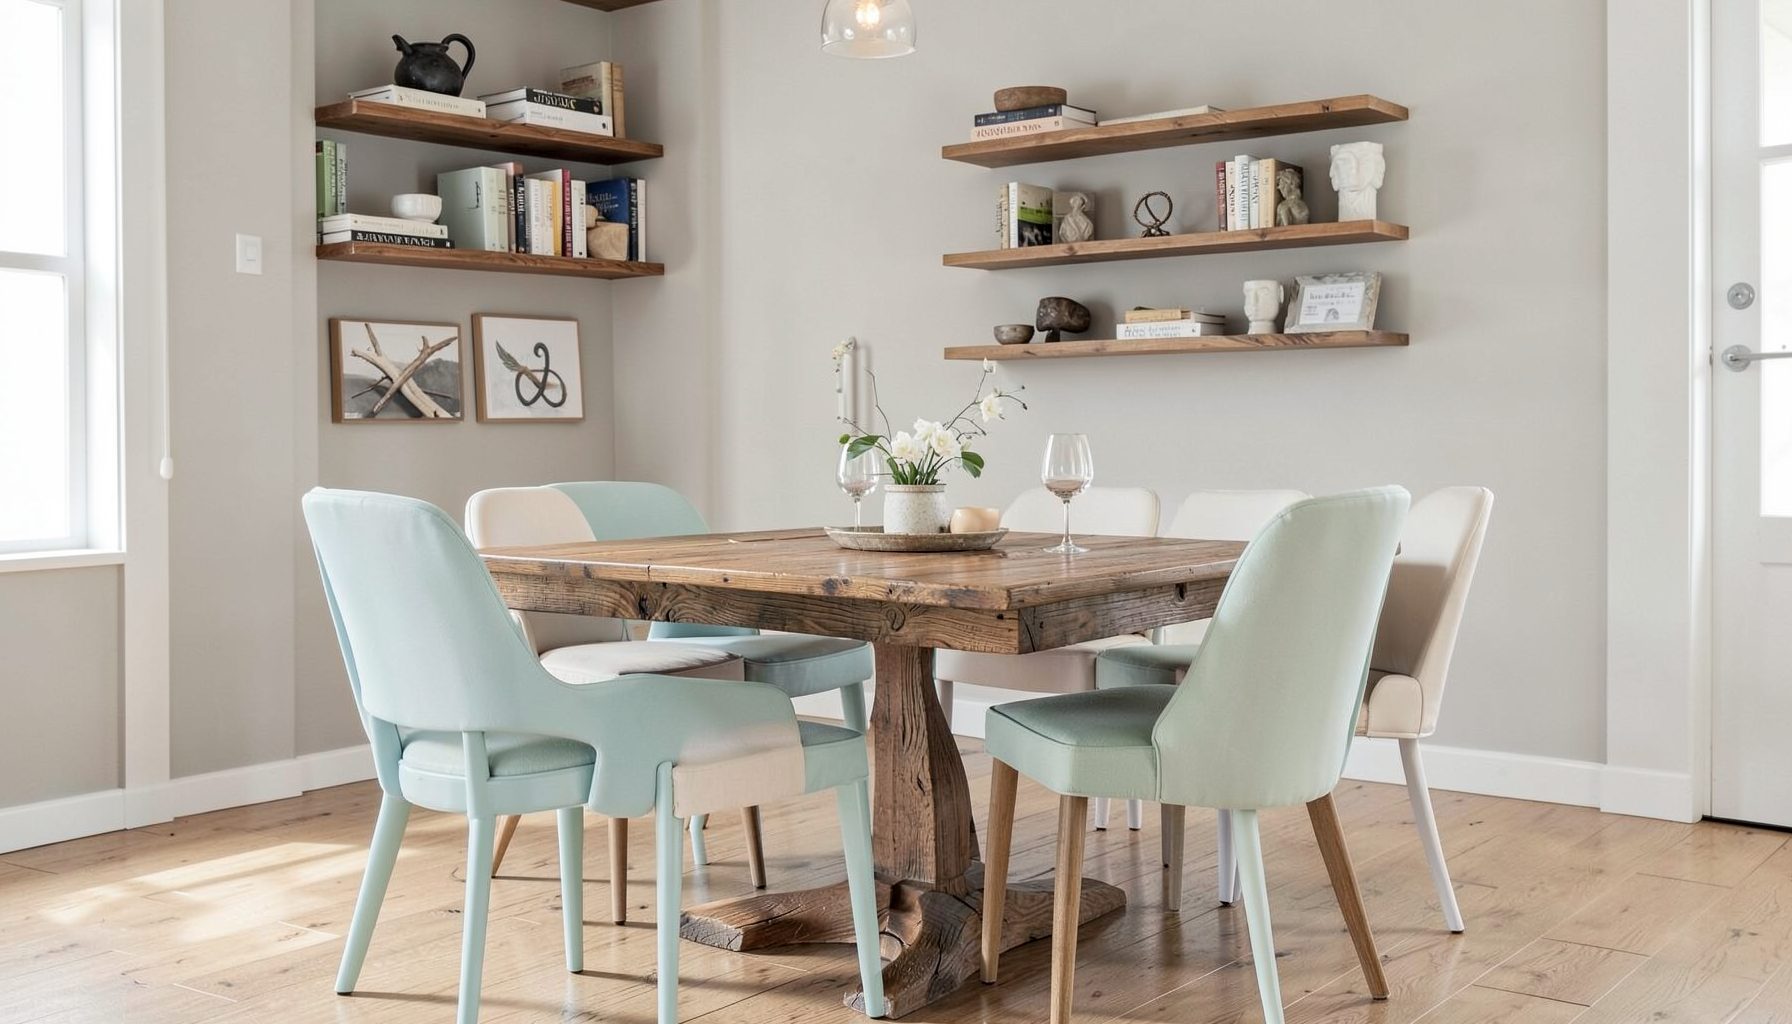
Full-service decorating that blends high and low, vintage finds with modern pieces for spaces that feel personal and collected.
Learn More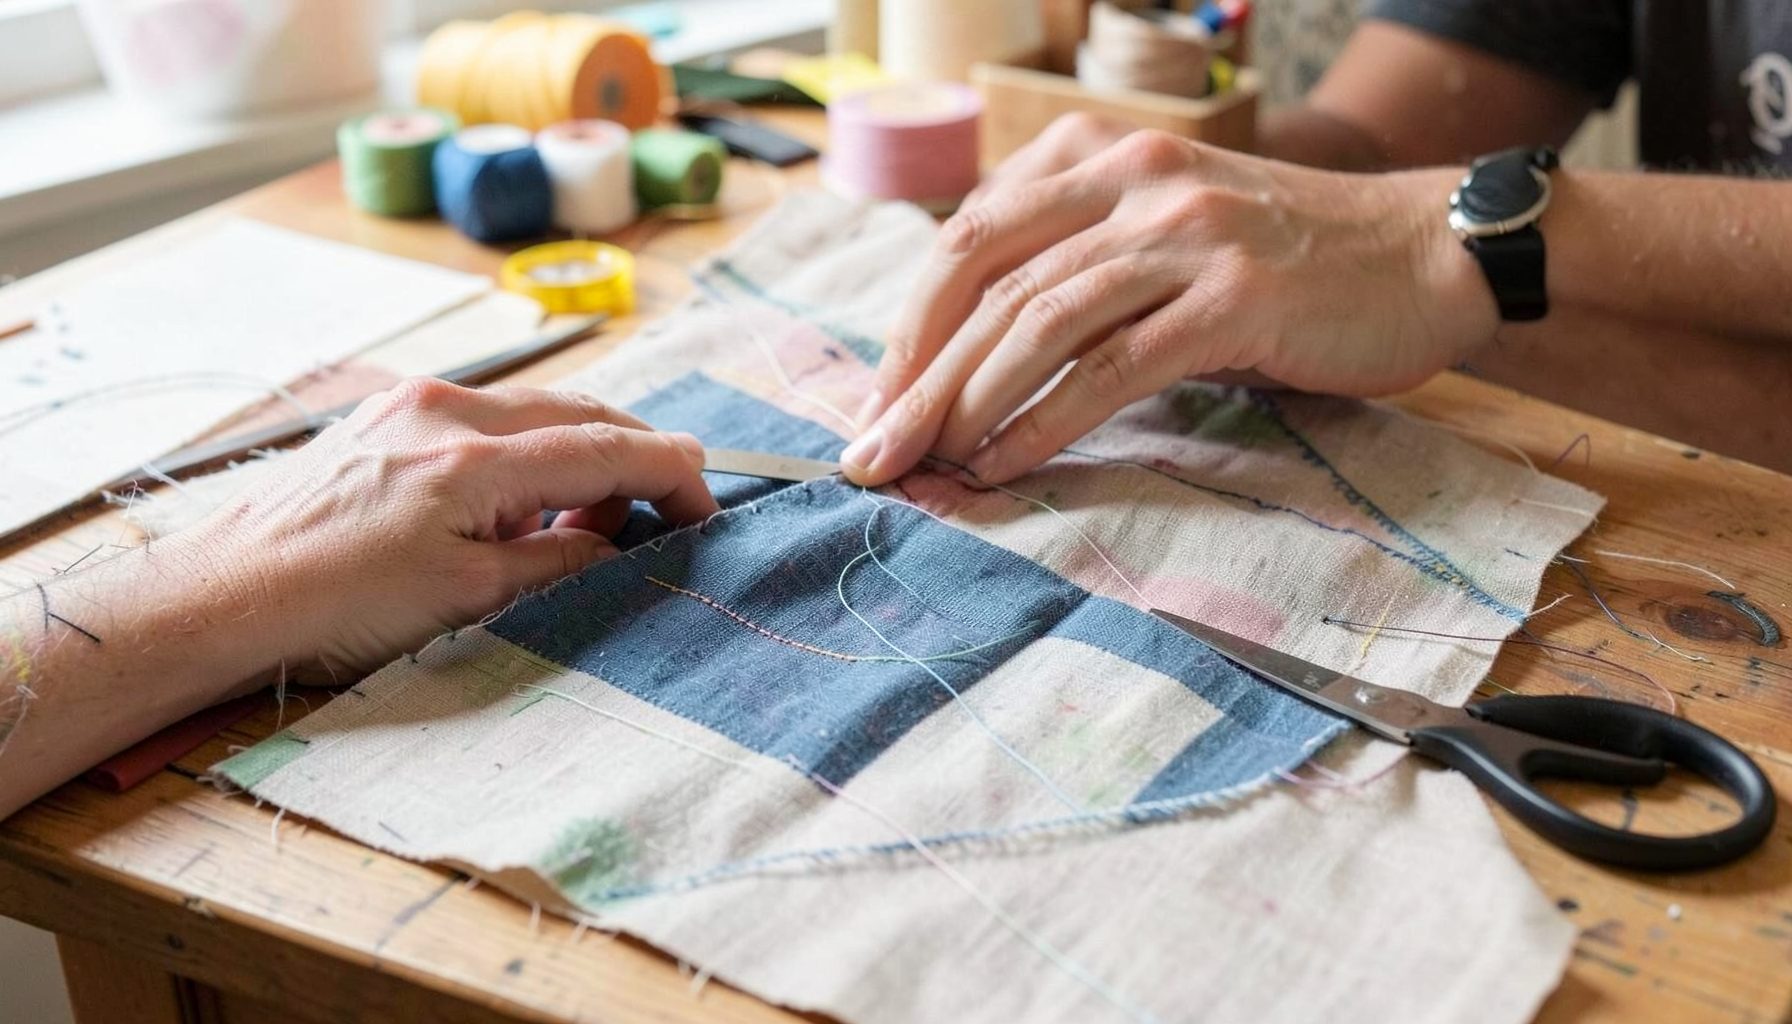
DIY Projects
Step-by-step tutorials for refinishing furniture, sewing pillows, styling bookshelves, and transforming rooms on a budget.
Learn More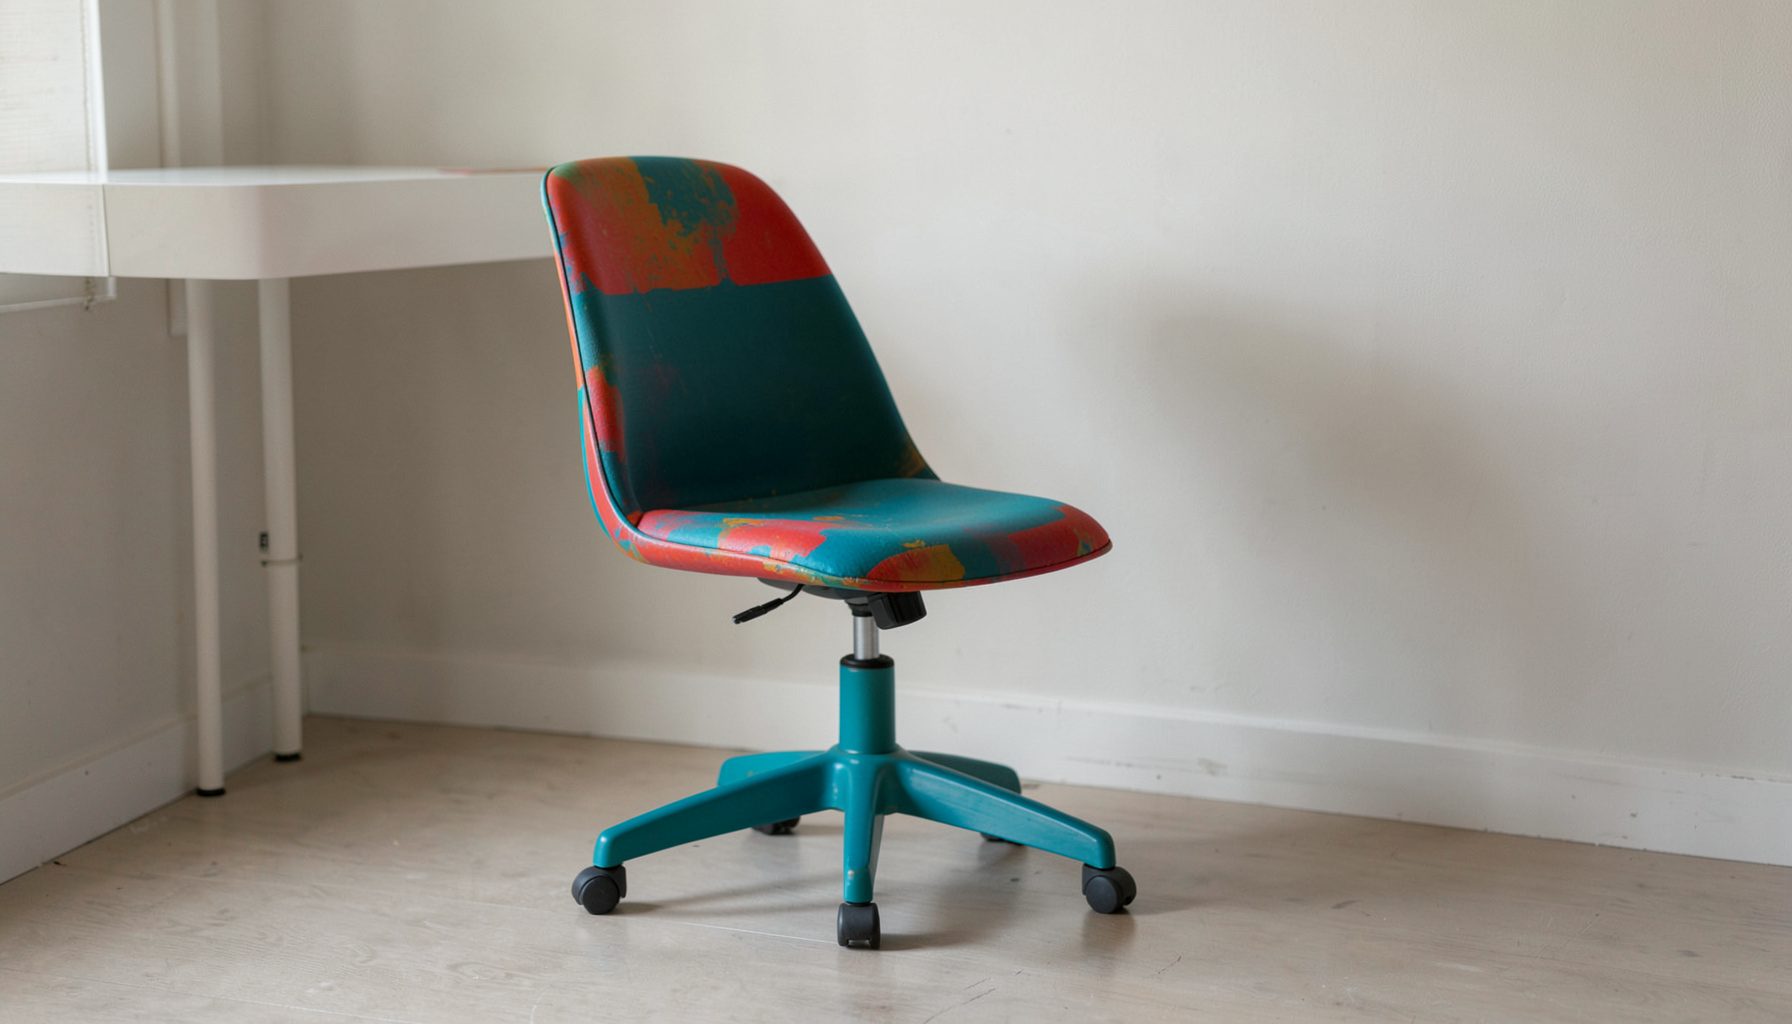
E-Decorating
Personalized design guidance delivered online — perfect for clients anywhere in the world who want a professional eye.
Learn More
Portfolio
Browse completed room makeovers, before-and-after transformations, and styling projects from Bay Area homes.
Learn More
Blog
Interior design inspiration, fashion finds, entertaining ideas, and peeks into real home renovations and styling projects.
Learn More
Downloads
Free curated resources for home decorating and design — guides, checklists, and inspiration to help you get started.
Learn MoreDIY Concrete Planters for a Modern Vintage Aesthetic
Concrete planters have a quietly architectural quality that works beautifully with both contemporary and vintage interiors. Their mineral texture, simple geometry, and soft gray coloring create a grounded backdrop for leafy plants, trailing vines, and sculptural branches. With a few thoughtful choices, a handmade planter can feel collected rather than strictly industrial.
The appeal lies in the contrast. A cool, weighty concrete vessel looks inviting beside warm wood, aged brass, woven baskets, faded textiles, and antique accessories. Small imperfections add character, while clean silhouettes keep the overall effect modern. This balance makes DIY planters especially useful for homes that blend old and new furnishings.
Making your own vessels also gives you control over scale, color, and finish. A set of small pots can dress a kitchen windowsill, while oversized forms can anchor a living room corner, covered patio, or entryway. The process is approachable, but successful results depend on choosing suitable materials, creating proper drainage, and styling the finished pieces with intention.
Shape The Modern Vintage Direction
The best planter designs for this aesthetic usually have uncomplicated profiles. Cylinders, shallow bowls, tapered cubes, and rounded pedestal forms allow the material to take center stage. Avoid adding too many decorative details to the mold; a restrained shape will feel current, while surface variation and styling can introduce the vintage character.
Proportion matters as much as form. A squat, wide planter feels relaxed and traditional, especially when paired with a fern or a rounded topiary. A tall, narrow planter creates a more contemporary vertical accent for an entry or empty corner. Grouping several shapes together can produce the feeling of a thoughtfully assembled collection rather than a matched store-bought set.
Color can shift the mood without covering the concrete completely. Natural gray pairs well with walnut, oak, linen, and aged leather. For a warmer look, tint the mix with a small amount of terracotta, sand, olive, or charcoal pigment. Muted shades are generally more successful than bright colors because they preserve the tactile, timeworn quality of the material.
Gather Materials And Molds
A basic project requires concrete or a fine cement mix, clean water, a mixing container, a stir stick or trowel, cooking oil or mold release, gloves, and two containers for each planter. The smaller container creates the cavity for soil, so it should be centered inside the larger one and leave an even wall thickness around the sides.
Flexible plastic food containers, silicone cups, old bowls, and discarded packaging make excellent molds. Cardboard cartons can work for square forms, although they need reinforcement to prevent bulging. Look for containers with straight or gently tapered sides, since dramatic lips and narrow openings can make demolding difficult.
A drainage hole is essential for living plants. Before the concrete cures, insert a short piece of drinking straw, dowel, or tubing through the center of the base. The plug should remain in place while the mix sets and be easy to remove afterward. For larger vessels, several drainage openings may be appropriate, provided they do not weaken the base.
Wear gloves and protect your work surface, since cement can irritate skin and permanently mark porous materials. Work outdoors or in a well-ventilated area, and never rinse leftover mix into a household drain. Allow residue to harden in the mixing container before disposing of it responsibly.
Cast A Durable Vessel
Begin by lightly coating the inside of the outer mold and the outside of the inner mold with release oil. Use only a thin layer; excess oil can leave blotchy patches on the finished surface. If the containers are flexible, place the outer mold in a box or tray so it remains stable during filling.
Mix the concrete gradually, adding water in small amounts until the consistency resembles thick brownie batter. A mixture that is too dry may crumble, while one that is too wet can separate and produce a weak, chalky planter. Stir slowly but thoroughly, scraping the sides and bottom of the container to distribute the cement evenly.
Pour a base layer into the larger mold and tap it gently against the work surface. This releases trapped air and helps the concrete settle into corners. Place the inner mold in position, checking that it is centered and that the drainage plug reaches the base. Add the remaining mix around the sides, pressing it down in stages.
Tapping is one of the simplest ways to improve the surface. Move around the mold and give it light, consistent knocks, or gently vibrate the container with your hands. Avoid aggressive shaking, which can dislodge the inner form. Smooth the top edge with a trowel or a damp finger while the mixture is still workable.
Cover the mold loosely with plastic and leave it undisturbed for the time recommended on the mix packaging. The planter may feel firm after a day, but it is still gaining strength. A longer curing period generally produces a more reliable vessel, particularly for larger forms or outdoor use.
Compare Mixes And Finishes
Different materials create noticeably different results. A fine cement mix produces a smoother, more refined surface, while standard concrete containing aggregate gives the planter a pebble-like, architectural texture. Plaster may be useful for lightweight decorative vessels, but it is less dependable around moisture and should be reserved for liners or faux planters.
| Material or finish | Visual character | Best use | Considerations |
|---|---|---|---|
| Fine cement mix | Smooth and minimalist | Small indoor planters | Easy to detail, but can chip at thin edges |
| Standard concrete | Grainy and substantial | Large vessels and patio accents | Heavier and more rustic |
| Cement with pigment | Soft color with mineral depth | Coordinated plant groupings | Add pigment gradually for muted tones |
| Sanded raw surface | Velvety and refined | Modern vintage interiors | Requires careful dust cleanup |
| Whitewashed finish | Aged and gently weathered | Cottage, European, or collected rooms | Use a thin coat to preserve texture |
| Sealed surface | Slightly richer and protected | High-use areas or outdoor settings | May deepen the color and reduce porosity |
Once the planter is released from its mold, resist the urge to perfect every mark. Small pinholes, faint color shifts, and slightly irregular edges can make the piece appear handmade in the best way. If the surface is especially rough, use fine-grit sandpaper or a sanding sponge to soften sharp points while leaving the broader texture intact.
Concrete is naturally alkaline, so it should be rinsed and cured before a plant is introduced. Soak the empty planter in clean water, change the water several times, and let the vessel dry completely. A waterproof liner can protect sensitive furniture and make indoor maintenance easier. For plants that dislike excess moisture, add a layer of gravel only if it does not block the drainage hole, then use a well-draining potting mix.
Add Patina Without Losing Simplicity
The most convincing vintage effect is usually subtle. A diluted limewash, mineral paint, or watered-down warm gray can settle into the pores and create gentle tonal variation. Apply it with a dry brush or cloth, then wipe away the excess from raised areas. This leaves the recesses slightly darker and emphasizes the handmade surface.
A soft whitewash works particularly well with olive trees, rosemary, ferns, and trailing pothos. For a richer palette, try a dusty clay wash or faded sage tint. Metallic wax can highlight an edge or base, but use it sparingly. A small touch of aged brass or bronze may connect the planter to nearby lighting, frames, or hardware without making the vessel feel ornate.
Pairing matters. Place a raw concrete planter on a vintage wood stool, a marble shelf, or a woven pedestal to create material contrast. A narrow vessel beside an antique mirror can bring structure to an entryway, while a cluster of low planters can add rhythm to an open shelf. Mixing one handmade planter with a few older ceramic pieces helps the arrangement feel collected over time.
For a room with many patterns or decorative objects, keep the planter finish quiet. In a restrained interior, a more weathered surface can act as a focal point. The aim is to support the room’s story rather than make every accessory compete for attention. This layered approach reflects the balance explored through layered design inspiration, where vintage finds and contemporary pieces can share the same visual language.
Style Plants For Collected Rooms
Choose greenery according to the planter’s proportions and the light available in its location. Compact concrete pots suit succulents, herbs, peperomia, and small ferns. Tall vessels can support fiddle-leaf figs, rubber plants, palms, or olive trees, provided the container is stable and large enough for the root system.
The plant should bring softness to the concrete rather than disappear against it. Rounded leaves create a gentle contrast with square molds, while spiky grasses and upright snake plants reinforce a more tailored silhouette. Trailing plants are effective in shallow bowls, where their stems can spill over the edge and soften the hard material.
Consider using repetition without exact matching. Three vessels in related gray, clay, and cream tones can look more natural than three identical planters. Vary the heights slightly, leave breathing room between each plant, and keep the tallest form toward the back of a display. This creates depth and prevents the grouping from appearing overly arranged.
Outdoor planters need additional care in colder or wetter climates. Concrete can absorb water, and repeated freezing may cause cracking. Elevate vessels from standing water, use frost-resistant mixes when possible, and avoid placing delicate planters directly on unprotected wood. In a Bay Area home, the mild climate offers flexibility, but coastal moisture and intense sun still make drainage and sealing worthwhile.
Recommendations For A Polished DIY Result
A few deliberate choices will make the finished planters feel more like considered interior accessories than quick craft projects:
- Start with one small mold to test the mix, release method, and desired color before making a larger vessel.
- Keep the wall thickness consistent so the planter looks intentional and remains strong around the rim.
- Use a drainage plug in every vessel intended for live plants, and protect indoor surfaces with a saucer or liner.
- Combine raw concrete with warm wood, woven fibers, aged metal, or antique ceramics to create balanced contrast.
- Sand only the sharpest imperfections, leaving modest pinholes and tonal changes visible as evidence of the handmade process.
A well-made planter can serve several roles throughout the home. Use one beside a console as an anchor for branches, on a bathroom shelf for a humidity-loving plant, or on a covered porch as a quiet architectural accent. Its usefulness increases when the shape is simple enough to move between rooms and the finish complements several decorating palettes.
The project also offers an easy way to experiment with scale and composition before committing to larger changes. A pair of small vessels can test a color relationship, while a single oversized planter can reveal whether a corner needs more height or texture. These small adjustments often make a room feel more layered without requiring a complete redesign.
Bring the finished pieces into a room with patience. Let the concrete settle visually beside existing furniture, then adjust the plant height, nearby accessories, and spacing. When the vessel, greenery, and surrounding materials support one another, a modest DIY project can become a distinctive part of a modern vintage home.
For more guidance on creating a layered, personal interior, explore Maggie Rose Interiors for decorating resources, project inspiration, and design services. A thoughtfully made concrete planter may be a small beginning, but it can help define the larger mood of a room—grounded, collected, and uniquely yours.

Recent Projects