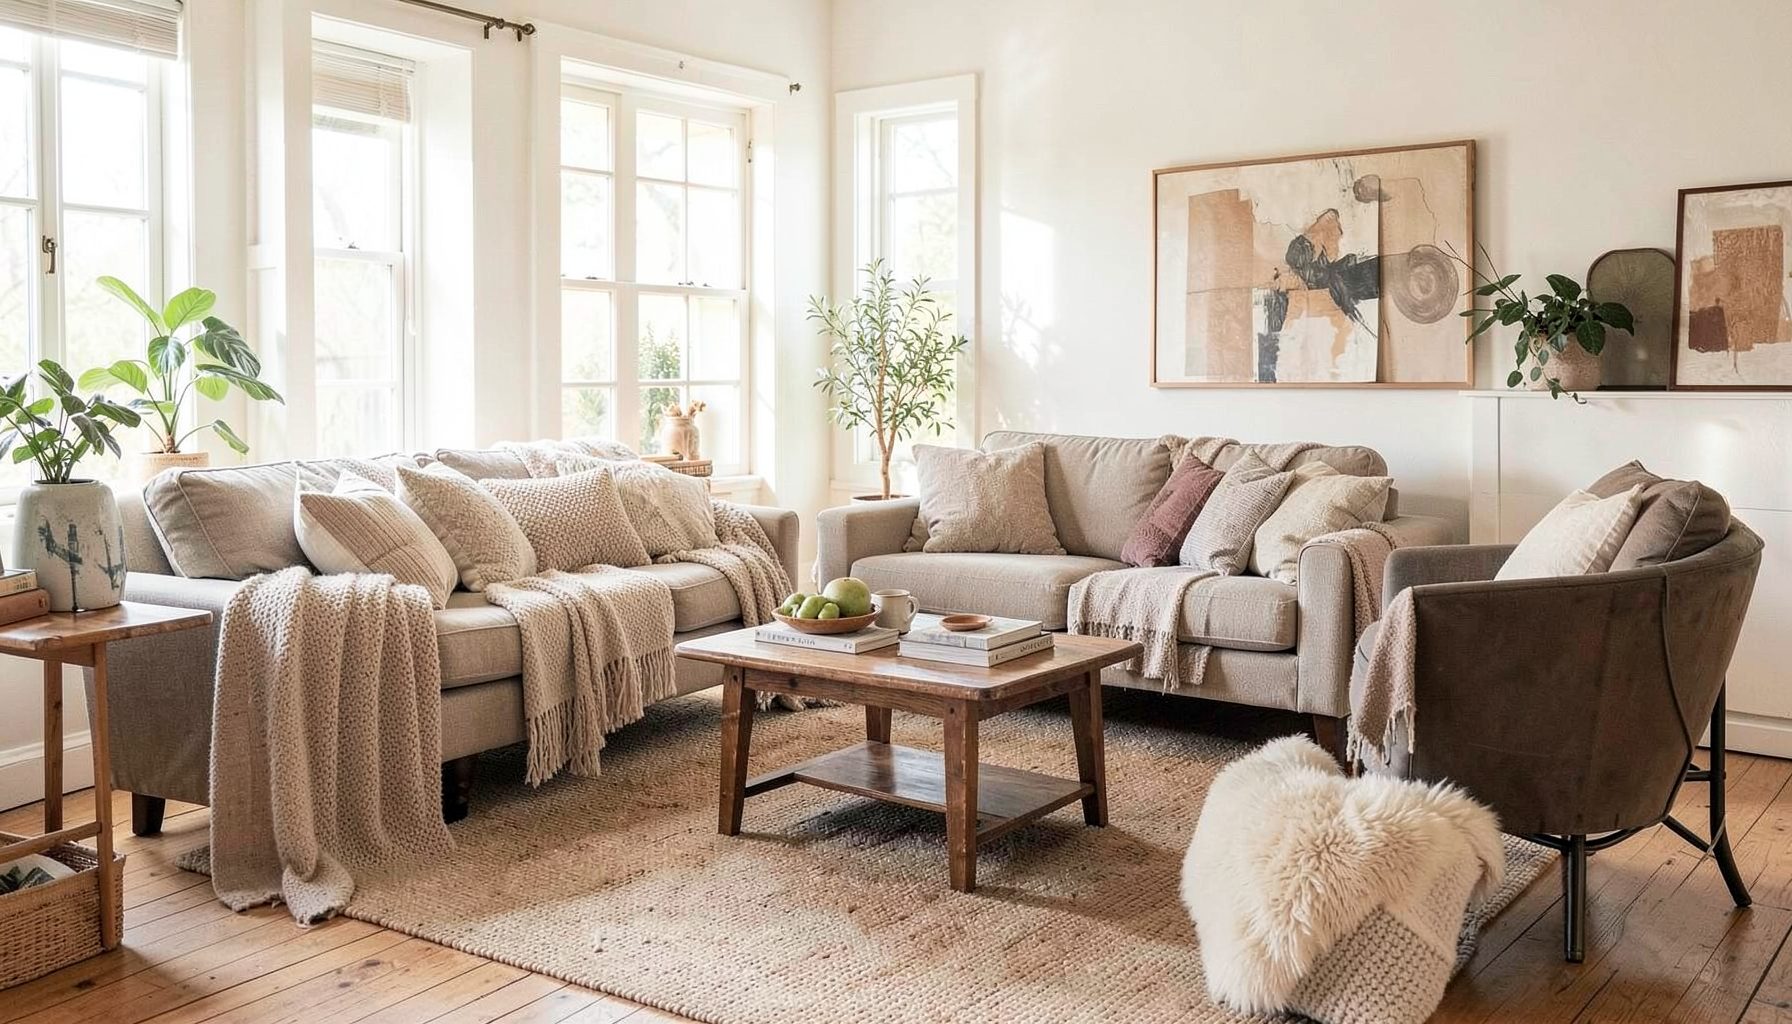
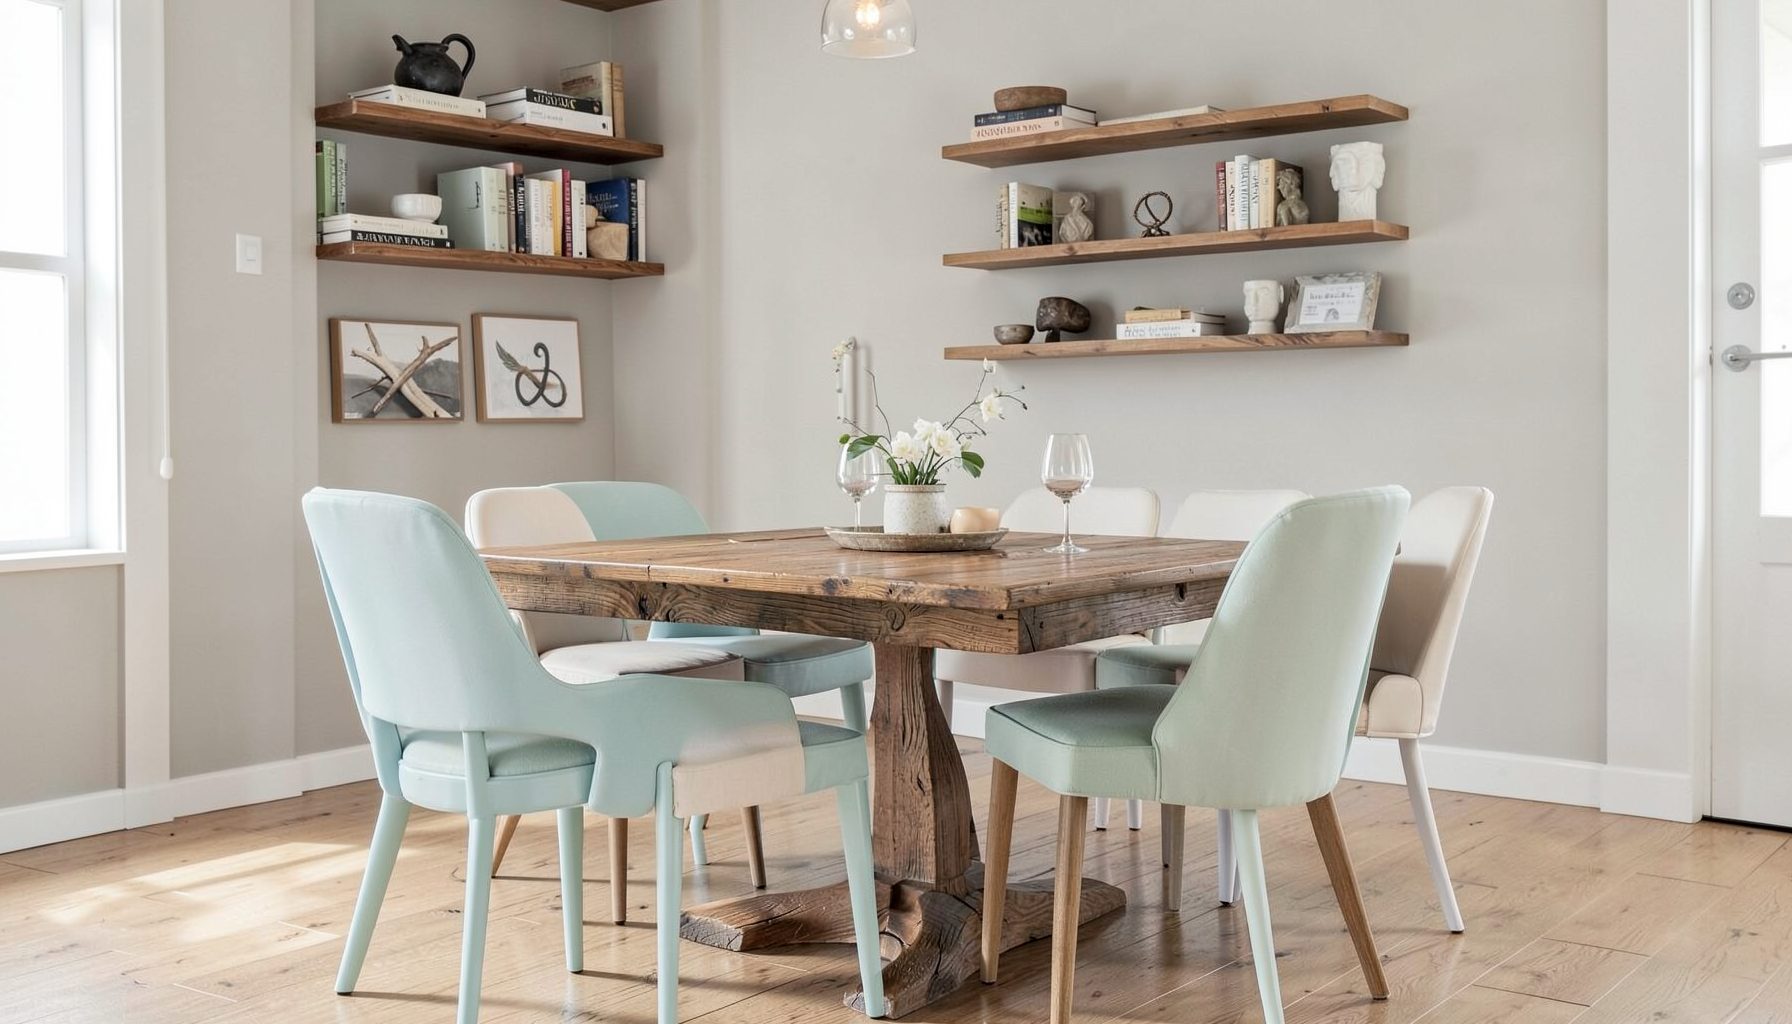
Interior Design
Full-service decorating that blends high and low, vintage finds with modern pieces for spaces that feel personal and collected.
Learn More
DIY Projects
Step-by-step tutorials for refinishing furniture, sewing pillows, styling bookshelves, and transforming rooms on a budget.
Learn More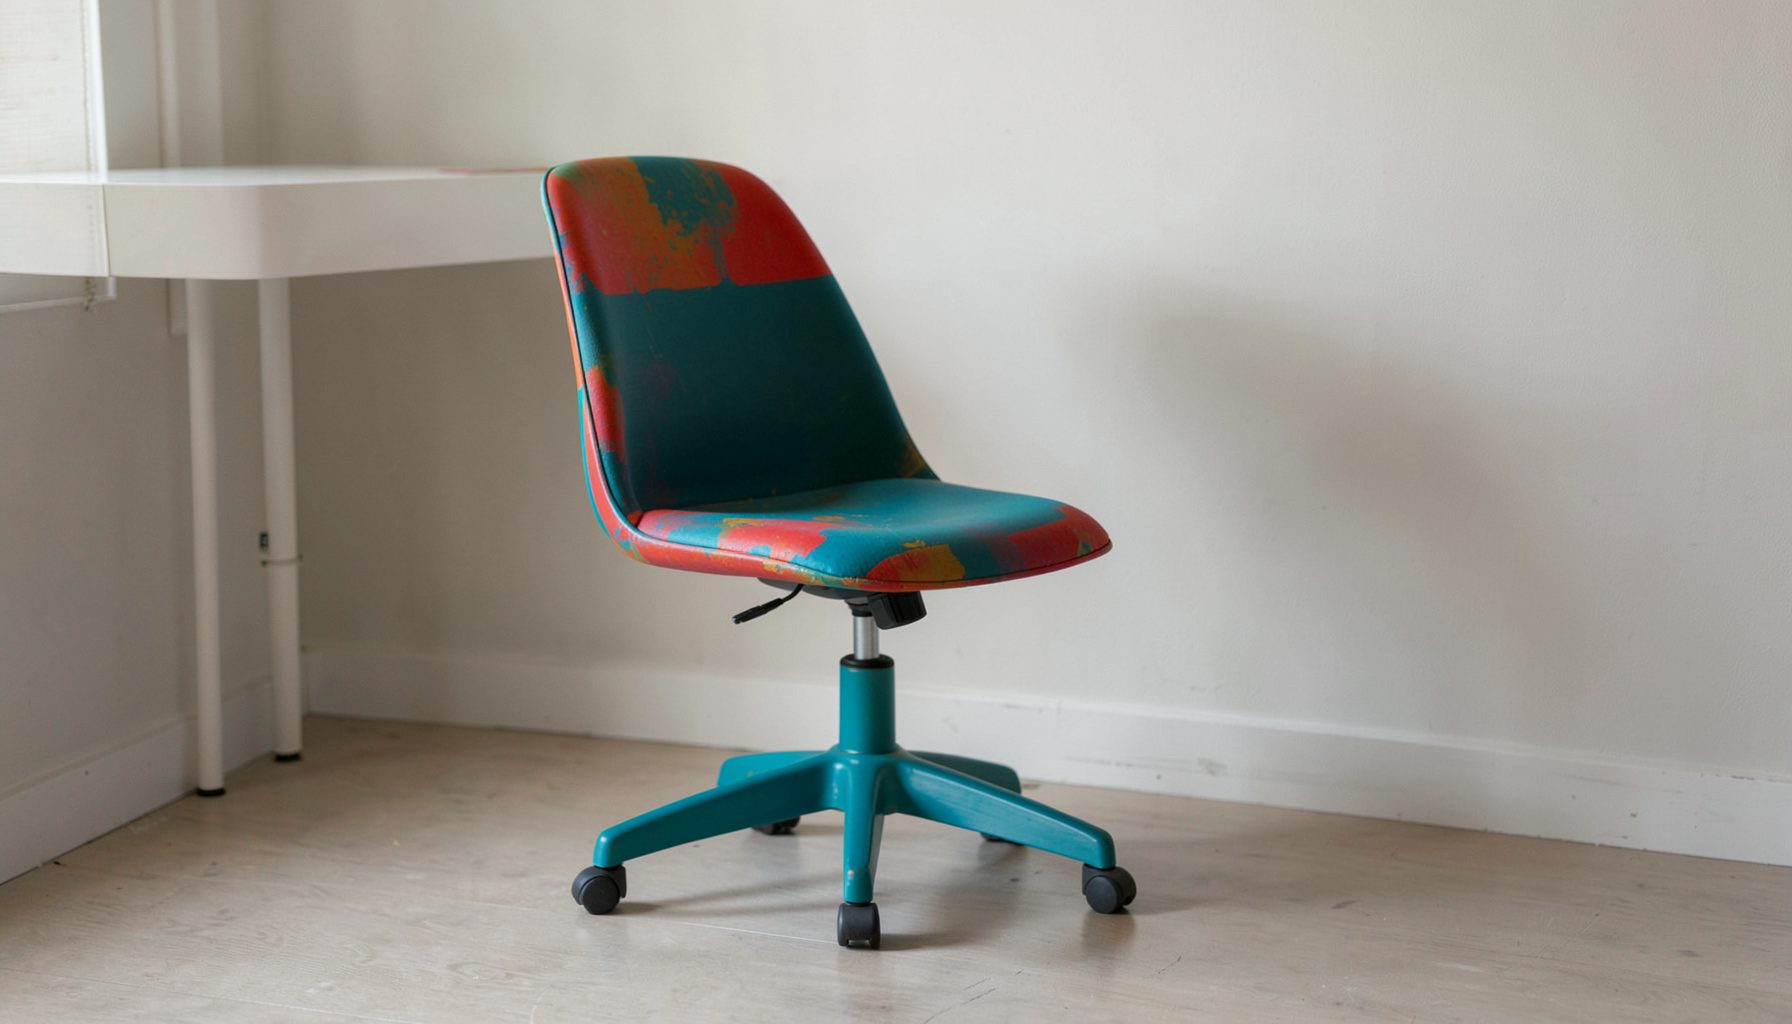
E-Decorating
Personalized design guidance delivered online — perfect for clients anywhere in the world who want a professional eye.
Learn More
Portfolio
Browse completed room makeovers, before-and-after transformations, and styling projects from Bay Area homes.
Learn More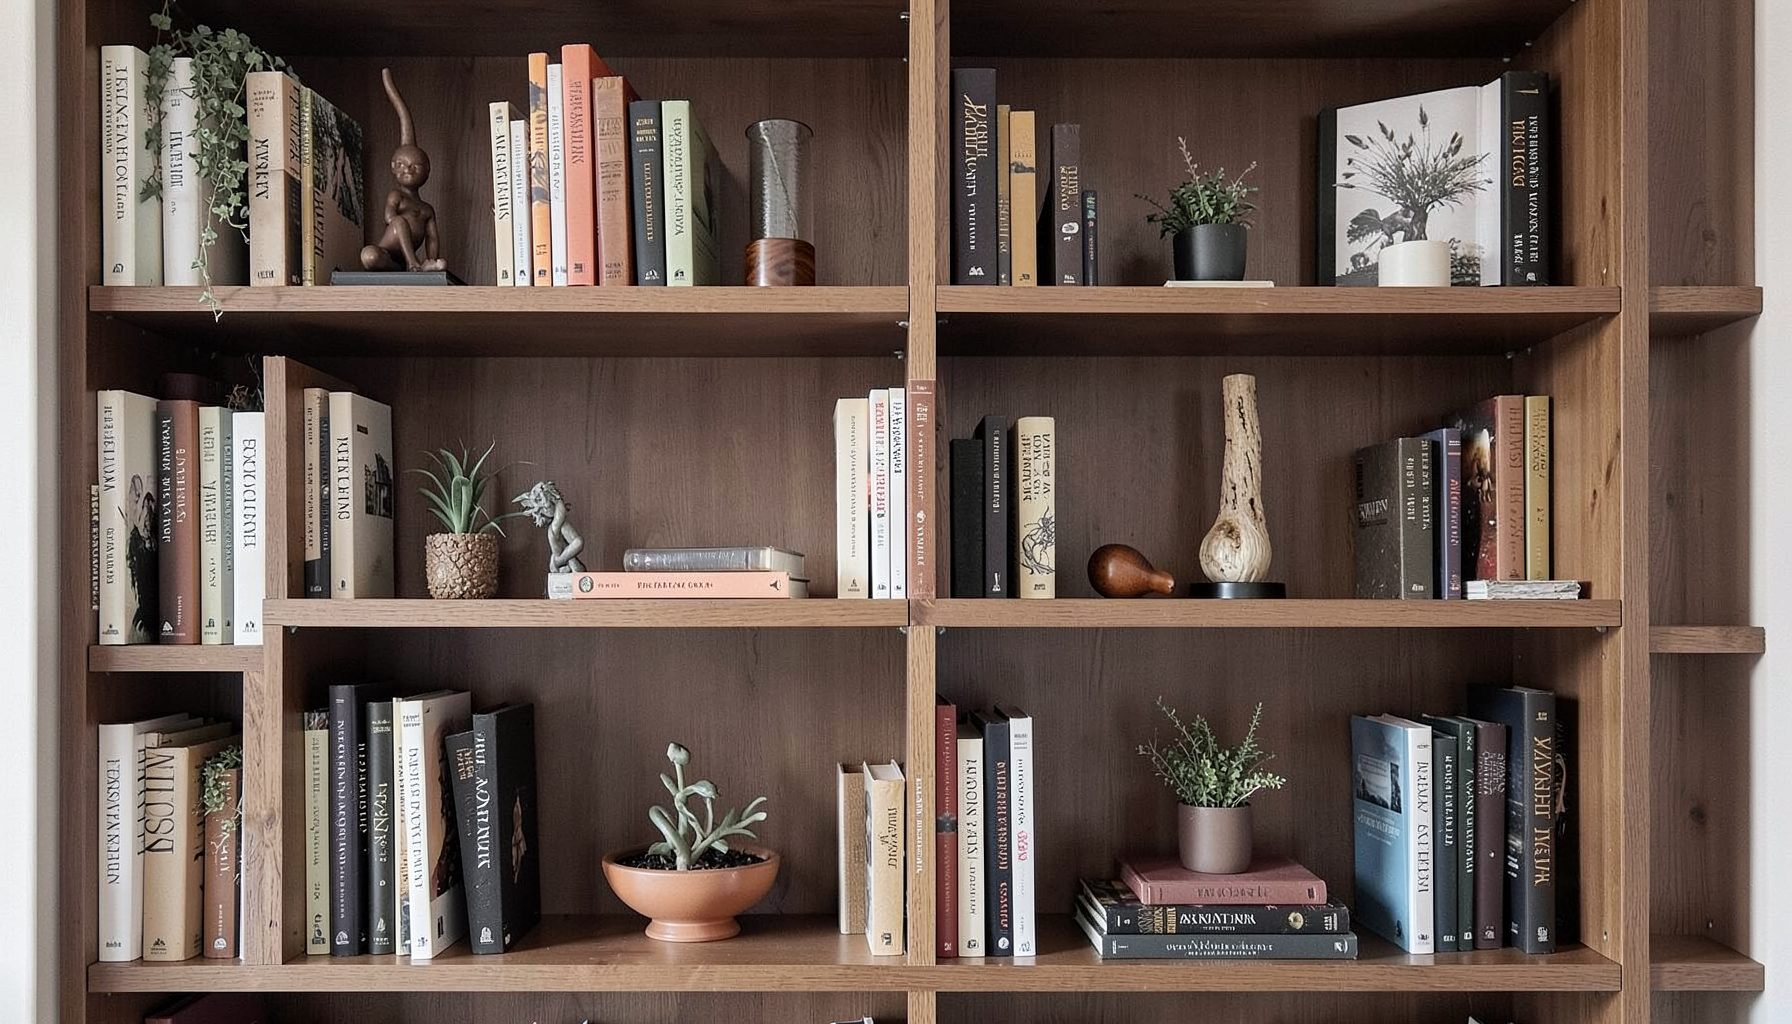
Blog
Interior design inspiration, fashion finds, entertaining ideas, and peeks into real home renovations and styling projects.
Learn More
Downloads
Free curated resources for home decorating and design — guides, checklists, and inspiration to help you get started.
Learn MoreChoosing the Perfect Pendant Light for a Kitchen Island Overhang
An island pendant does more than illuminate a benchtop. It frames the centre of an open-plan kitchen, gives the eye a place to land and can make a practical room feel warm and collected. The right fixture needs to fit the overhang, suit the ceiling height and work with the surfaces, cabinetry and personal style already in the room.
Getting that balance starts with measurement rather than browsing. A pendant that looks spot on online can hang a bit low in a real Australian kitchen, or overpower a compact island. Think in terms of ceiling drop, clearance above the bench and light distribution before you settle on a particular shape or finish.
Start with the overhang
Begin with the part of the island that causes the most confusion: the benchtop overhang. Measure its depth from the outer edge of the cabinets to the front of the stone, and note where people will stand or sit. A pendant centred over the entire top can appear to float over empty air when much of the island is cabinetry. Centring the group over the usable worktop and leaving the seating edge clear often looks more composed.
Now establish the vertical gap. Many Australian kitchens use a 900 mm-high bench, while taller 1000–1050 mm benches are also common. Measure from the finished floor to the ceiling and then to the work surface. Those three figures reveal how much room you have for the canopy, cord or rod and the shade. A large shade needs more ceiling drop; a small one can sit lower without feeling cramped.
The pendant must also do two jobs without getting in the way. It should light the preparation zone and give diners enough light at the table. Keep its lowest point safely above the countertop, especially where people move with hot pans or raised elbows. Follow the fixture maker’s clearance guidance, and check local requirements through your installer if the layout is unusual.
Measure the space before choosing a shade
A useful pendant lighting guide sets out how shade width and shape affect the spread of light. Use it alongside your own measurements rather than relying on a generic sizing chart. For a single statement fixture, a shade roughly one-half to two-thirds of the island’s length usually creates a balanced look; check that it still leaves breathing room around the bench.
Tape the proposed width on the floor or mark it on a sheet of paper and compare it with the island. A round shade that is much narrower than the bench can look undersized, while an oversized shade may block conversation across the island. Ceiling height matters just as much: many Australian homes have ceilings around 2.7 metres, so substantial shades need careful placement to avoid crowding the room.
For a long island, consider a group instead of one large piece. Three slim pendants can make a clean rhythm, while a row of matching globes suits a more relaxed, collected kitchen. Check the junction-box position before rearranging the layout; moving it later adds cost. If the ceiling already has downlights, the pendant can supply character and focused light without doing every lighting job alone.
Get the light quality right
Brightness should support the task without making the island the brightest object in the open-plan room. Compare total lumens across all pendants, then look for a wide, even beam and a diffuser that softens glare. Exposed decorative bulbs can look wonderful, but downward light and bright reflections on polished stone or stainless steel are less comfortable during longer food preparation.
Colour temperature changes the mood. Around 2700–3000K gives a warm residential glow; 3500–4000K looks cleaner for a crisp, contemporary kitchen. Australian daylight can make a room feel cool and hard in the afternoon, so a warm-to-neutral LED often works better than an icy daylight bulb. A high colour-rendering index of 90 or above brings out the colour of food, timber and stone, which matters in a room made from many different materials.
Most Australian kitchens are used from breakfast into evening, so dimming is valuable rather than optional. Choose a dimmable LED fixture and a compatible dimmer, then confirm both before purchase. Some LEDs flicker or buzz at lower settings, and some wall dimmers are designed for older incandescent lamps. Dimmable does not automatically mean compatible; the product specifications need to match the control being installed.
Match the fixture to your kitchen
Measurements set the boundaries; materials and finishes decide whether the pendant feels native to the room. An opal-glass shade can give pale timber and white cabinetry a clean, modern note. Clear glass adds sparkle without hiding the bulb, while a woven or rattan-style shade introduces texture and softens the light for a relaxed family kitchen.
Mixed-era interiors often suit mixed shapes. Pair a sculptural brass pendant with simple walnut cabinetry, or place a matte black shade over warm cream stone. These combinations create the layered quality seen in collected homes, where modern fittings sit comfortably beside vintage pieces rather than every item competing for attention. Keep the finish connected to something else in the room, even if it is only the tapware or the dining chairs.
Price does not determine visual impact. A well-proportioned shade from an Australian lighting retailer or a store such as Bunnings or Masters can be effective, while a designer fitting may offer refined materials and adjustable details. Focus on construction, light performance and the size relative to the island. Spend where you can see it, and save on a less visible component only if it performs well.
Plan the electrical and installation details
Before ordering, establish what the pendant requires: a ceiling rose, a fixed wiring point or a plug-in arrangement. Fixed pendant lights generally need a suitably located junction box and an electrician to cut the hole and make the connection. The electrical circuit also needs enough capacity for the fixture, particularly when adding several fittings to one circuit or running new cable across a tiled splashback.
In Australia, new fixed wiring and the associated installation should be handled by a licensed electrician. Ask the electrician to check earthing, circuit loading and the proposed dimmer, and to confirm whether any switch or socket position needs relocating. This is especially sensible in a renovation where the island layout has changed after the original kitchen was planned. A clean installation should look as deliberate as the lighting itself.
Check the product information for Australian electrical compatibility, including 220–240 V operation and the correct lamp or integrated LED. Integrated fittings can simplify maintenance, while a pendant with a replaceable lamp offers more flexibility. Confirm cable length, ceiling rose diameter, available ceiling height and warranty coverage before you pay, and keep the electrical safety tag or instruction sheet for future reference.
Bring the measurements, light and style together
Compare like with like when setting a budget. Look at the total cost of the fixture, lamp, dimmer, cable, delivery and installation rather than the sale price alone. Check stock availability, return conditions and the lead time for any made-to-order fitting. If you are mixing pendants from different ranges, make sure their shades align over the island and that their brightness matches once they are switched on together.
For personalised help, reviewing past client testimonials can show how a decorator handled real rooms, budgets and family routines. The finished-project portfolio is also useful for judging scale: look for kitchens with a similar ceiling height, bench size or overhang, rather than judging a tiny pendant in a grand room or the reverse. A good virtual consultation should consider your existing pieces and how you want the room to work day to day.
Trial one pendant before committing to a set of three if your budget or measurements are still uncertain. Borrow or temporarily hang it at the intended height, with an electrician’s help if needed, and switch it on at different times of day. Check the view from the sofa and the dining table, then adjust the plan for spacing, light overlap and colour temperature. This low-risk test often prevents an expensive mismatch between a beautiful fixture and the room beneath it.
The practical takeaway is simple: the best kitchen island pendant fits the measured drop, keeps the worktop clear and adds a warm, balanced focal point without taking over the room.

Recent Projects