Interior Design
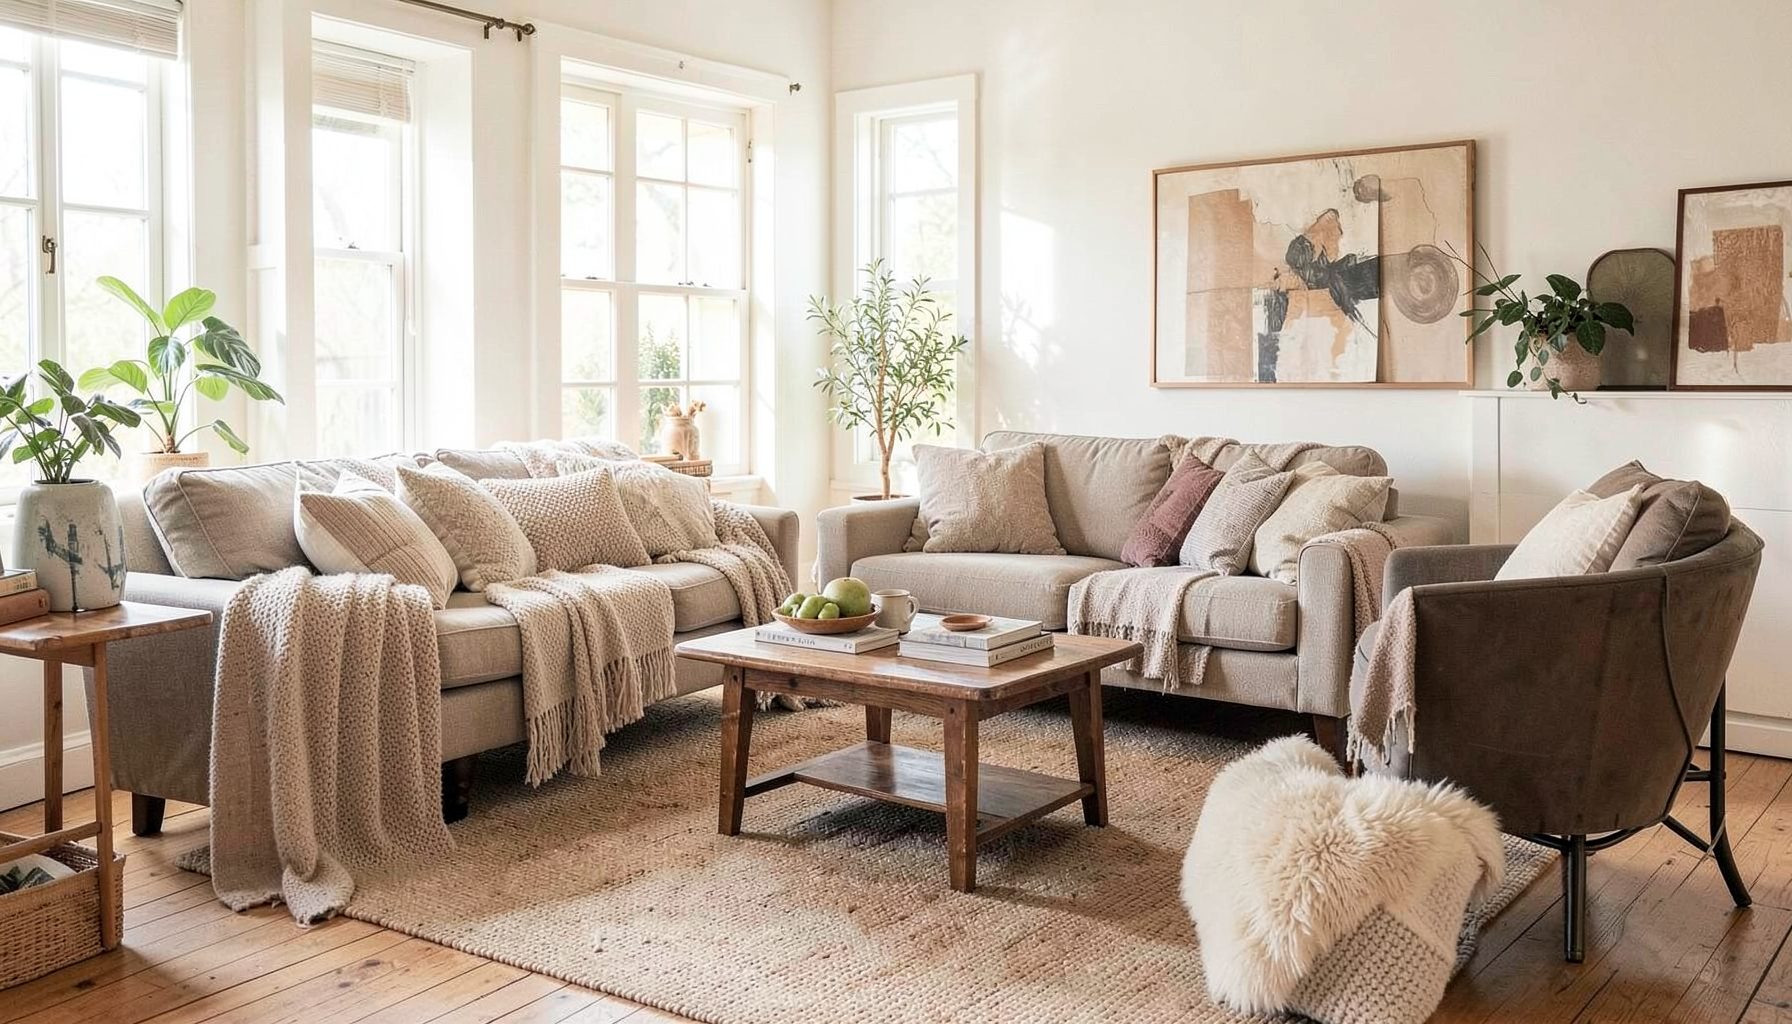
Full-service decorating that blends high and low, vintage finds with modern pieces for spaces that feel personal and collected.
Learn More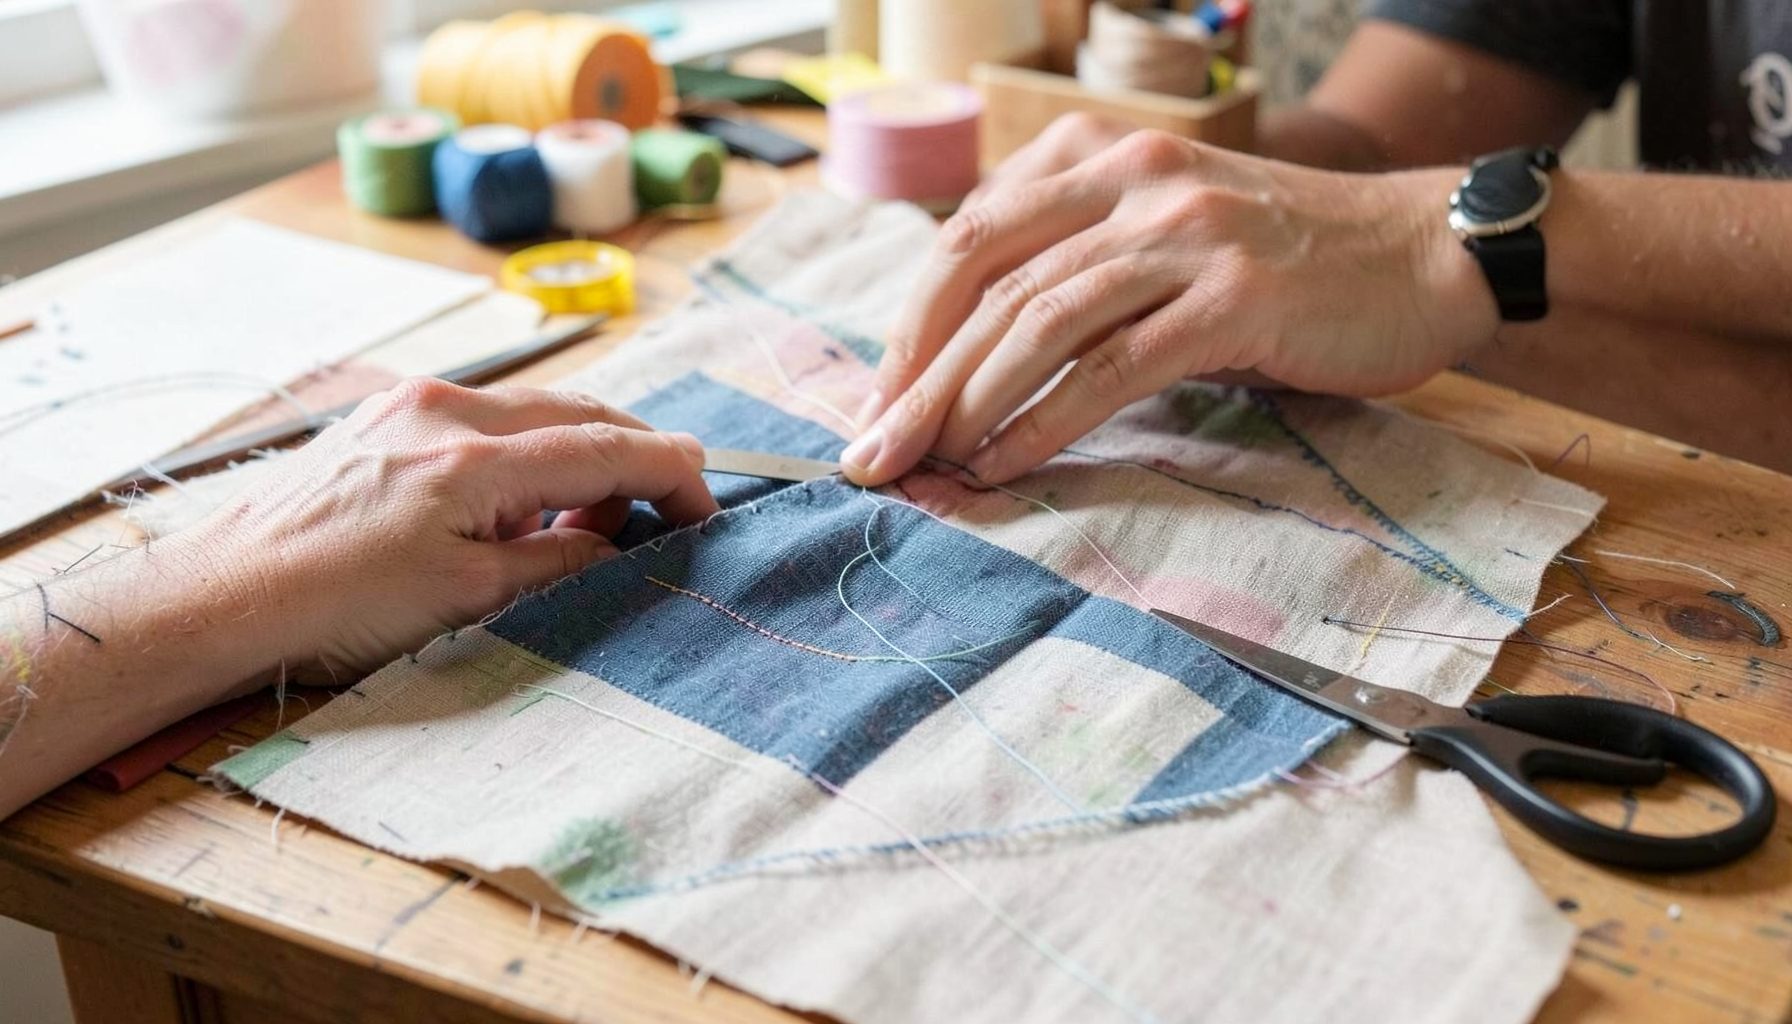
DIY Projects
Step-by-step tutorials for refinishing furniture, sewing pillows, styling bookshelves, and transforming rooms on a budget.
Learn More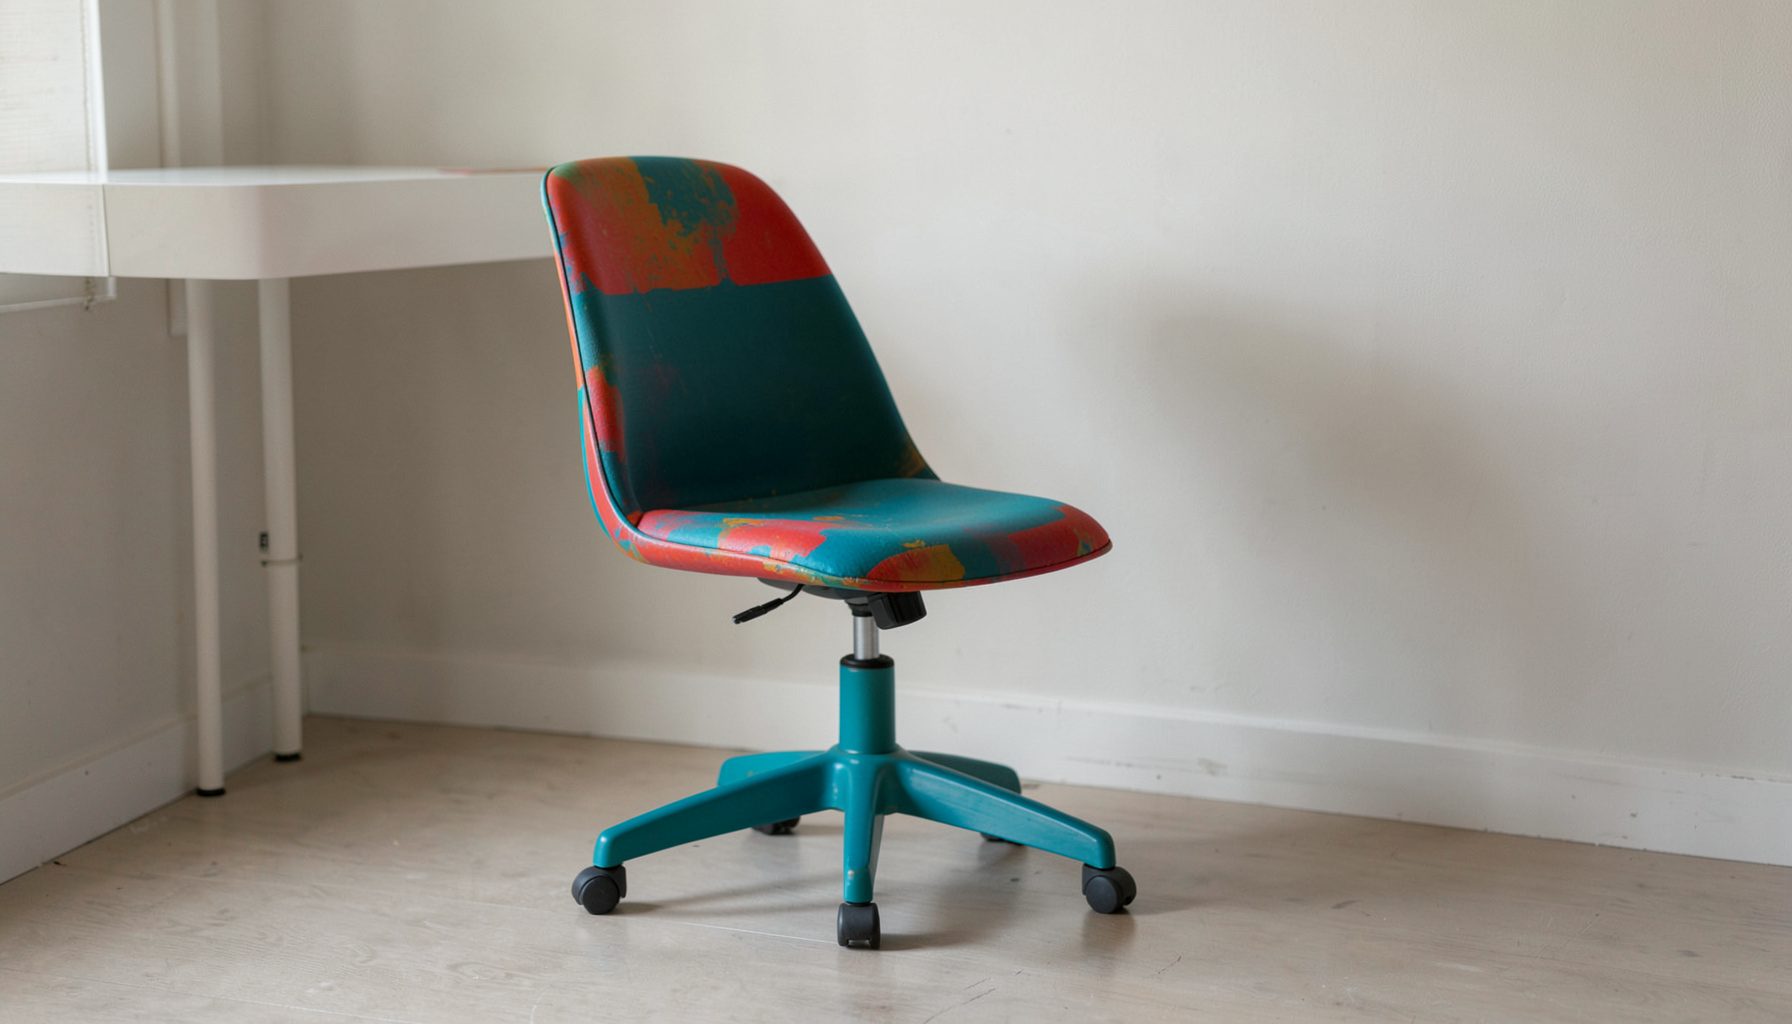
E-Decorating
Personalized design guidance delivered online — perfect for clients anywhere in the world who want a professional eye.
Learn More
Portfolio
Browse completed room makeovers, before-and-after transformations, and styling projects from Bay Area homes.
Learn More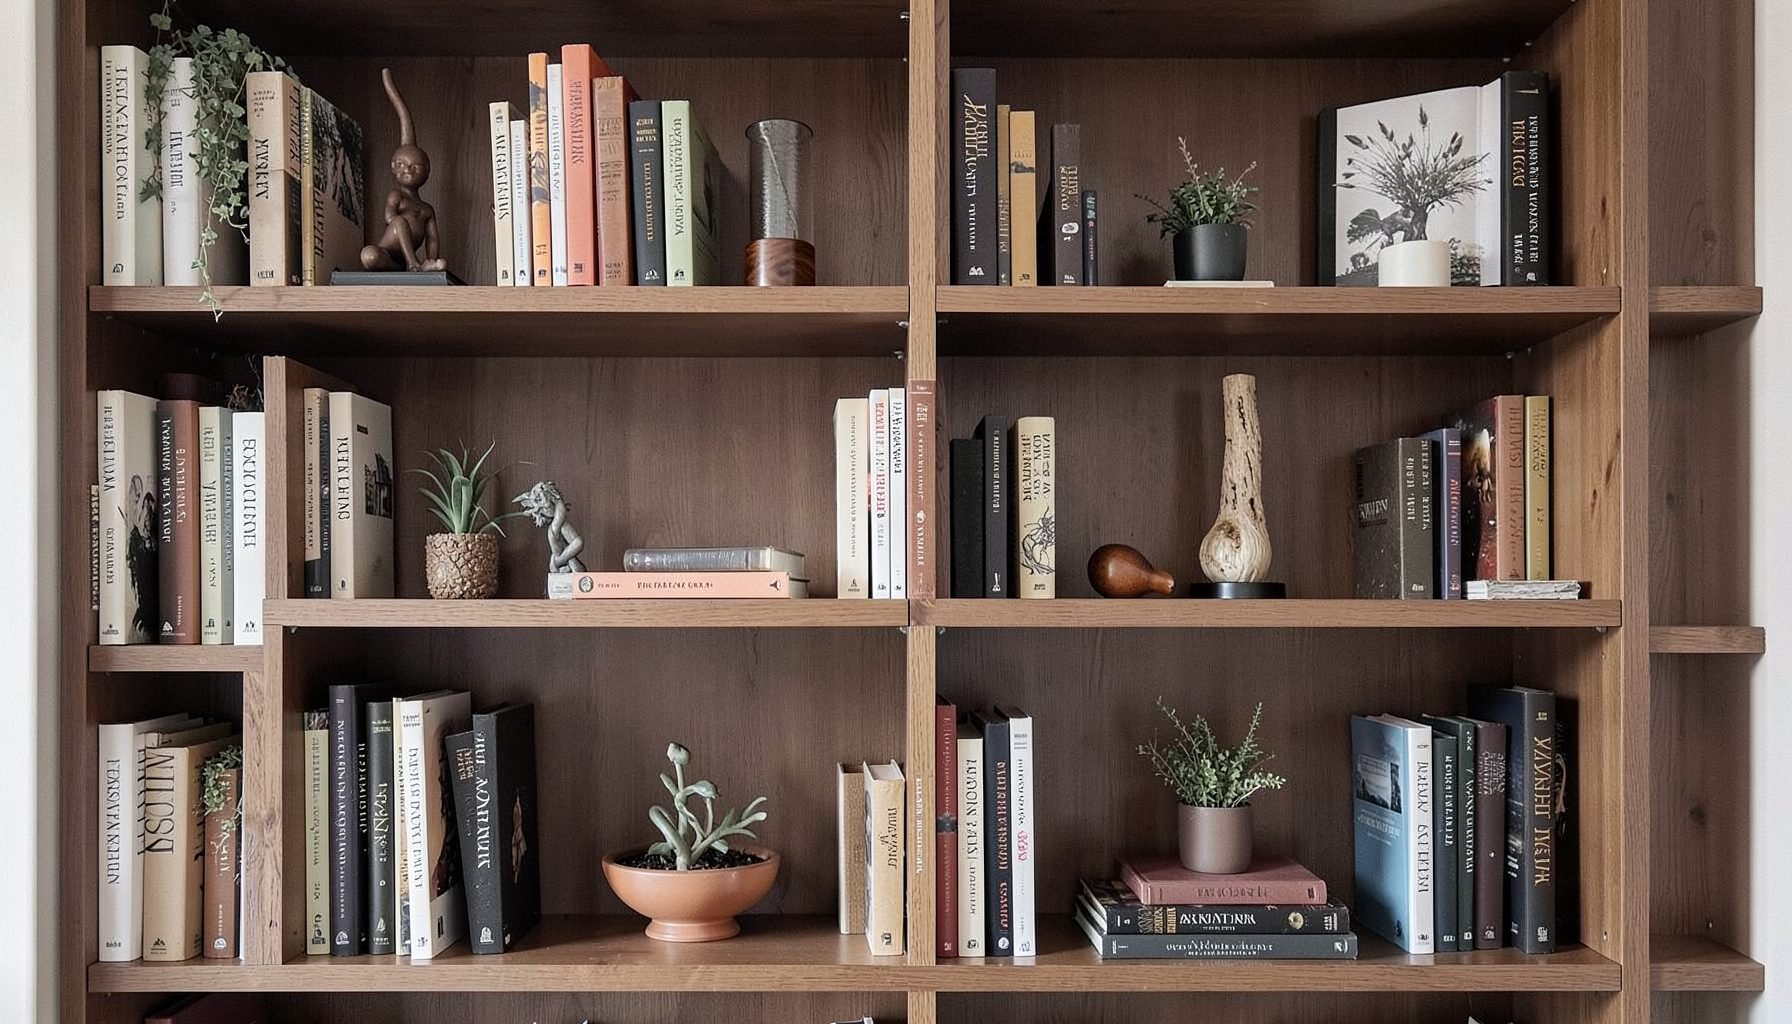
Blog
Interior design inspiration, fashion finds, entertaining ideas, and peeks into real home renovations and styling projects.
Learn More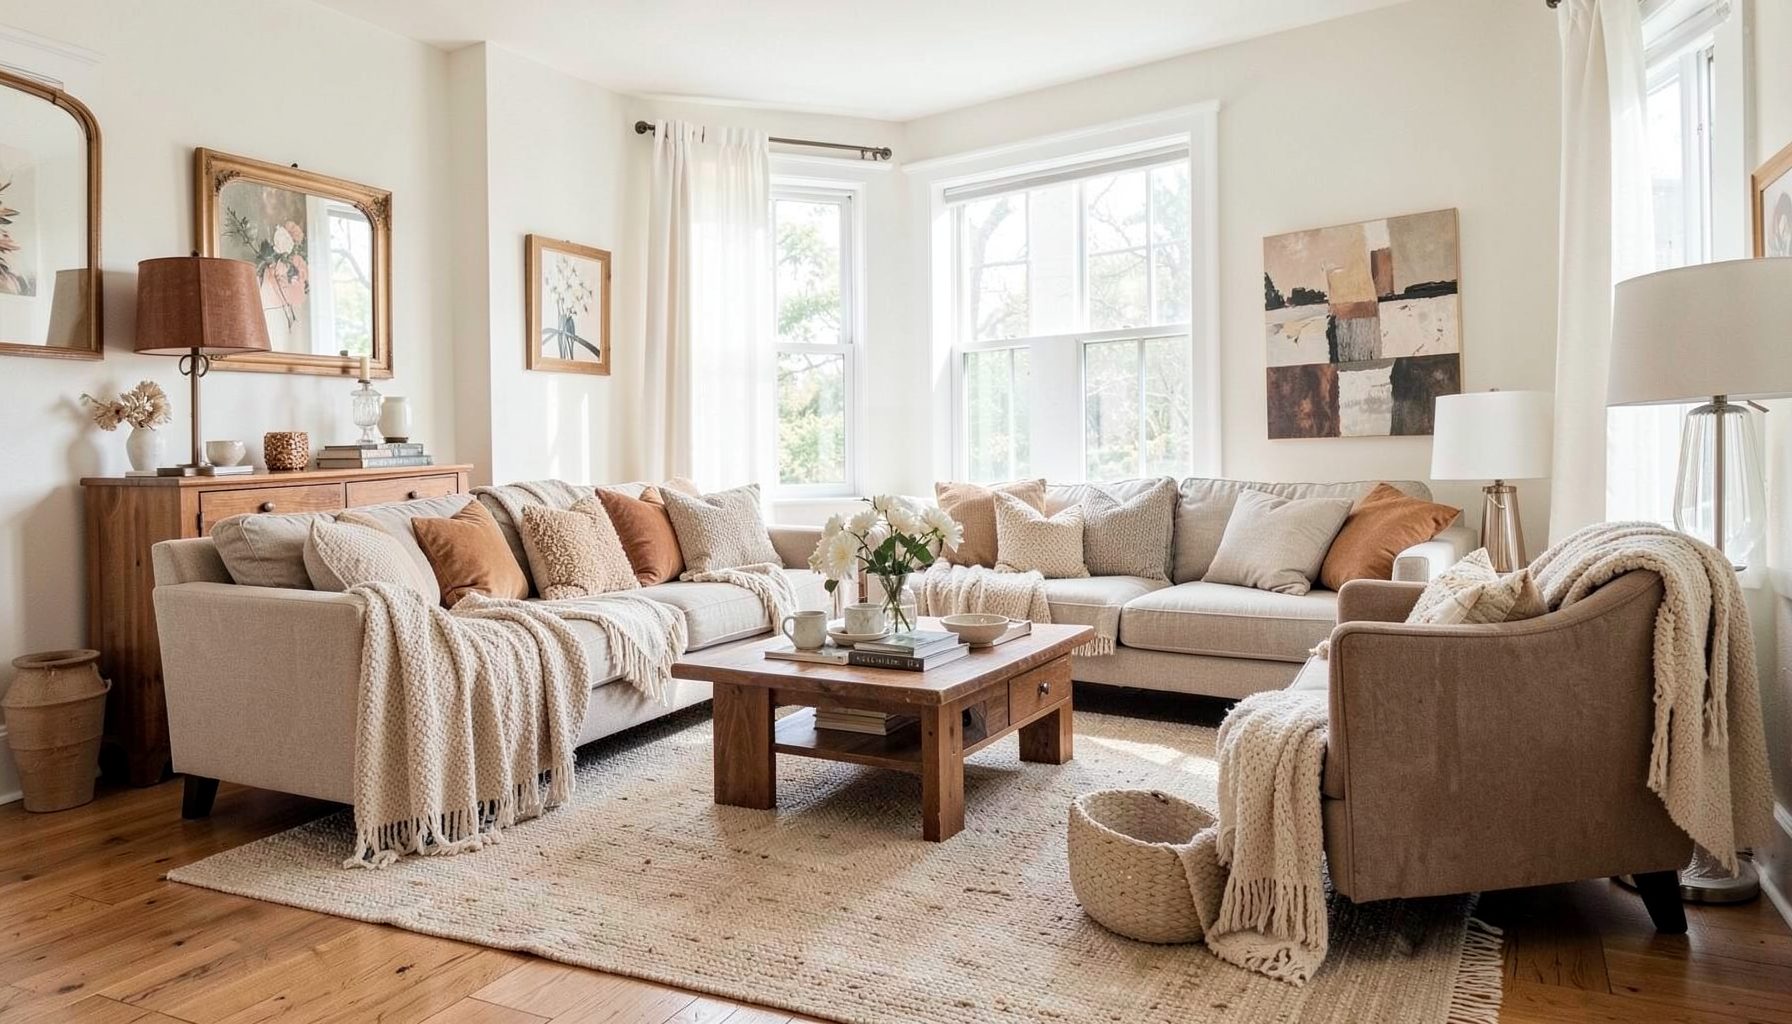
Downloads
Free curated resources for home decorating and design — guides, checklists, and inspiration to help you get started.
Learn MoreDIY bench with storage: a weekend project for your breakfast nook
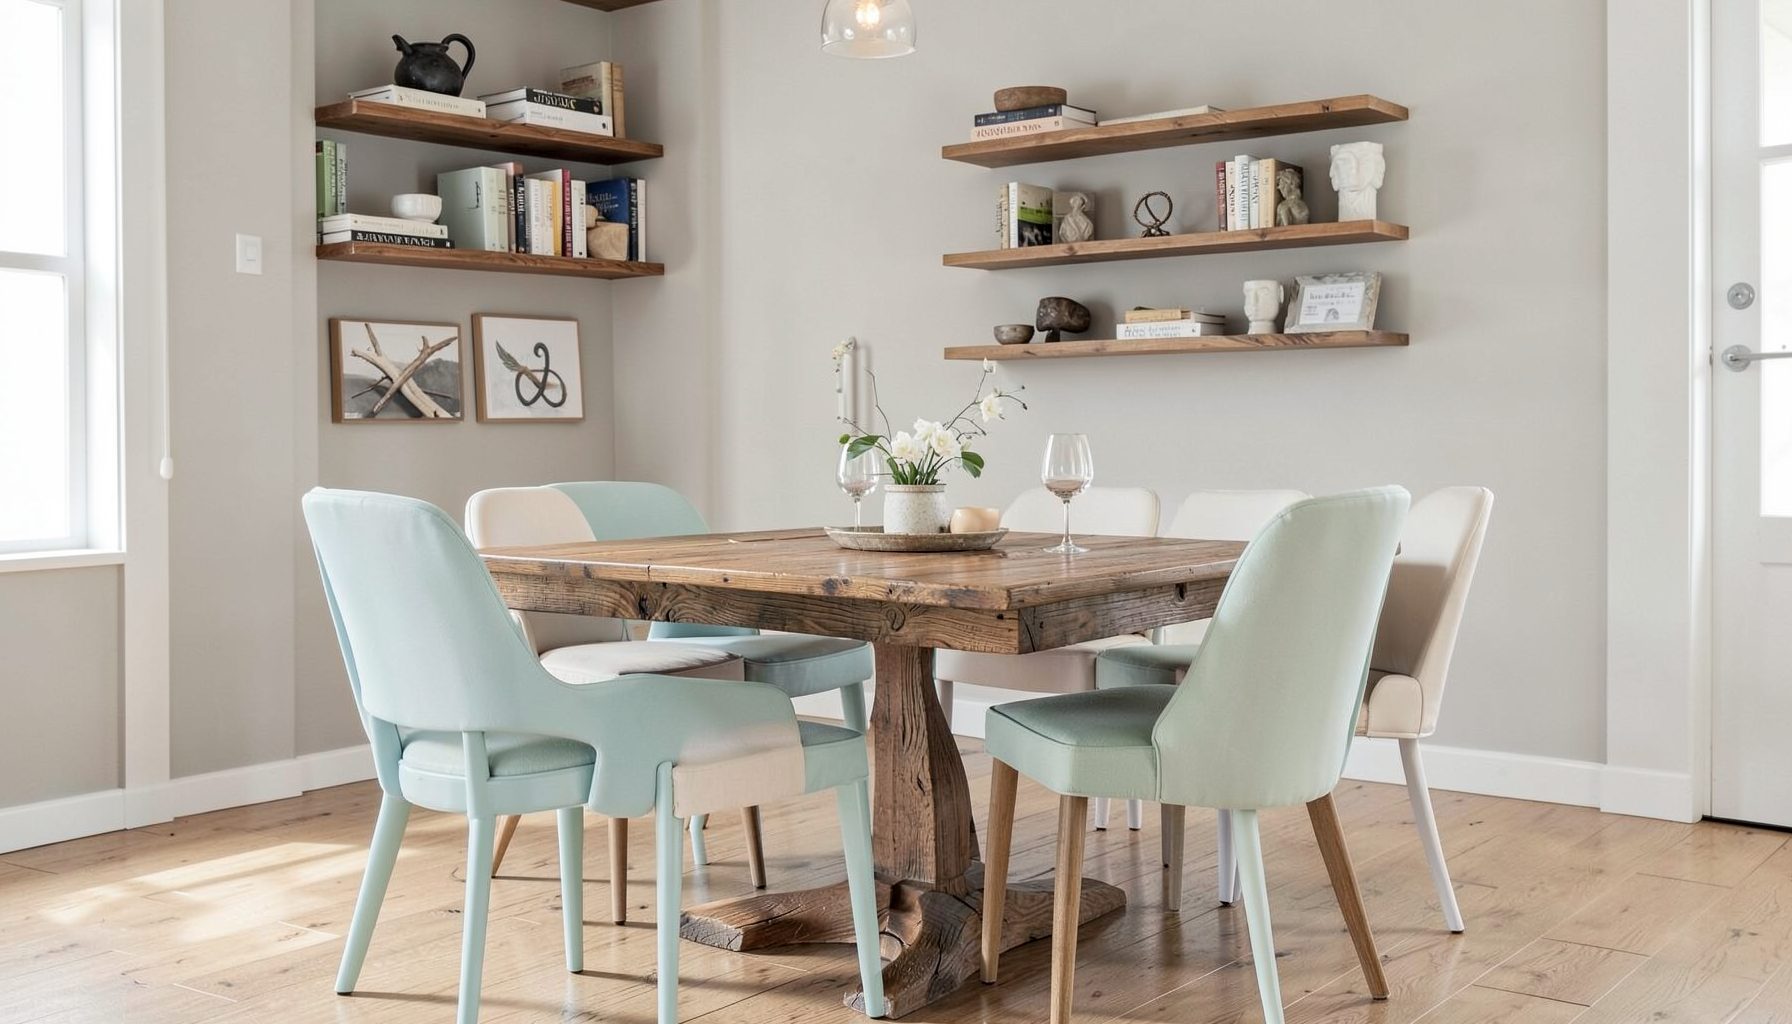
Breakfast nooks have become a quiet centrepiece of many Australian homes, particularly in inner-city terraces in Sydney, compact Victorian weatherboards in Melbourne, and Queenslander cottages in Brisbane. The charm of a built-in banquette lies in how it transforms a forgotten corner near the kitchen into a place for slow mornings, after-school homework, and evening wine with friends. A custom storage bench anchors the space, hides clutter, and gives you a tailored look that store-bought furniture rarely matches.
This guide walks through building a DIY bench with a lift-up lid and internal storage, using materials readily available at Australian retailers. You will learn how to measure for your specific nook, choose timbers that suit the local climate, and finish the piece with upholstery and styling that reflects a layered, collected aesthetic rather than a flat, catalogue look.
Mapping out the layout and measurements
Begin by measuring the width, depth, and height of the nook where the bench will sit. Most Australian breakfast nooks have walls between 1200mm and 1800mm, with a standard table height of around 750mm. A comfortable bench seat sits roughly 450mm from the floor, which leaves room for a 200mm deep storage cavity beneath the lid without making the seat feel too tall for adults.
Sketch the footprint on graph paper or use a free online room planner to confirm that the bench fits without crowding the walkway. If the nook includes a window, leave a 50mm gap behind the backrest so cushions can breathe and curtains can hang cleanly. Mark the position of any nearby power points, especially in older Brisbane and Adelaide homes where outlets are sometimes awkwardly placed above skirting boards.
For a family of four, aim for a bench length of at least 1600mm so each person has roughly 400mm of elbow room. If you entertain often, consider an L-shaped configuration with a return bench along the side wall. This shape adds considerable hidden storage and turns the nook into a true room anchor.
Choosing materials from Australian suppliers
A weekend build calls for materials that are easy to transport and forgiving to work with. Structural plywood, such as 18mm structural plywood sheet sold at Bunnings Warehouse, forms the carcass of the bench. For a more polished look, face the exterior with 12mm MDF or with a tongue-and-groove timber panel. Tasmanian Oak, Blackbutt, or Spotted Gum are excellent local hardwoods if you want a piece that ages gracefully, though they add cost and require pre-drilling.
Hardware kits simplify the build. Soft-close hinges from IKEA Australia or Hettich, sold through cabinetry suppliers in Melbourne and Sydney, prevent the seat lid from slamming and protect little fingers. You will also need wood screws in 30mm, 40mm, and 60mm lengths, wood filler, sandpaper in 120, 180, and 240 grit, and a quality wood primer and paint or clear matte polyurethane. Budget between $250 and $450 for materials, depending on whether you choose plywood or solid timber.
Before purchasing, check the Australian Standard AS/NZS 4935 for domestic furniture. While this standard applies mainly to commercial manufacturers, following its guidance on stability and load testing ensures your bench will hold up under daily family use. If you live in a termite-prone area along the NSW coast or in tropical Queensland, inspect any second-hand timber carefully and consider using H2 treated pine for hidden structural members.
Cutting and assembling the frame
Cut your plywood panels according to the sketch, allowing for a 20mm overhang on the front face if you plan to add a decorative trim. A circular saw with a straight-edge guide produces cleaner cuts than a jigsaw for long, straight lines. Always wear safety glasses and a dust mask, particularly when cutting MDF, which releases fine particles.
Assemble the carcass on a flat surface, starting with the base and two side panels. Apply a thin bead of PVA wood glue to each joining edge, then secure with 40mm screws driven through the face of the side panels into the ends of the base. Use a carpenter's square to check each corner for 90 degrees before the glue sets. Add a central divider panel every 600mm or so; this gives the lid extra support and prevents stored items from shifting.
Once the main box is square, fix a 70mm x 35mm pine ledger along the top inner edge of the back and sides. This ledger supports the lid and provides a surface for the hinges. Attach the back panel last, nailing it in place with a brad gun or countersinking screws for a clean finish. If your nook has uneven walls, scribe the back panel to follow the contours, a common necessity in heritage terraces with sagging floorboards.
Building the storage compartment
The beauty of a breakfast nook bench lies in what it hides. Inside the carcass, build a shallow shelf about 100mm from the bottom using leftover plywood. This creates two storage zones: a deeper cavity for board games, placemats, or small appliances, and a shallower tray for table linens and napkins. Cut a finger hole or install a small knob on the front of the shelf so it can be lifted out for cleaning.
Fit the lid with a sheet of 12mm plywood attached to a timber frame, which prevents sagging over time. Mount soft-close hinges at least 100mm in from each end of the lid and one in the centre for wider spans. Test the hinge action before upholstering, as adjustments are far easier with raw timber.
For extra organisation, drop in a few woven baskets, which are easy to find at Kmart, Target Australia, or local homewares markets in Paddy's Markets or Salamanca Place. Baskets keep small items tidy and can be lifted out entirely when you need to access the full depth of the storage cavity. A thin strip of velcro attached to the underside of the lid stops baskets from sliding when the lid is opened.
Upholstering and finishing the seat
Comfort matters as much as storage. Cut a sheet of high-density foam, 50mm thick for a firm feel or 75mm for a plush cushion, to the exact size of the lid. Cover the foam with a layer of dacron wadding to soften the edges and round the corners, then staple a length of upholstery fabric to the underside of the lid. Stretch the fabric taut as you work from the centre out, folding corners like a present to achieve crisp edges.
For the interior seat back, staple a thinner panel of foam wrapped in coordinating fabric directly to the wall behind the bench. This creates a built-in look without requiring complex carpentry. A loose back cushion adds extra comfort and lets you swap covers seasonally.
Choose fabrics that handle Australian conditions. Linen-cotton blends breathe well in humid Sydney summers, while performance fabrics like those from Warwick or Zepel resist spills and sun damage. If your nook receives strong western sun, consider a darker, more forgiving weave or add sheer curtains to protect the fabric from fading.
Styling the nook with collected, layered pieces
A breakfast nook invites the same collected, layered philosophy that defines a lived-in home. Start with a round or oval table in a warm timber tone to soften the geometry of the bench and encourage easy conversation. Layer in a natural fibre floor rug, such as a jute or wool flatweave, which grounds the space and adds warmth underfoot during chilly Hobart mornings.
On the bench, mix vintage and modern cushions in complementary tones. A pair of stonewashed linen cushions in oatmeal, a vintage floral in faded rose, and a graphic stripe in moss green create visual interest without clashing. Place a small ceramic vessel with stems of eucalyptus or banksia on the table for an Australian touch. Hang a simple piece of art, perhaps a vintage botanical print, slightly off-centre to draw the eye through the space.
Lighting completes the look. A plug-in swing-arm wall sconce above the table saves the trouble of hardwiring, which is helpful in rental properties common across Melbourne and Sydney. For evening ambience, a small candle on the table or a strand of warm fairy lights along the back ledge adds a soft glow that makes the nook feel like the heart of the home.
Maintaining the bench in Australian conditions
Australian climates vary widely, from the dry heat of Perth summers to the salt air of coastal Wollongong. Wipe timber surfaces weekly with a slightly damp microfibre cloth and avoid harsh chemical sprays that can strip the finish. Every six months, apply a fresh coat of hard wax oil or polyurethane to high-contact areas, particularly around the lid edges where hands frequently rest.
If you live near the coast, watch for salt build-up on metal hinges and runners. A quick wipe with a dry cloth after humid days prevents corrosion. In bushfire-prone regions, keep the surrounding area free of flammable décor and ensure any curtains or cushions meet the relevant BAL rating guidance for your property zone.
Address small repairs promptly. A loose screw, a sticky hinge, or a small chip in the paint can be fixed in minutes, but left alone these issues shorten the life of the piece. Rotate seat cushions monthly if the nook receives direct sunlight, which prevents uneven fading and extends the life of the upholstery.
Once the styling is complete, the next step is to mark a reminder in your calendar for the first Saturday of spring to inspect the hinges, retouch any scuffs with leftover paint, and flip the seat cushion so wear is distributed evenly across the surface. That single habit keeps the bench ready for the slow Sunday breakfasts that turn a simple corner into the favourite seat in the house.

Recent Projects