Interior Design
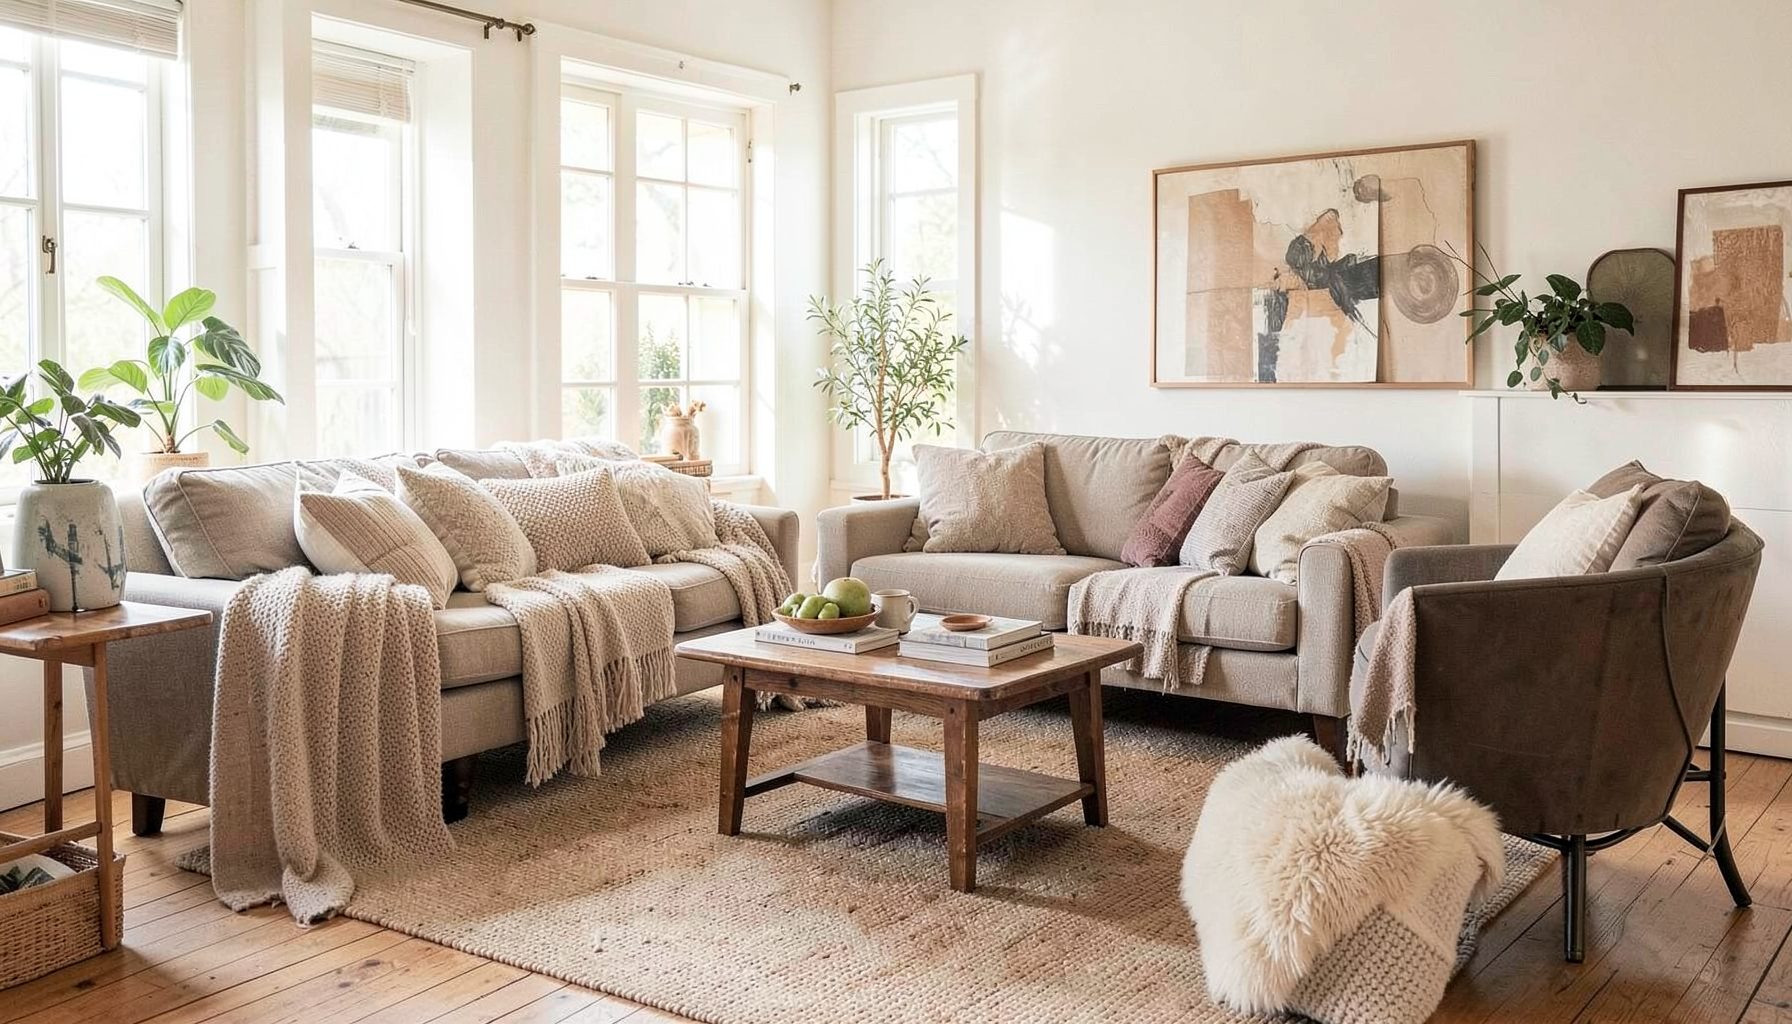
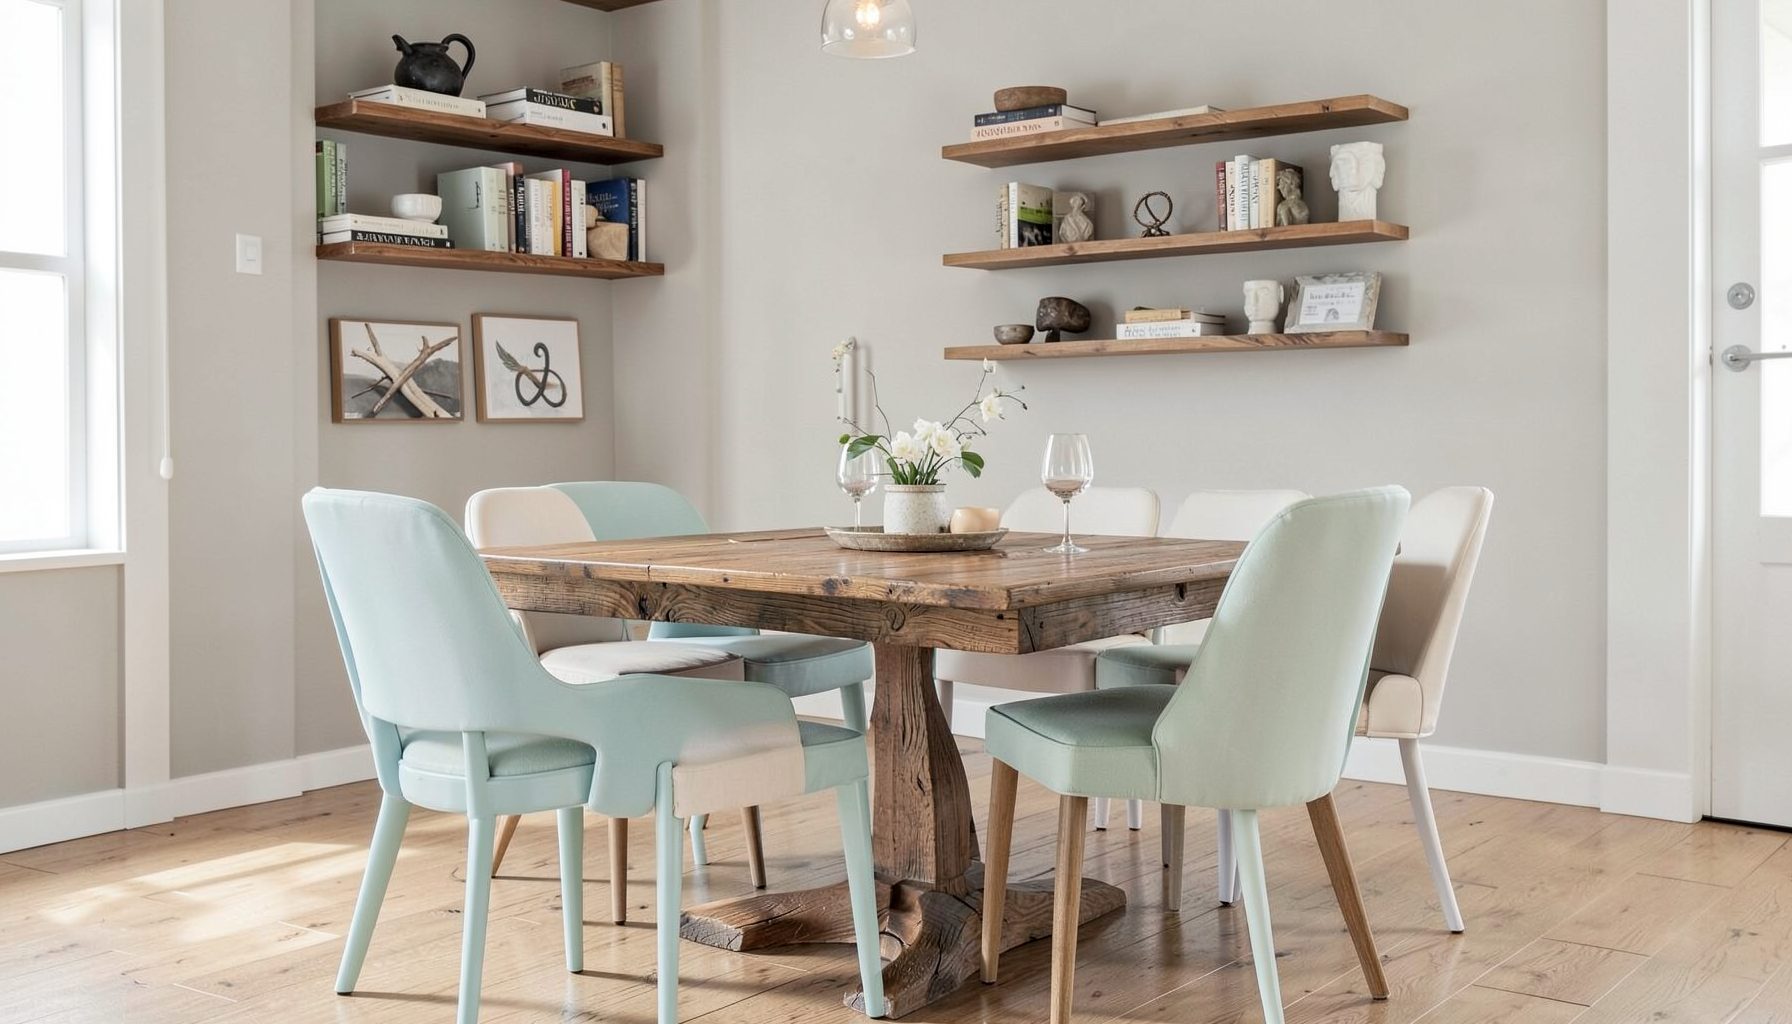
Full-service decorating that blends high and low, vintage finds with modern pieces for spaces that feel personal and collected.
Learn More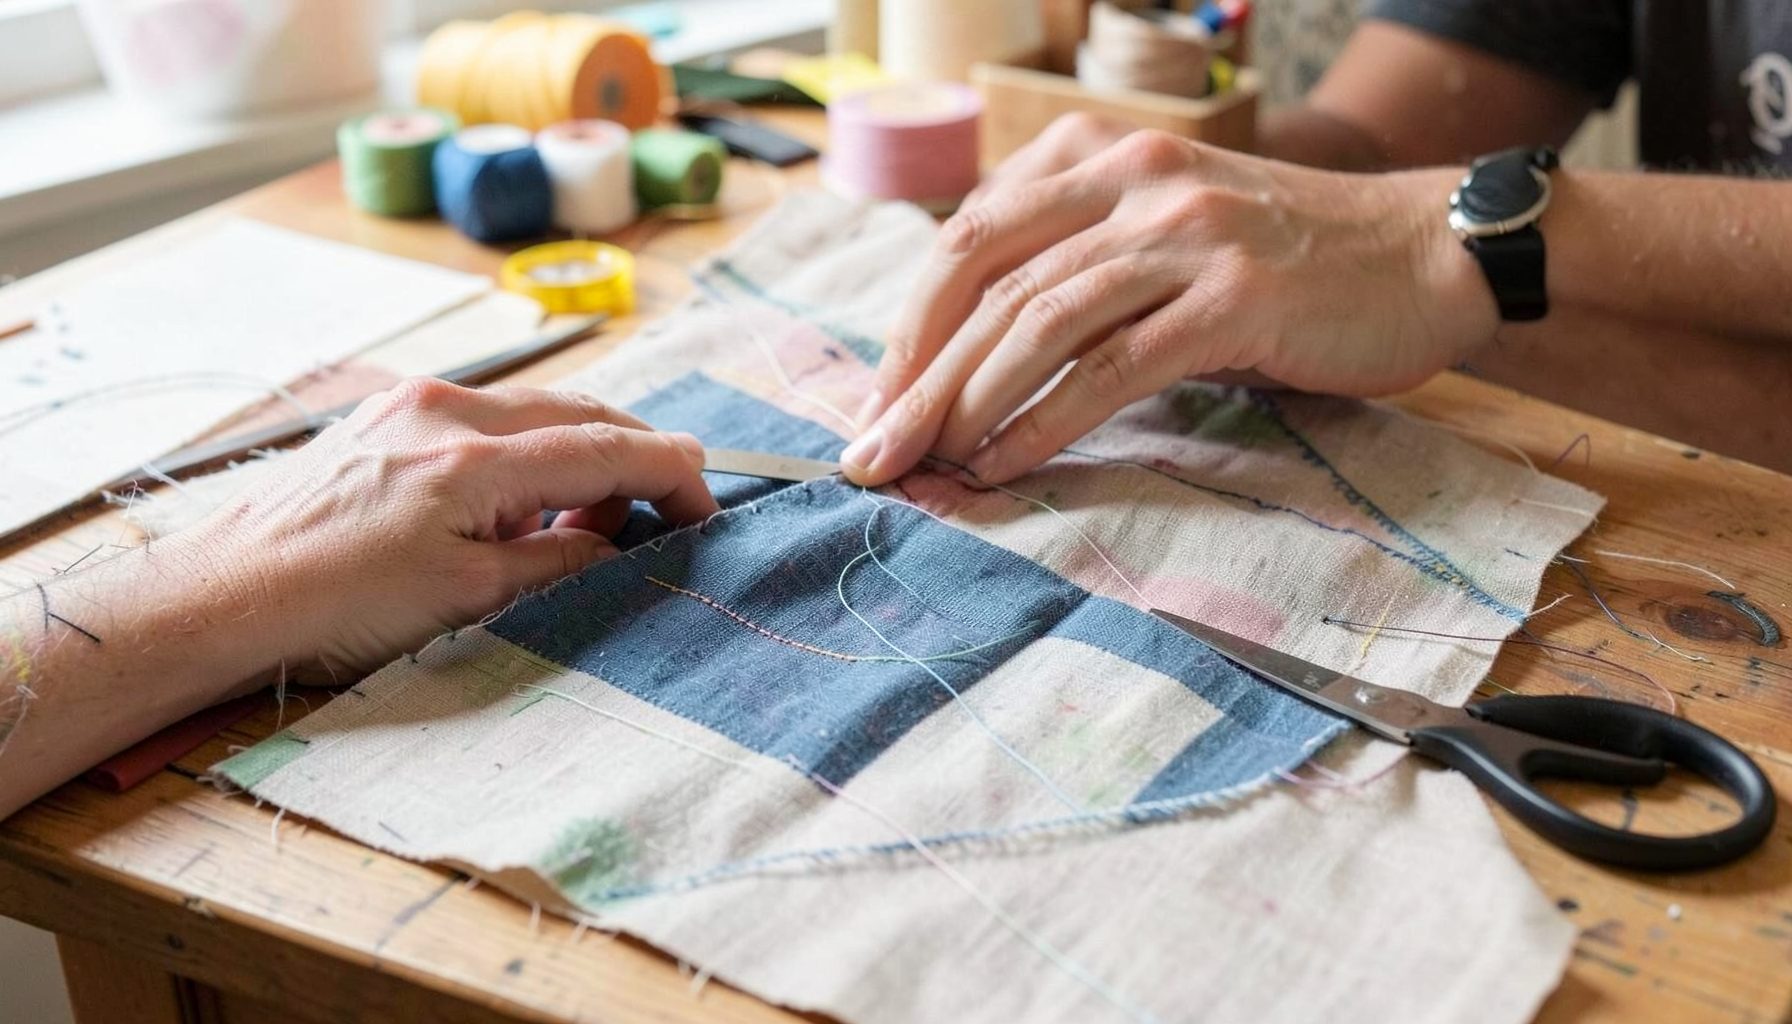
DIY Projects
Step-by-step tutorials for refinishing furniture, sewing pillows, styling bookshelves, and transforming rooms on a budget.
Learn More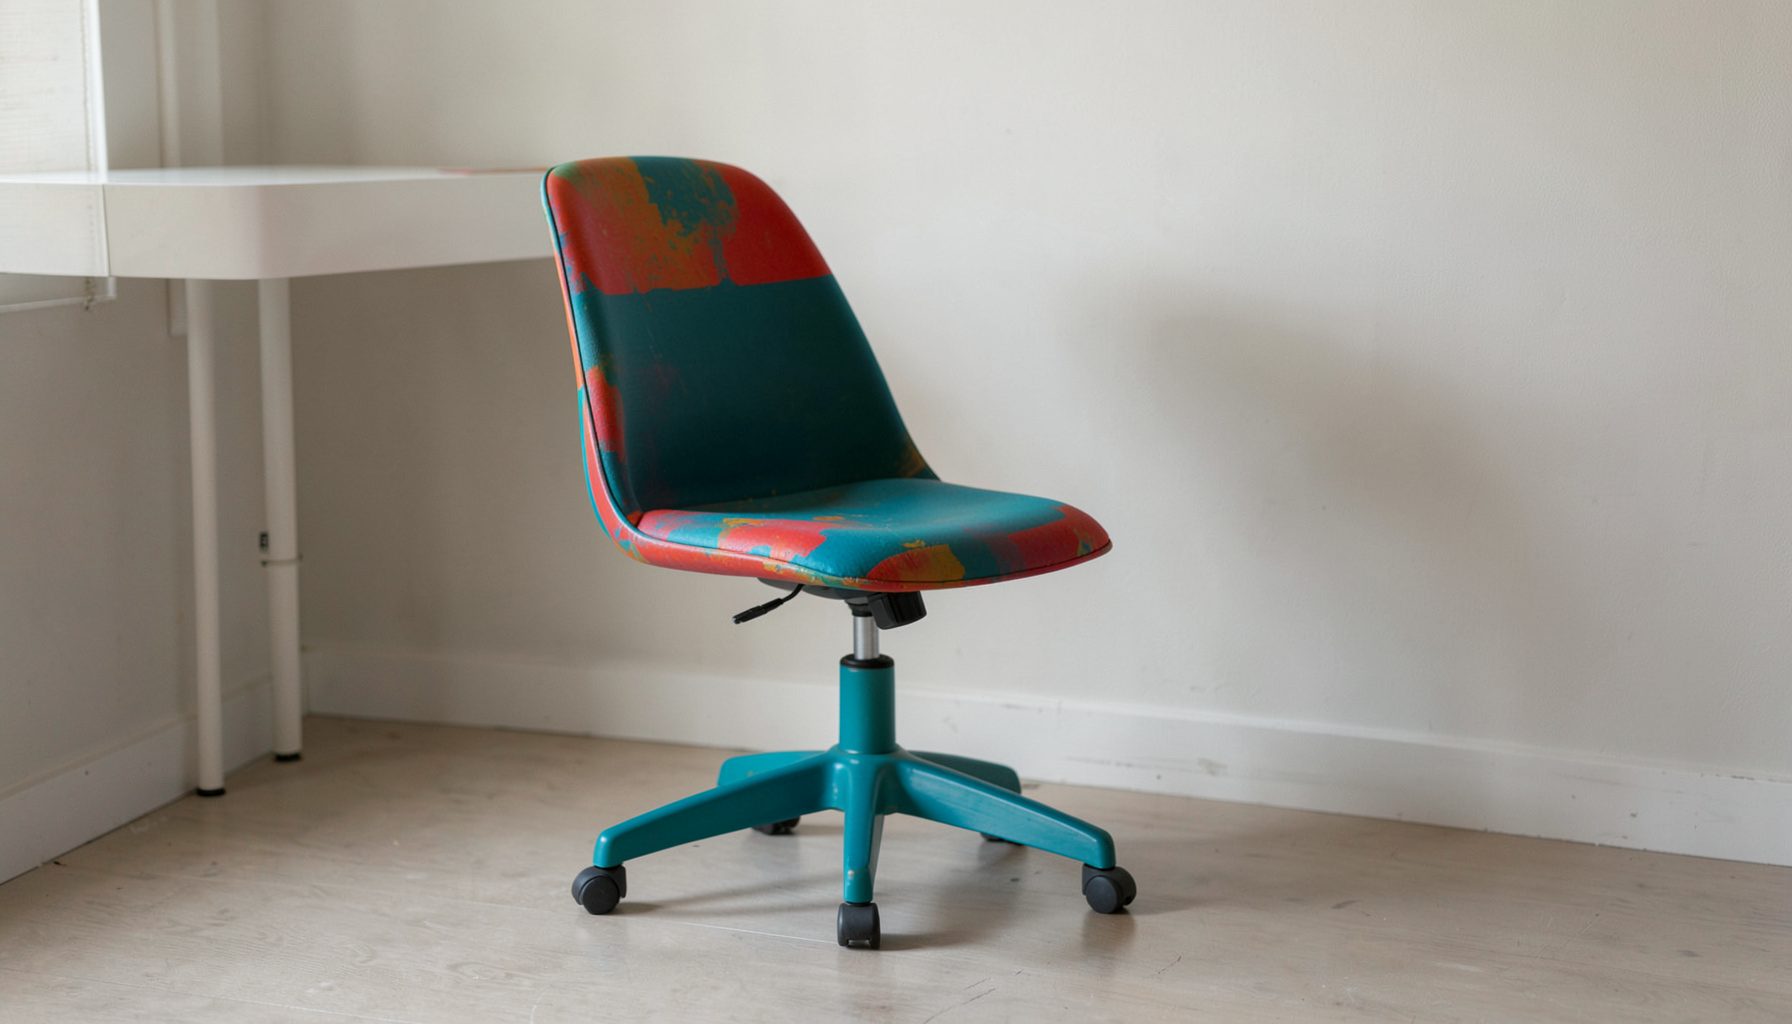
E-Decorating
Personalized design guidance delivered online — perfect for clients anywhere in the world who want a professional eye.
Learn More
Portfolio
Browse completed room makeovers, before-and-after transformations, and styling projects from Bay Area homes.
Learn More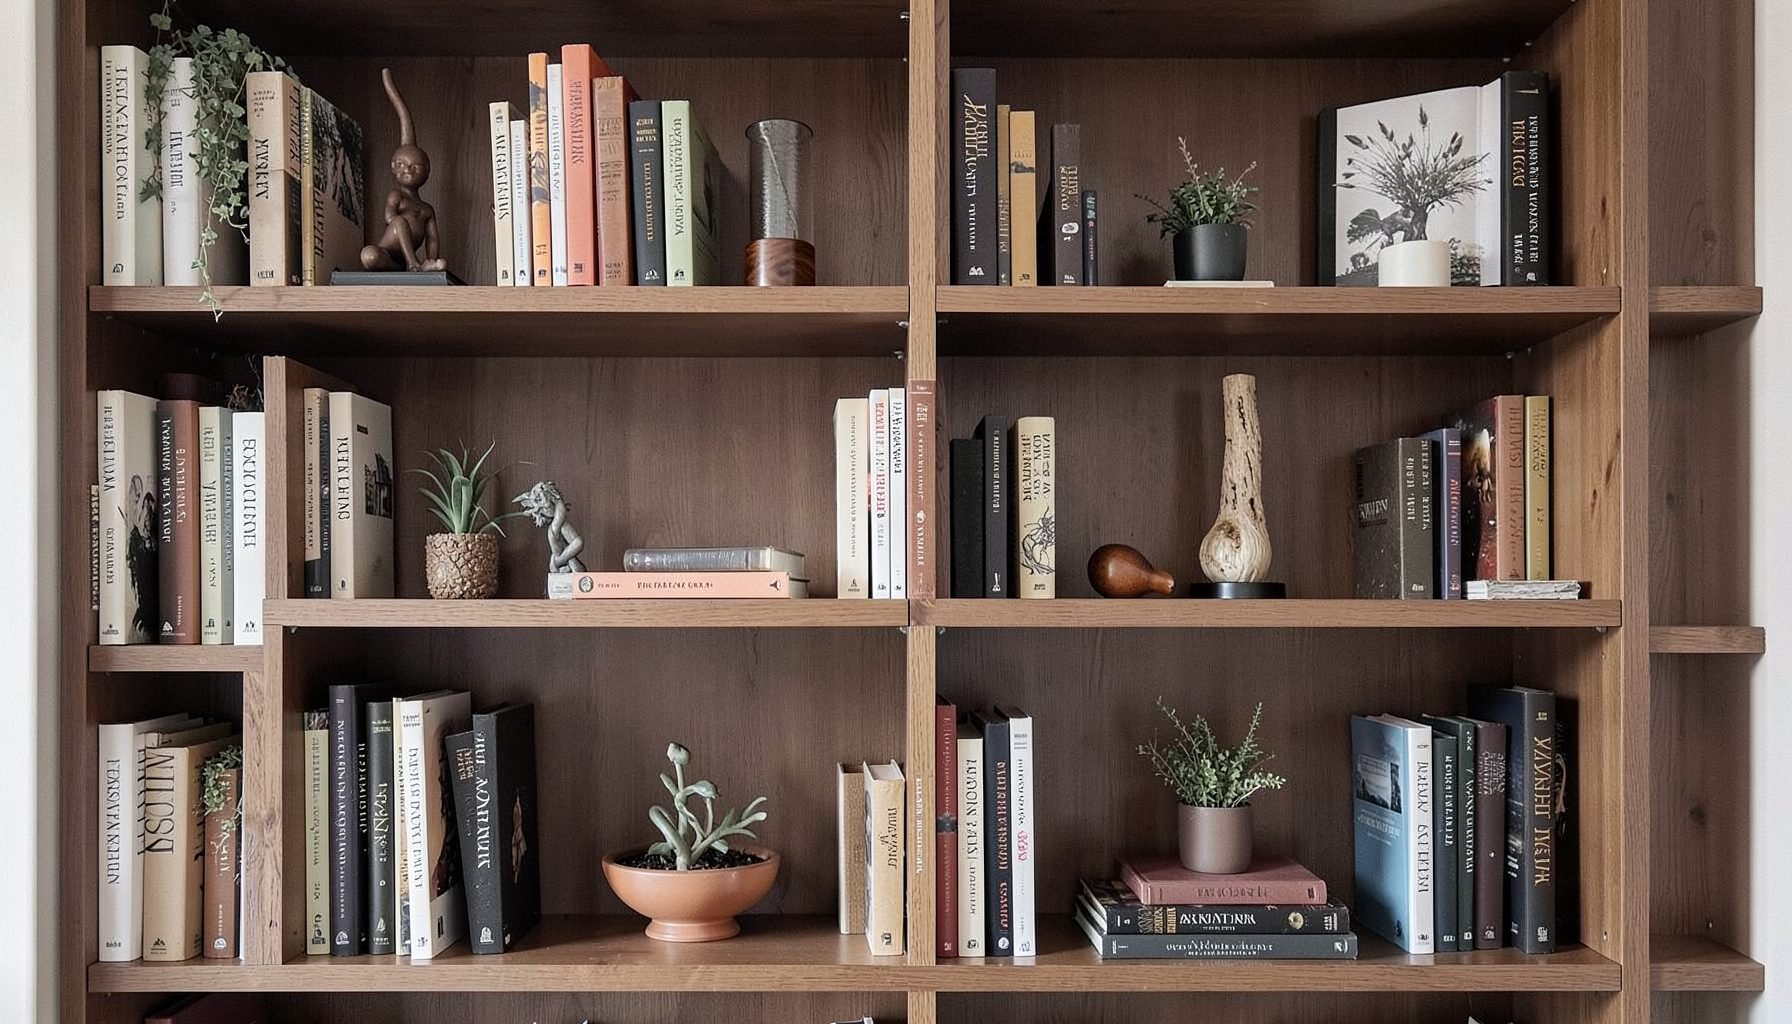
Blog
Interior design inspiration, fashion finds, entertaining ideas, and peeks into real home renovations and styling projects.
Learn More
Downloads
Free curated resources for home decorating and design — guides, checklists, and inspiration to help you get started.
Learn More5 DIY Tutorials for Upcycling Thrift Store Furniture
A secondhand table, chair, dresser, or bookcase can become the most personal piece in a room with a little imagination and a few practical updates. Thrifted furniture often has better proportions and stronger construction than many inexpensive new pieces, even when its finish looks dated or the hardware has seen better days.
These DIY tutorials for upcycling thrift store furniture focus on approachable changes: paint, fabric, wallpaper, hardware, and thoughtful styling. The goal is not to hide every mark of age. A layered home feels more collected when vintage character remains visible alongside modern accents and everyday pieces.
Before starting, consider where the furniture will live and what the room already needs. A compact nightstand may benefit from a saturated color, while a large dresser may need a quieter treatment. Use the original shape as a guide, then add a finish that reflects your personal decorating style.
Start With Smart Furniture Prep
Look for solid construction before falling in love with a surface. Open every drawer, test the hinges, check the legs for wobbling, and inspect the back panel for water damage or mold. Small scratches are easy to address, but warped boards and broken joinery may require more repair than a casual weekend project allows.
Clean the piece with a degreasing cleaner, then let it dry completely. Remove hardware and label each knob, pull, or hinge in a small bag so reassembly is simple. Lightly sand glossy areas, fill deep dents with wood filler, and wipe away dust before applying primer or paint.
Your supplies will vary by project, but a useful starter kit includes fine-grit sandpaper, a screwdriver, wood filler, painter’s tape, drop cloths, a small roller, angled brushes, primer, and a protective topcoat. Work in a ventilated space, and allow each layer to cure according to the product directions rather than relying on touch alone.
Give a Tired Nightstand A Colorful New Life
A thrift store nightstand is an ideal first project because it is compact, functional, and easy to move. Remove the drawers and hardware, then decide whether you want a crisp painted finish or a lightly distressed look. Deep olive, muted blue, warm clay, and smoky charcoal can make a small bedside piece feel considered without overwhelming the room.
Prime the wood or laminate after cleaning and sanding. Apply two thin coats of furniture paint, allowing the surface to dry between coats. For a gently aged effect, use fine sandpaper on the corners and raised edges after the paint cures. Keep the distressing restrained so the result suggests natural wear rather than an artificially weathered finish.
Replace ordinary hardware with ceramic knobs, aged brass pulls, or leather tabs. If the drawer interiors are clean but plain, line them with removable wallpaper or leftover wrapping paper attached with double-sided tape. Finish the top with a durable water-based sealer, especially if the nightstand will hold a glass of water, a lamp, or skincare products.
Reupholster A Chair With Personality
A wooden dining chair or occasional chair can change dramatically with fresh upholstery. Begin by removing the seat from the frame and photographing the original construction. If the foam has flattened or smells musty, replace it rather than simply covering it. A new layer of medium-density foam and batting creates a smoother, more comfortable seat.
Choose fabric based on the chair’s purpose. A tightly woven cotton, linen blend, performance fabric, or small-scale patterned textile will usually stand up better to daily use than a delicate material. Cut the fabric several inches wider than the seat on all sides, center the pattern, and staple the material underneath while pulling it evenly from opposite sides.
The frame can remain natural if the wood grain is attractive, or you can paint it in a shade drawn from the upholstery. A simple black frame with a striped seat feels tailored, while a warm white frame and botanical fabric suit a relaxed cottage or collected look. Reattach the seat only after the paint or finish has fully cured.
Turn A Dresser Into A Useful Bar Cabinet
An older dresser can become an elegant drinks station, dining-room storage unit, or entry console. Choose a piece with drawers that glide well and enough depth for bottles, glassware, or serving pieces. Remove the drawers and clean the interior before deciding how much of the original layout you want to preserve.
One option is to keep the drawers intact and reserve the top surface for a tray, lamp, or floral arrangement. For a more substantial conversion, remove one or two drawers and install a fixed shelf inside the opening. Paint the frame in a rich neutral, then line the interior with grasscloth-look wallpaper, a bold geometric print, or a washable vinyl covering.
The finish you choose should support the way the cabinet will be used. The comparison below can help narrow the direction before you begin.
| Furniture treatment | Best for | Materials to consider | Overall effect |
|---|---|---|---|
| Painted exterior with wallpapered interior | Bar storage or dining-room cabinet | Furniture paint, removable wallpaper, shelf board | Dramatic and collected |
| Natural wood with new hardware | Bedroom or entry dresser | Wood conditioner, clear finish, brass or bronze pulls | Warm and timeless |
| Two-tone paint treatment | Playroom or casual living space | Two paint colors, painter’s tape, sealer | Fresh and graphic |
| Cane or woven panel insert | Media console or linen cabinet | Cane webbing, spline, adhesive, trim | Airy and textural |
Add a tray to contain bottles and glassware, and use small bins to keep cocktail napkins, bottle openers, and coasters organized. This kind of furniture makeover works best when beauty and storage are planned together. A styled surface is more useful when the items inside remain easy to reach.
Refresh A Bookcase With Paint And Pattern
A small bookcase can become a strong focal point when its interior receives a contrasting finish. Begin by checking that the shelves are level and the back is firmly attached. Tighten loose screws, replace missing nails, and lightly sand rough edges before painting the frame.
For a classic look, paint the exterior a soft neutral and use a deeper shade on the back panel. Removable wallpaper is another simple option, particularly when the pattern has a connection to nearby curtains, pillows, or artwork. If the backing is thin fiberboard, remove it before papering when possible, then reinstall it once the adhesive has set.
Style the finished bookcase with a mix of books, ceramics, framed photographs, baskets, and small plants. Leave some open space so the arrangement can breathe. Place heavier objects on lower shelves and use a few horizontal stacks to create variation without making the bookcase feel cluttered.
Create A Statement Mirror Or Console
A large thrifted mirror with an ornate frame can be updated with paint, metallic wax, or a carefully controlled two-tone treatment. Clean the frame and protect the glass with painter’s tape. If the frame has intricate details, use a small brush and build color gradually so carved sections remain legible.
For an understated finish, paint the entire frame a warm mushroom, black-brown, or muted putty shade. To highlight decorative details, apply metallic wax sparingly to raised edges after the base color has dried. A soft brass accent can connect an older frame to contemporary lighting and hardware without making the piece look overly polished.
Another option is to pair a thrifted mirror with a narrow console table. Paint both pieces in related shades, then style the console with a lamp, a shallow bowl, and one or two sculptural objects. The mirror will reflect light and create height, while the console adds practical landing space near an entry or dining area.
Details That Make A Furniture Makeover Last
- Sand glossy finishes thoroughly enough for primer to grip, but avoid stripping sound wood unnecessarily.
- Test paint colors and sealers on an inconspicuous area before committing to the entire piece.
- Use furniture-grade hardware and reinforce screws when a drawer or door will receive frequent use.
- Protect high-contact surfaces with an appropriate clear coat, wax, or hardwearing enamel.
- Mix the finished piece with existing decor so it feels connected to the room rather than isolated from it.
Style The Finished Piece With Intention
Upcycled furniture feels most successful when it has a clear role. A painted nightstand should support the bed and lighting, while a refurbished chair can bring pattern to an otherwise quiet corner. Decide whether the piece is meant to provide storage, introduce color, add texture, or anchor a vignette before filling it with accessories.
Balance old and new elements around the furniture. Pair a vintage dresser with a modern lamp, place contemporary artwork above an antique console, or use a sleek tray on a distressed table. This contrast gives the room depth and keeps a thrifted find from feeling like a themed display.
Scale matters as much as color. A large piece needs room around it, and a small piece may need a taller lamp, mirror, or artwork to hold its visual weight. Edit accessories until the furniture remains the focus while still looking useful and lived in.
The best projects leave room for the original object to speak. A few knots in the wood, an uneven edge, or a gently worn detail can make the result feel authentic. Thoughtful upcycling combines repair and reinvention, giving an overlooked piece a place in a home that reflects the people who live there.
For personalized guidance on choosing finishes, combining vintage finds with current furnishings, or planning a room makeover, connect with Maggie Rose Interiors through design consultation details. A considered plan can help turn one thrifted treasure into the starting point for a layered, welcoming space.

Recent Projects